So I have a confession. I have been a lazy gardener. I have not done anything for a couple of weeks now. And why is this an issue, you ask? Well, it is a little after 8 a.m. here. We have a weather forecast of 12-18 inches of snow starting at 3 p.m.
So that gives me a little less than 7 hours to do my entire fall cleanup, winter soil prep for the garden, my final fall harvest. I need to protect all the crops that are going to stay out here for winter with cold frames. I need to winterize my irrigation and probably a whole bunch of other things I can’t even think of. And as if to make matters worse. I have not even planted my garlic yet, so I’m going to try to do all that in less than 7 hours.
Let’s get this show started!
1. Bring In Garden Tools
First thing I’m going to start with is bringing inside everything I have scattered around the garden.
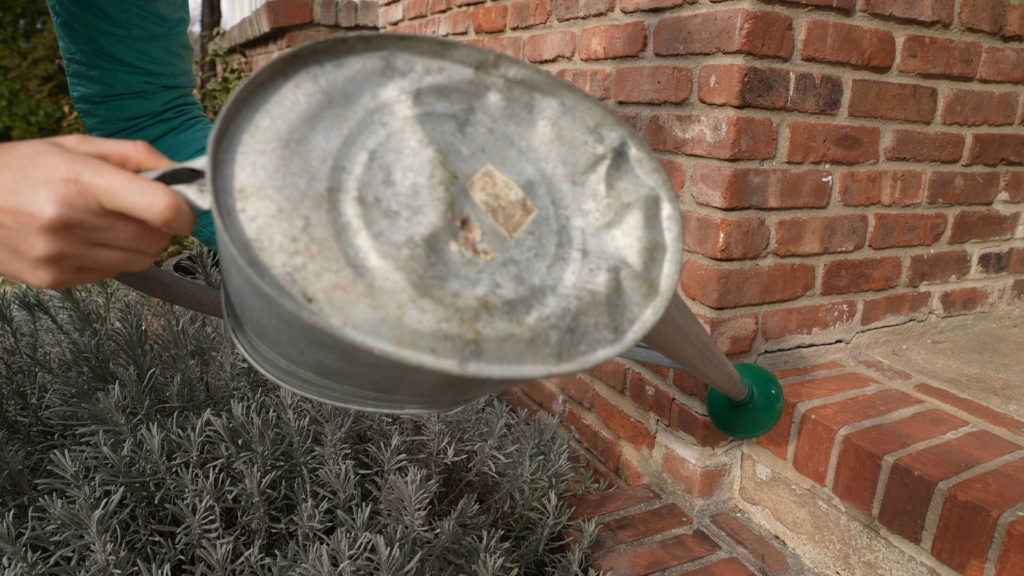
Wheelbarrows, Birdbaths, Rain Gauges & Watering Cans
In general, if it contains water like my rain gauge or a birdbath, or it could contain water like a wheelbarrow, or if it can rust, you should bring it inside or at least flip it over. I made the mistake of forgetting my beloved Haws watering can outside a few years ago and the freezing water actually bent the bottom.
Garden Markers
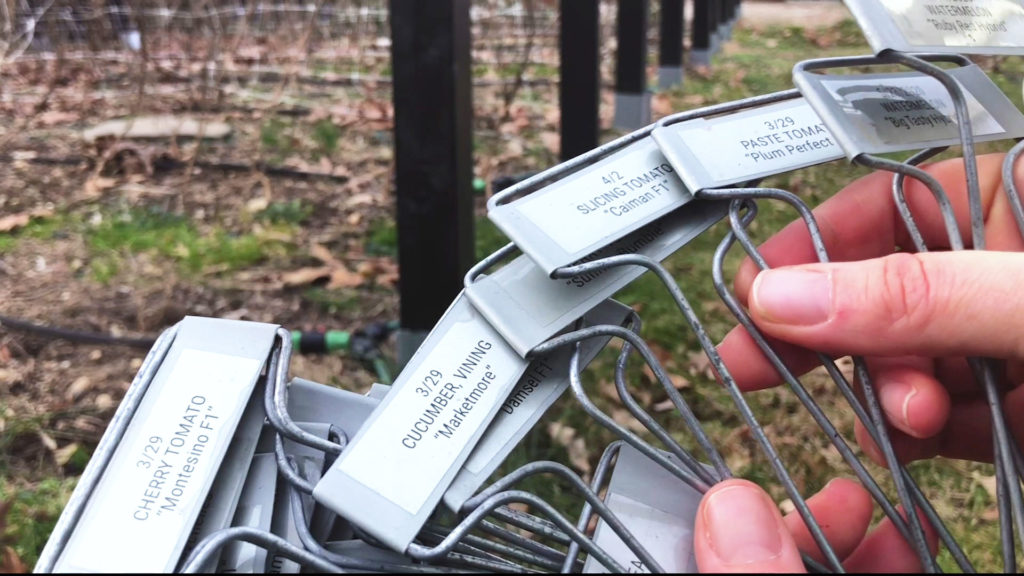
I also need to pick up all my garden markers that are still out here. They’re galvanized steel, so they’re very weatherproof, but I don’t want to lose any under the snow.
Good tip, if you have a good marker system like this where you put the dates and the variety on your markers, that works great for winter garden planning. You can go through them and say, “Oh yeah, that’s right, I liked that variety,” or, “Oh yeah, that one I started too late, I planted too late, or that one I planted at a good time.”
Landscape Pins
If you have landscape pins, like I use for my irrigation system, make sure you pick those. I need to be careful with these because they will disappear in the snow.
Outdoor Plant Pots
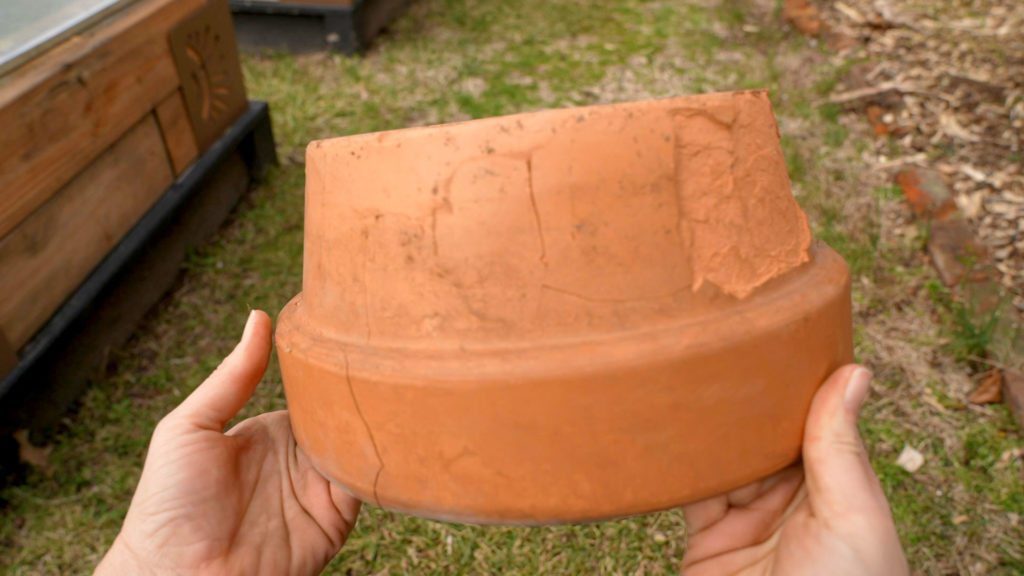
Also make sure to check your pots. Frost-proof pots should be okay as long as the soil is not oversaturated, but terracotta pots and most unglazed pots will crack and flake in the cold.
2. Final Harvest
Fall Broccoli
My broccoli is the main crop left in my garden this time of year. It’s very healthy, actually, and it’s past the frost. I think this broccoli would actually survive for quite a bit more time, except I just don’t want to deal with 18 inches of snow on top of this stuff. So I’m going to harvest it all now.
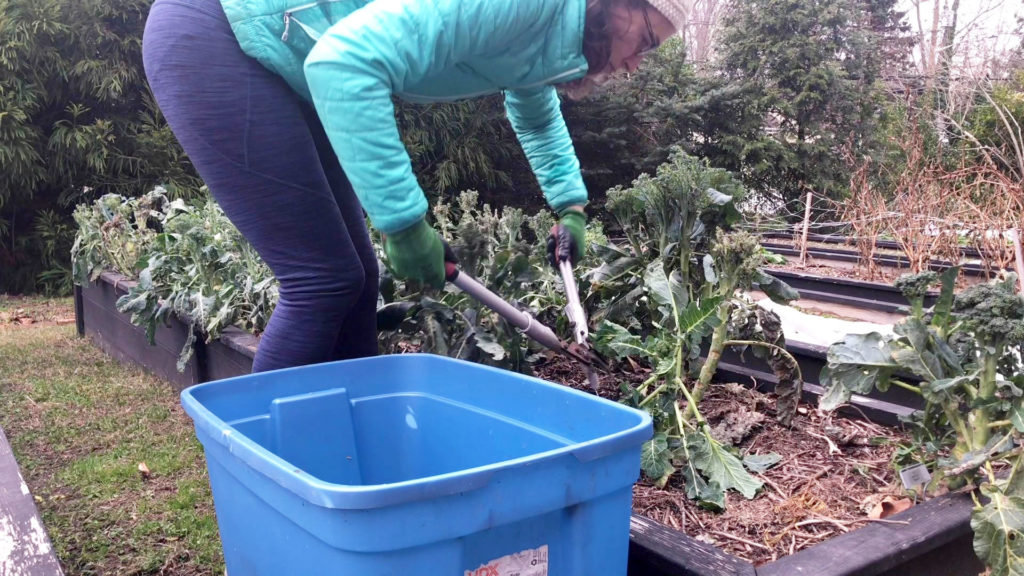
The cool thing is that I’ve already harvested the main broccoli head. These little guys these are actually side shoots and I’ve been picking at these all fall. So today, I’m going to be getting a whole bunch of side shoots plus a bonus of broccoli leaves. It’s actually should be quite the harvest and I should be able to fill up my freezer with tons of broccoli.
Broccoli leaves are great and tastes very similar to kale. If you’re interested in how to harvest broccoli leaves while keeping the plants alive, check out my broccoli leaf harvesting video.
Fall Kale Plants
This sad kale bed I planted this in spring, so it’s definitely should be coming out anyway. I briefly flirted with the idea of just leaning some old shower doors up against this fence and then protecting them that way, but honestly, there’s really not a lot of kale left. It seems kind of silly to just limp them along all winter. I could, but it’s not worth it.
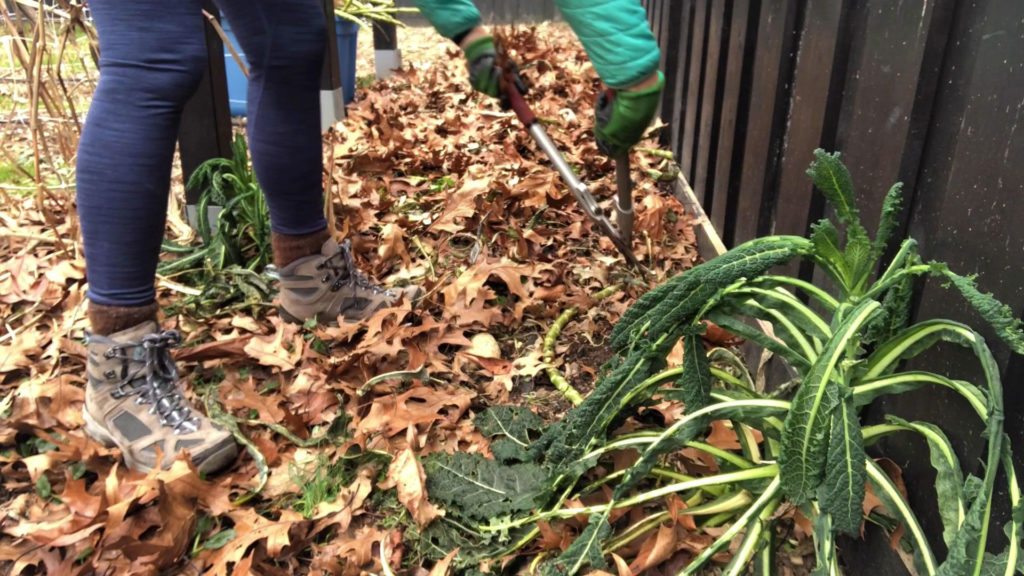
I’m going to take the same tack as I did with the broccoli and just clear-cut the suckers right at the base. Then, I’m going to throw them in a bin and deal with processing the leaves off of them later, because I just don’t have time to be sitting there and like pulling each little leaf off. I do not have time today.
What I love so much about kale is it’s durability. Even though it’s been well past freezing for quite a few weeks now, these are totally edible, not frozen. I’ve been eating well and it’s almost Christmas!
3. Cold Frames
The next order of business is getting my winter crops protected with cold frames. And in order to do that, I need to clean my raised beds out so I can actually fit the cold frames on top. I’m also getting rid of my old row covers.
Fall Transplanting
Earlier this fall I planted some radicchio in my perennial bed because I had actually run out of space in my raised beds. There is no way these guys are going to survive this snowfall here, so I’m going to transplant them and hopefully they’ll be able to recover under the cold frame.
Normally I would water transplants to settle the soil, but it is actually in the 20s today and I’m sure it’s only going to get colder and I don’t want the water to freeze. I think I’ll come out here tomorrow when it’s a little warmer (after there’s 18 inches of snow!) and maybe water them then once they’re under the cold frame and warm.
Raised Bed Cold Frames
The system that I used last year for my cold frames is actually made of raised bed corners that you can buy from Garden Supply. They don’t market them as cold frame corners, but I saw them and I thought these would work perfectly.
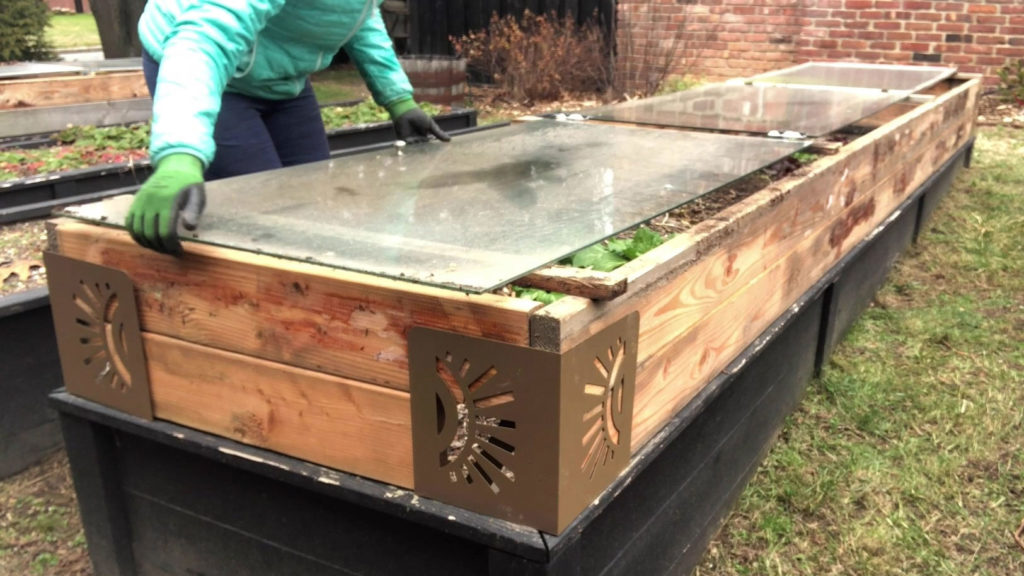
These corners hold 2x boards, so you can stack three 2x4s in here or two 2x6s. I think I did successfully do it with one 2×6 and one 2×4 and it looked good.
I’ll be stacking these on the corner of the beds and then I have some wood that I have already precut from last year, and I’m going to put the wood in there. The sheer weight of the wood just holds it together. I’ve never had any problems with collapse. Then I’m going to put some shower doors on top. Unfortunately, all the shower doors I have are a couple inches too skinny to fit the width of the bed, so my temporary solution is to put boards across the top to support them.
This is not my long-term cold frame solution, but for short-term, you know, when I got 18 inches of snow coming, this is going to work.
Giant Winter Spinach
My spinach bed I think I planted it in early October and there was no germination. I would say maybe 20 plants germinated. I’m going to still cover it. Maybe the extra warmth will get the extra seeds to germinate. And if they don’t, I’ll probably do some seed starting indoors and then plant out over the winter since this such a winter-hardy variety of spinach. I usually do this variety, called Giant Winter Spinach, for winter gardening and it just is phenomenal.
4. Cut Back (Deadhead) Perennials
At this point, it’s a little after 1pm. I’m not going to lie, I’m losing steam a little bit. It probably didn’t help that I just had a big bowl of nice, warm pasta, and now I just want to go take a nap.
The good news is we hopefully got a tiny little bit of a reprieve. I just checked the weather again and it said the snow is not going to start until 4pm now! So now we got three more hours.
Cut Back Peonies & Echinacea
One of the other things that you might want to do when you’re winterizing your garden is to cut back all of the herbaceous perennials. Right now, I just have my echinacea and some old peonies.
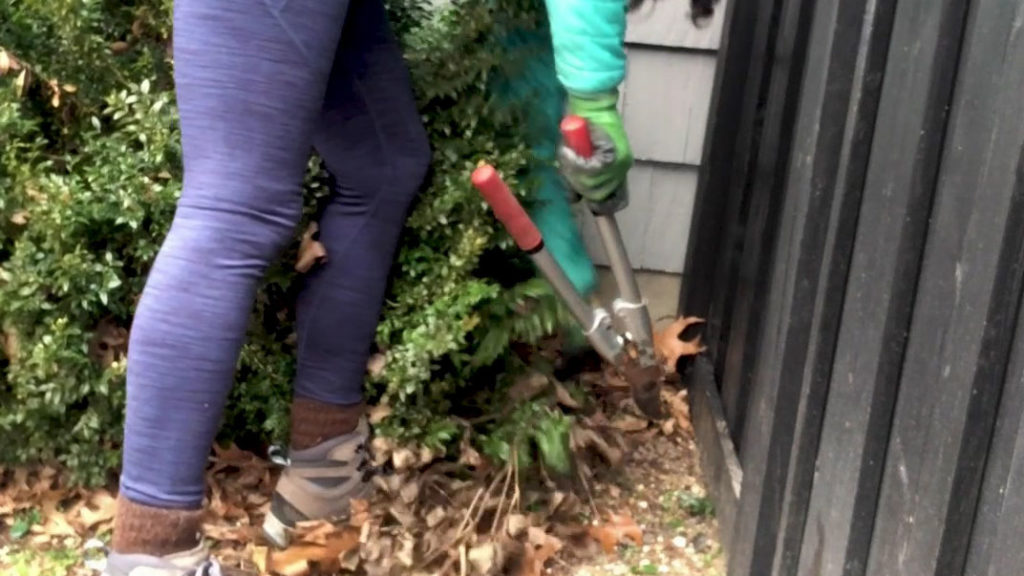
To deadhead a perennial simply cut the plant at the ground level with a pair of pruners or loppers.
Why Cut Back Perennials?
The main reason people cut back perennials is aesthetics, but if you don’t care about that, or if you’re just feeling lazy, definitely feel free to leave your perennials up all winter. They make great habitat for overwintering pollinators and echinacea in particular is a great food source for finches. Also, if you leave the flowers on the plants, echinacea will self-seed and spread the following year.
Another reason I cut back perennials is that leaving dead foliage can harbor disease. That’s why I’m cutting back the peonies. They get botrytis blight every year. If you think your perennial might be diseased, make sure not to put the clippings in your compost.
5. Amending Soil With Compost
Speaking of compost, that’s our next task!
My DIY Compost Sifter (Sieve)
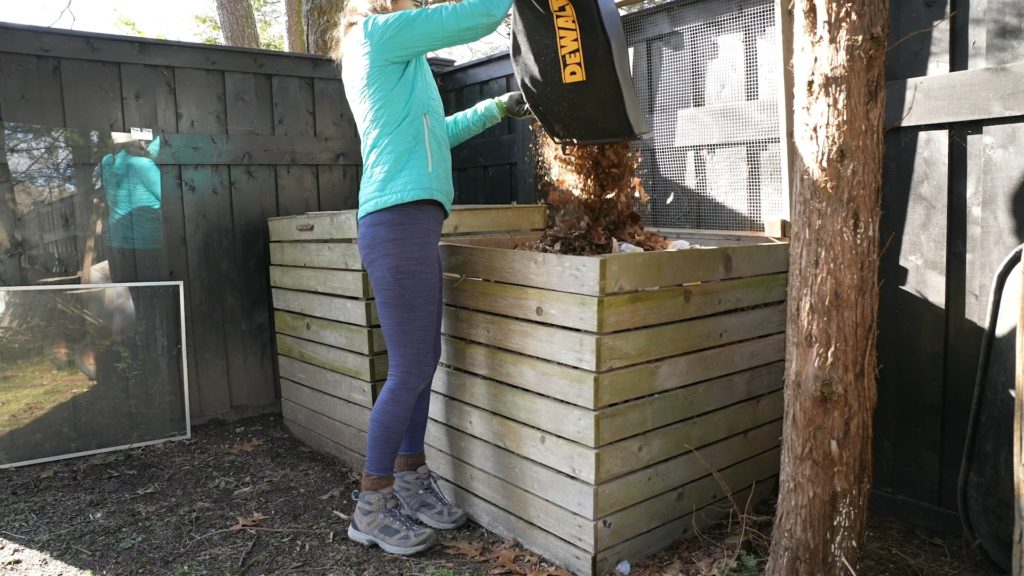
One of my favorite tools for making compost is my compost sifter I made to fit my wheelbarrow. Let me know in the comments below if you guys want a post on how I made that or my compost bin.
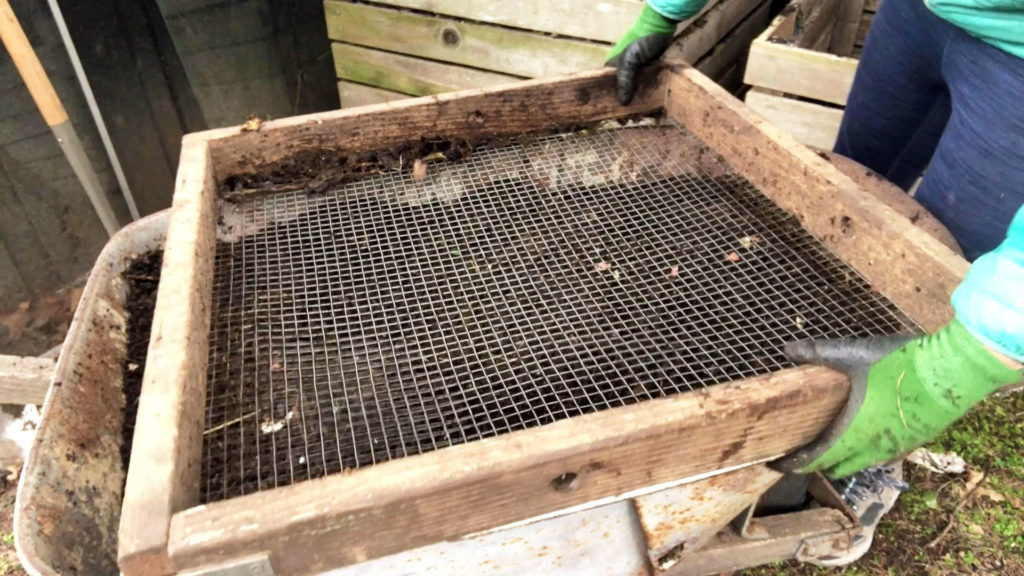
Today, because I’m a little short on time. I’m going to do the three beds most in need of amendment. To the broccoli bed we just harvested, I’m just going to add compost over top of the old leaves since they’re going to decompose anyway.
When To Add Compost To Your Garden
You can add finished compost or soil at any time, but the easiest is during fall or spring tilling. I like to add my layer in the fall. That way I empty out all my compost bins, which helps me make room for fall leaves and winter kitchen scraps. Then in the spring, I lightly fork the soil with a garden fork, aerating it and incorporating the compost then.
Top-Dressing With Compost
My fall planted potato bed where I planted the Superior and Dark Red Norland varieties has not been amended in quite some time, so I’m going to add some compost there too. And the bed with my strawberries also needs some compost love. I’m going to loosely top-dress these and try to shake the compost down to the soil level. We don’t want to smother them.
After that I had a little bit of compost left. I would say half a wheelbarrow. That’s not enough to do a full bed, so I think I’m just going to kind of spread it around the base of my perennials because I don’t think I’ve amended them in quite some time.
6. Woodchip Mulch For The Garden
You guys, I’m gonna die. Seriously, it’s almost 3pm at this point. I’m definitely not done because it’s not humanly possible!
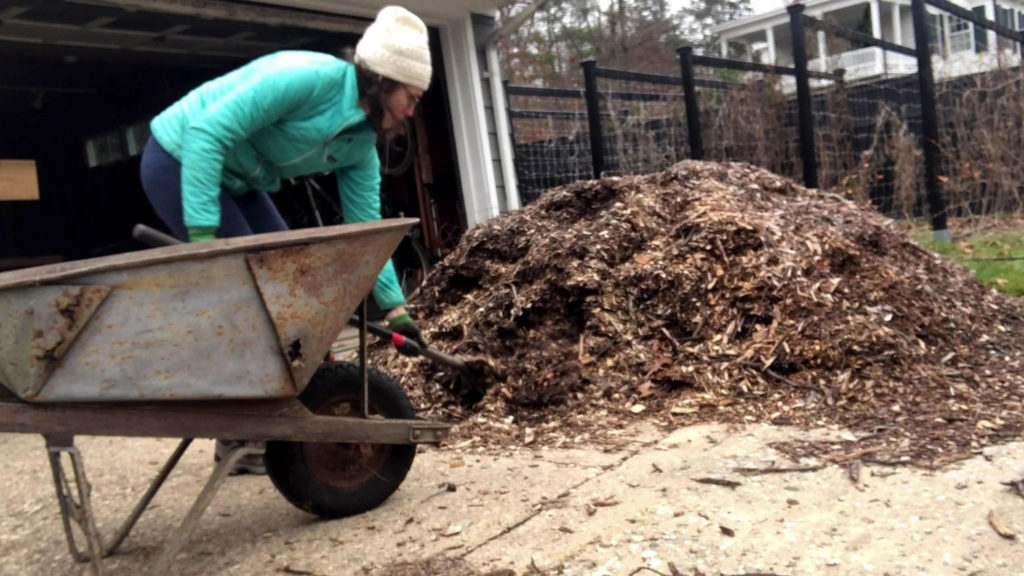
See this pile? This is going to be our next task. I went inside and I kind of got yelled at by the hubs for allowing this pile of woodchips to sit in our driveway for months. He is the snow shoveler in the house and he is very not enthused (nice word!) about having to shovel 18 inches of snow around the said pile of chips.
Mulching Potatoes
So the end goal is to put it on everything, however, the bed that I am probably most concerned with is my fall-planted potatoes. I just put the layer of compost on them, but adding the layer of woodchips will give them some extra winter insulation. If I do that, I think I’ll be happy with that.
Also, if he asks me if I got rid of some of the woodchips, I can say yes! Although the percentage that I’m going to get rid of is going to be very small. But, shhhh, we won’t tell him that.
Why Use Mulch In Your Garden?
Spreading mulch in the fall helps conserve moisture, fight soil erosion, prevent frost heaving, and insulates plants and their roots from freezing temperatures.
Best Mulch For Raised Beds
My favorite mulches are woodchips and shredded leaves since that’s what I have easy free access to. That is very specific to my woody region in the northeast of the United States, though. The best mulch is always free mulch, either homemade or delivered. Make sure it’s organic and natural and you are good to go.
7. Avoid Frozen Hoses & Irrigation Lines
Update on the weather, it has officially started snowing.
I still have my irrigation lines to deal with though. I store the lines in a re-purposed shop vac box and then, I have an old take out box where I put all of the landscape pins that hold down the hose.
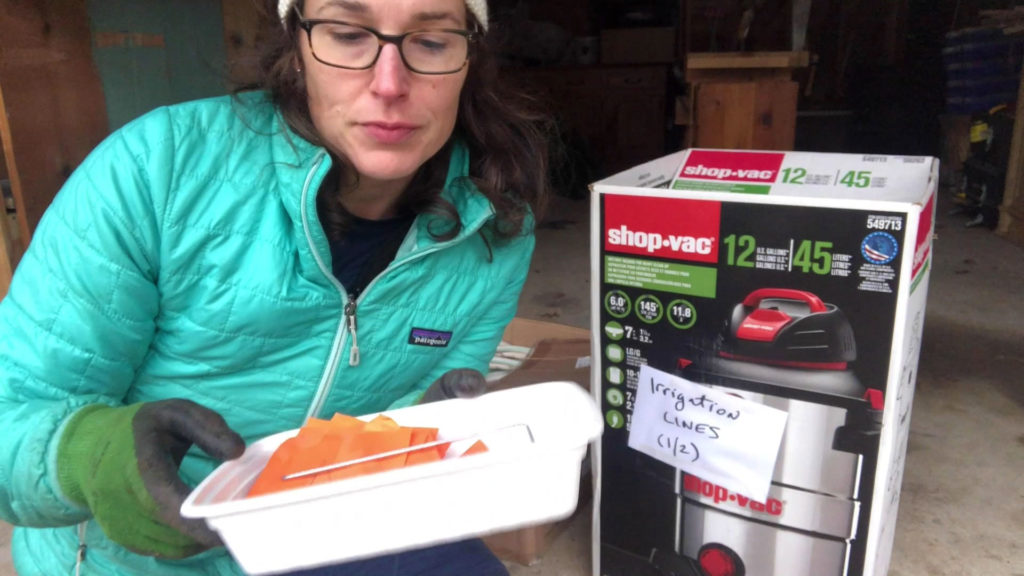
If you’ve watched my garden tour, you know that I’m a total nerd and I actually have numbers and letters for all of my beds because otherwise I wouldn’t be able to keep anything straight.
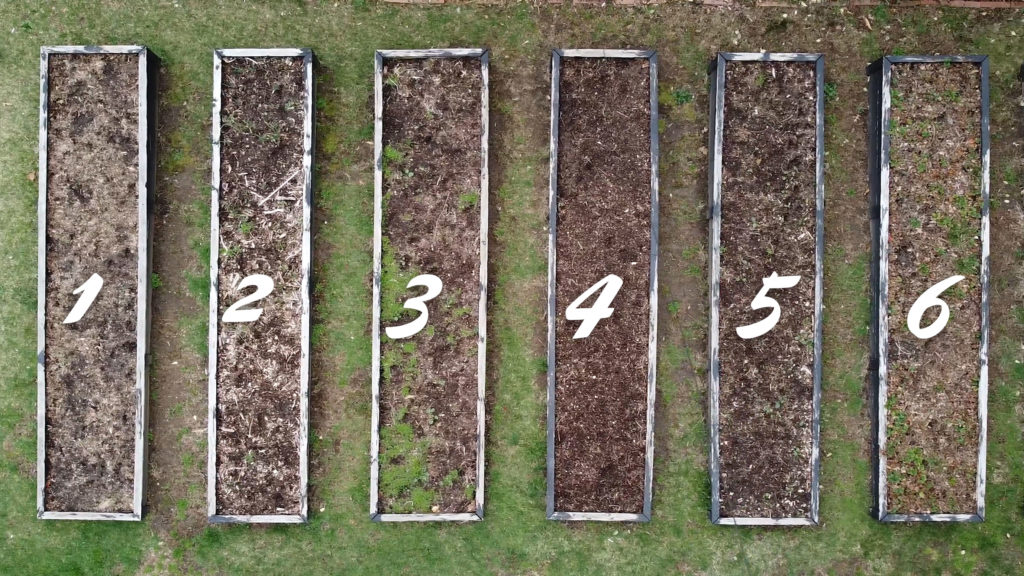
So last year when I put away my irrigation lines, I actually made all of these little labels like Bed A, Bed D, so this is going to help me keep it straight.
Normally when I put away the irrigation lines, I coil them all nice and I tie them up and I put the little label on it. But it is literally snowing right now. There is no way I can sit around and play with lines, coiling them up, so I’m going to just drag them into the workshop. I’m going to unhook them, obviously. And I’m going to try to drain them as much as humanly possible. I’ll just try and put these labels on top of the lines and hopefully everything won’t get messed up. Fingers crossed. There’s a lot of lines…
My Vegetable Garden Soaker Hose System
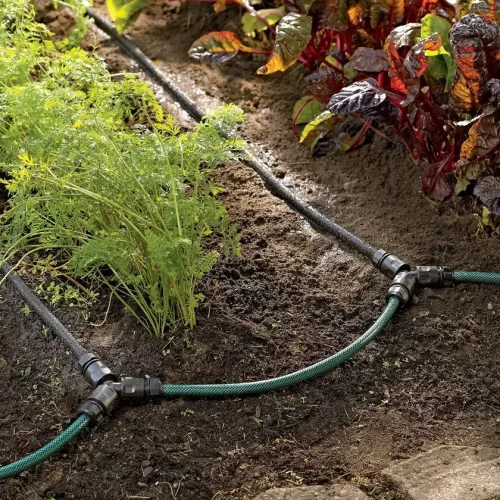
I use the Snip-N-Drip system from Garden Supply. It’s a very awesome custom system, but it’s also got a lot of pieces and they’re all different lengths and they’re all customized to my beds, so obviously I don’t want to lose track of which one goes to which bed. That would be very bad!
Let me know in the comments if you guys want me to do a post on the setup of my irrigation system. Although it does take a bit of time to set up and take down, as you can see, it’s definitely a net gain on time savings every year. It’s definitely worth it.
Regular Garden Hoses In Winter
Regular garden hoses like my Eley hose can be left outdoors if they’re drained, but it’s always a good idea to bring them indoors if you can.
Can Soaker Hoses Be Left Out In The Winter?
There’s mixed reviews about whether you can leave soaker hoses outside in place over the winter. Although it’s a pain in the butt, I ultimately decided to bring mine in every year because, number one, the Snip-N-Drip plastic connectors are not necessarily freeze proof, even if the hoses themselves might be. (And that’s a big might!) Number two, I’ll be extending the life of the system by bringing it indoors. And number three, the bed and the ground will be clear of hoses for spring amendments and tilling, which is really going to help out later.
And if you were not sure of the lesson you should be learning from this post, ladies and gentlemen, here it is.
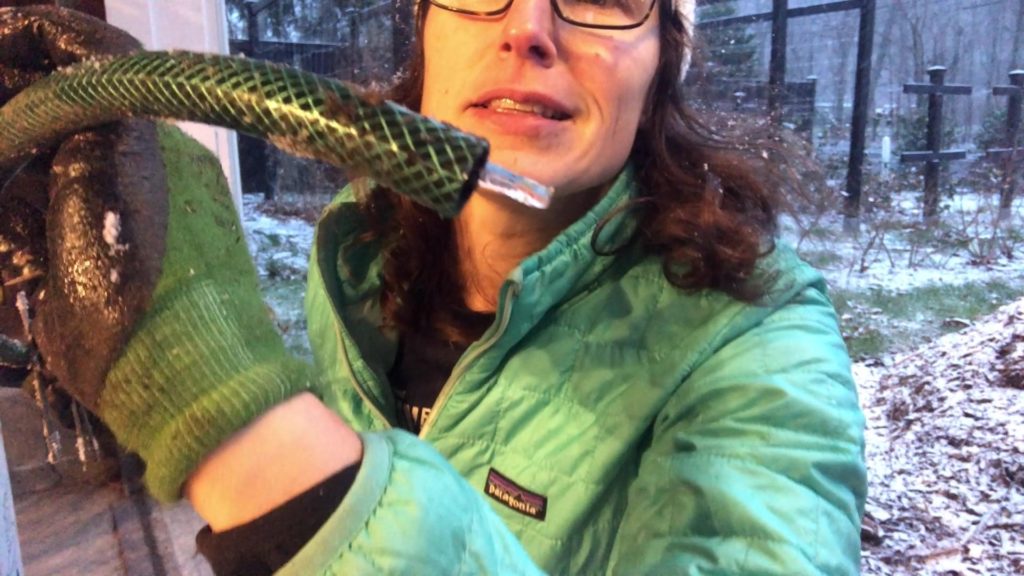
Don’t ever do this. Don’t pull up your irrigation lines in the snow. This isn’t good. I am here on the internet as a (bad!) example for you guys—so you don’t do this.
See this? That’s ice. I definitely should have brought these in earlier. It’s not a lot of ice. It’s almost all water coming out, but still, this is how you run your irrigation equipment.
8-9. Fall Mowing & Raking For Compost
There’s three more things that I would do as part of a garden winterization, three things that I did not get to today, unfortunately. I did leave these three things to the end, though, because I had a feeling that I wasn’t going to be able to get to everything.
So number one, I would have done one final mow with my lawnmower before the snow hit. You’re going to laugh at me, but I pay attention to the vegetable garden and I probably don’t mow the lawn as much as I should. Sometimes it gets a little scraggly and it was definitely in need of a mow today.
How To Mulch Leaves With A Mower
Mowing also helps my fall cleanup. Once all the leaves are on the ground, I do one final lawn mow and that gets the lawn nice and trim and it picks up probably 95% of the leaves in the mulching bag. Then I dump the leaf mulch into my compost bin, so two problems solved at once—my leaves are cleaned up and I got compost cooking for next year.
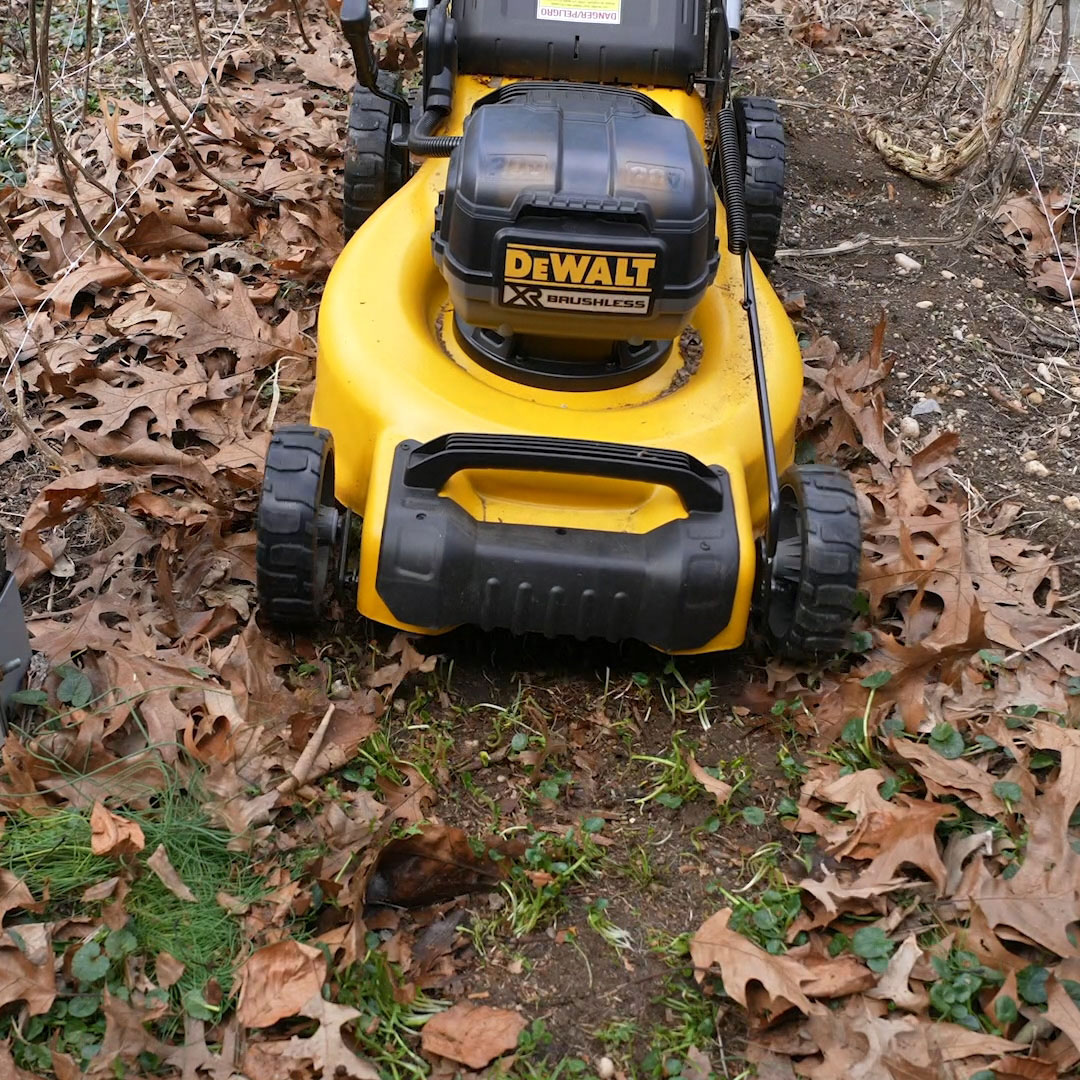
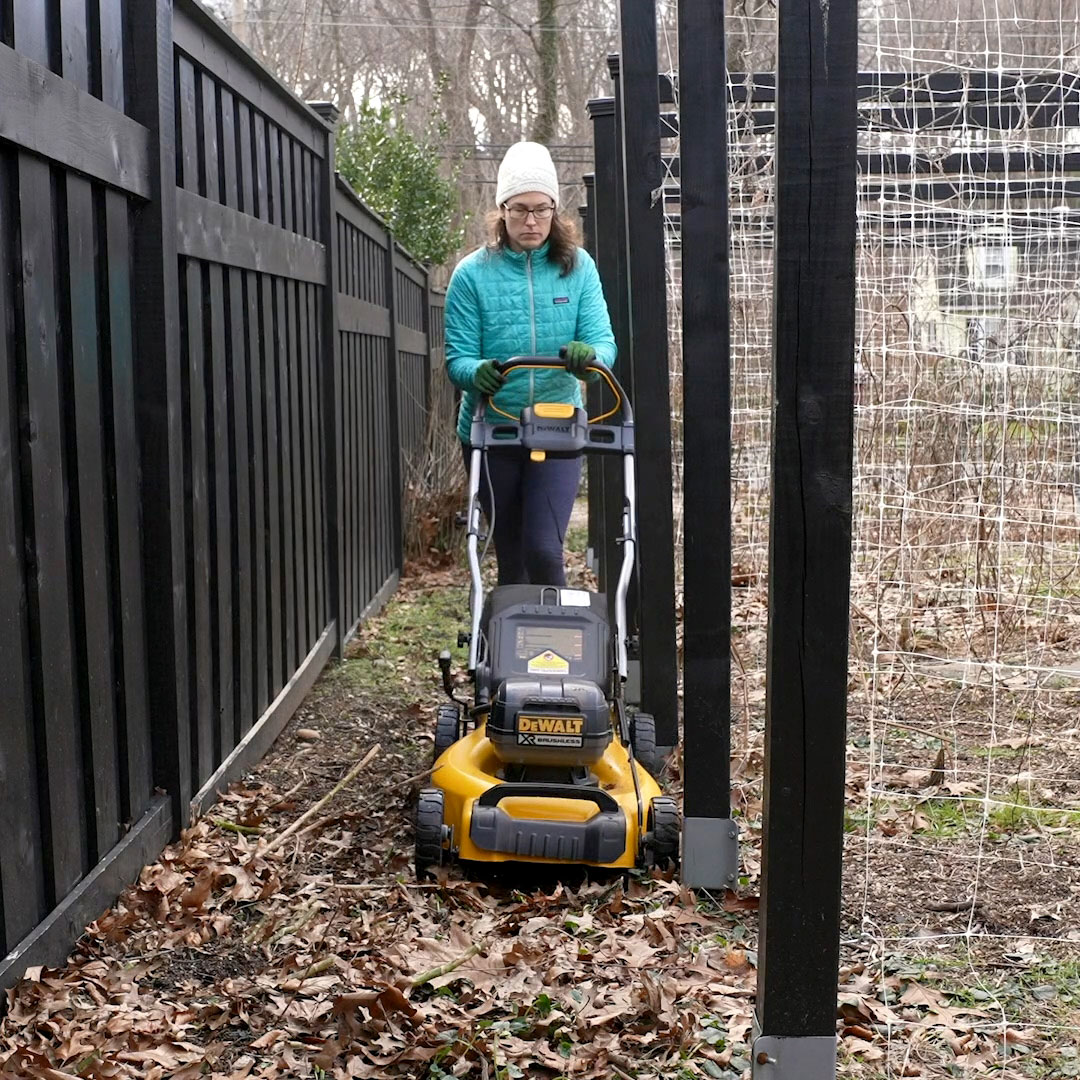
After that, I come through with my rake and tidy up, getting all the little bits of leaves that didn’t get picked up by the mulching bag.
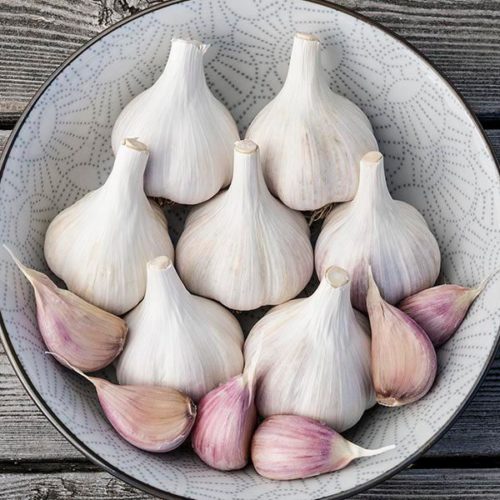
10. Fall Garlic Planting
I really, really, really was hoping to get my garlic planted today, but at some point in the middle of the day, it occurred to me that the bed that I was planning to plant the garlic in is that bed that I planted the radicchio in. It has a cold frame cover now. So, technically, I don’t need to worry about planting in a snow-covered bed since the snow isn’t gonna fall on it. Now that is not going to give me an excuse to be lazy!
When To Plant Garlic
My local farm here in zone 7A uses the U.S. Election Day (the Tuesday after the first Monday in November) as a marker for planting garlic. Pennsylvania State University recommend 3 weeks before your first frost. My first frost here is 7A is November 15, so that means I should have planted it October 25th. It is already mid-December as I’m doing this prep. I really should have planted the garlic a while ago. But what’s the worst that’s going to happen? I’m going to give it a try.
In Summary
Normally I do not do my winterization all in one day! I should have taken, the whole month of October and November and early December to do all this like a responsible gardener. But if you’re into speed gardening, it is possible. Apparently.
I hope this post helped you out. If it did, let me know in the comments. And if you have any questions or tips, leave those down below too. Be sure to subscribe for more garden tips and tutorials and if you know anybody who would love this video, definitely share it with them. Keep gardening Like a boss and I’ll see you guys soon.
Sources
- “Growing Garlic – Fall Planting,” Pennsylvania State University


Leave a Reply