With so many colors, sizes, and varieties, peppers are one of the trickiest vegetables to harvest at the right time. In fact, depending on the time of year, pepper, and flavor preference, there are as many as six different times you could harvest them! In this article, I’m going to share all six prime pepper picking times to help you decide when to harvest bell peppers, as well as tips on how to harvest and store them. Read to the end for a bonus recipe straight from my farm.
When To Pick Peppers
A delicious addition to a variety of meals (and delightful in their own right), bell peppers are a great choice for gardeners of all levels of experience. Although they are suitable to eat at any stage of growth, the flavor of peppers varies depending on when you choose to pick them. Here are the top times I reach for the pruners.
1. When They’re Damaged
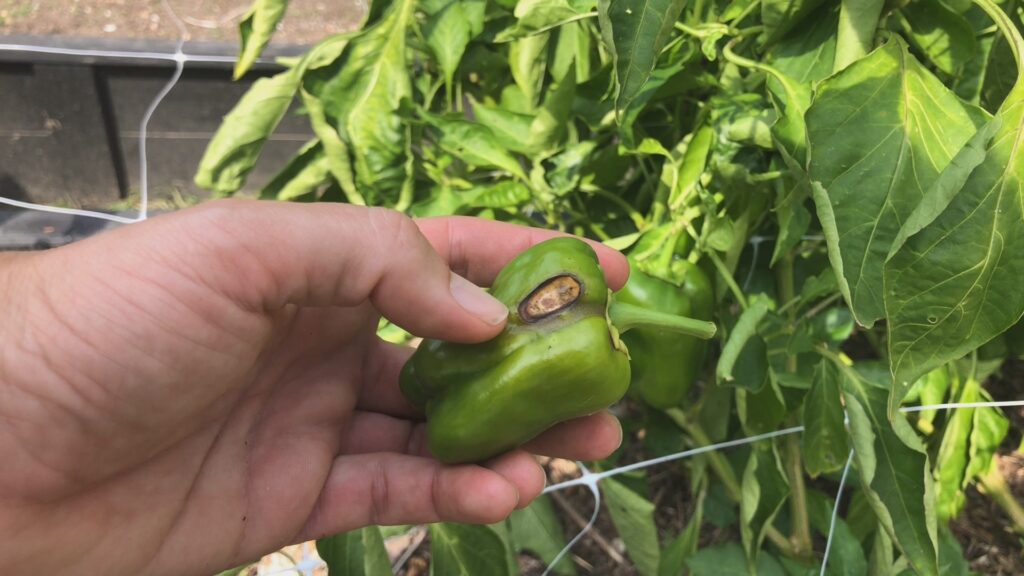
Occasionally, peppers can become damaged while still attached to the mother plant. I have had this happen from pest incursion, an accidental impact, and sometimes, it’s just a mystery. However, if you leave it on the plant, it will rot from the damage outward as time goes on, so use it or lose it!
2. When They Reach Your Preferred Size
Are you planning to slice your peppers to pack in a lunchbox? Are you stuffing them for a cozy dinner (see my recipe below!)? When it comes to deciding when to harvest peppers, size matters. If you plan to stuff, you’ll want your peppers on the larger side, but if you want some to snack on, smaller ones may be fine.
3. When They Reach the Right Color
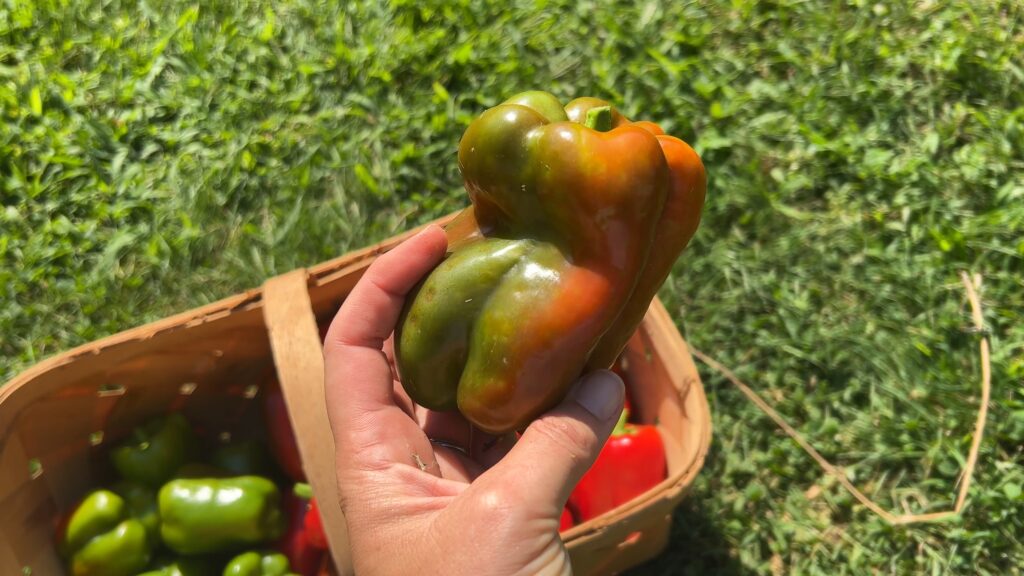
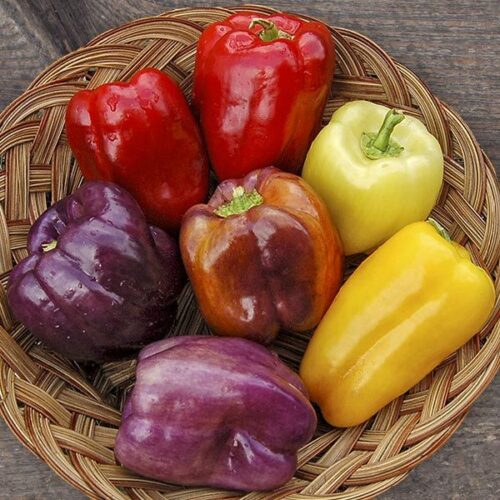
Many varieties of bell peppers change color as they mature, which indicates a sweeter result. A favorite here at ReSprout, the King of the North bell pepper from High Mowing Seeds, matures from green to red. “Stoplight pepper” varieties will also go through a yellow phase in between.
Read up on the variety you’ve chosen to plant to see if there is a magical color change (and more sweetness) awaiting you with time. Be sure to be familiar with your specific seed. Some varieties, such as the Iko Iko, may try to fool you, coming out with an array of colors early on—purple, yellow, lime green, orange and finally red!
4. Before The Frost
Where I live in Zone 4b, we have to be ready for a first frost by early October. If I don’t get my peppers harvested by this time, they will become frost damaged and even if I get them picked right after, they will not last long in storage. Keep an eye on frost dates for your area and make sure your peppers are safely stored before that time. Even if they’re tiny, if you know you’re in for a frost, pick everything in your garden.
5. By The “Days to Maturity”
Using the prescribed dates on your chosen variety’s seed packet is another way to determine when to pick peppers. Some peppers, like the Habanada from HMS, will have maturity dates listed for green peppers (75 days) and for orange (100 days), while other varieties may just have a single date. Our Garden Planning Spreadsheet can help you track this. Just enter the date you planted your seeds and a predicted harvest date will be calculated based on the days to maturity. Keep in mind that extreme climate conditions may affect this maturity date.
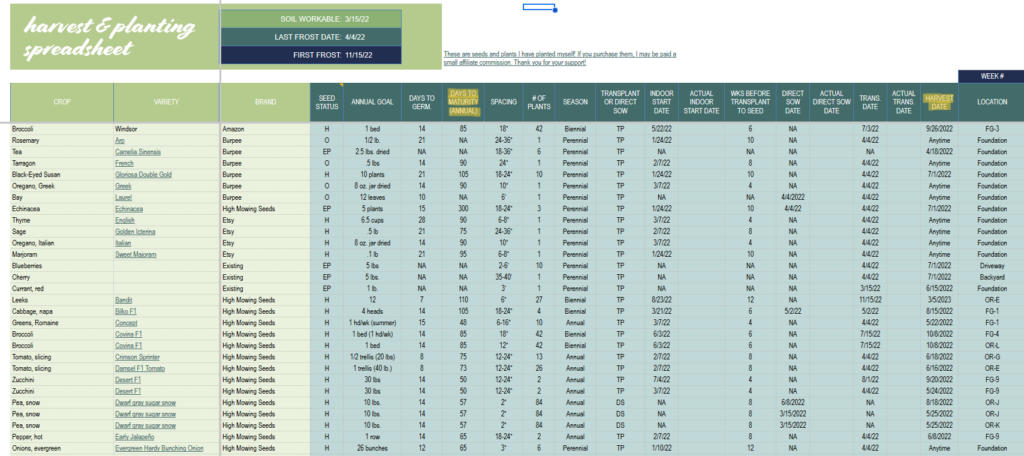
Our garden spreadsheet makes quick work of date calculations.
6. When It’s Time To Save Seeds
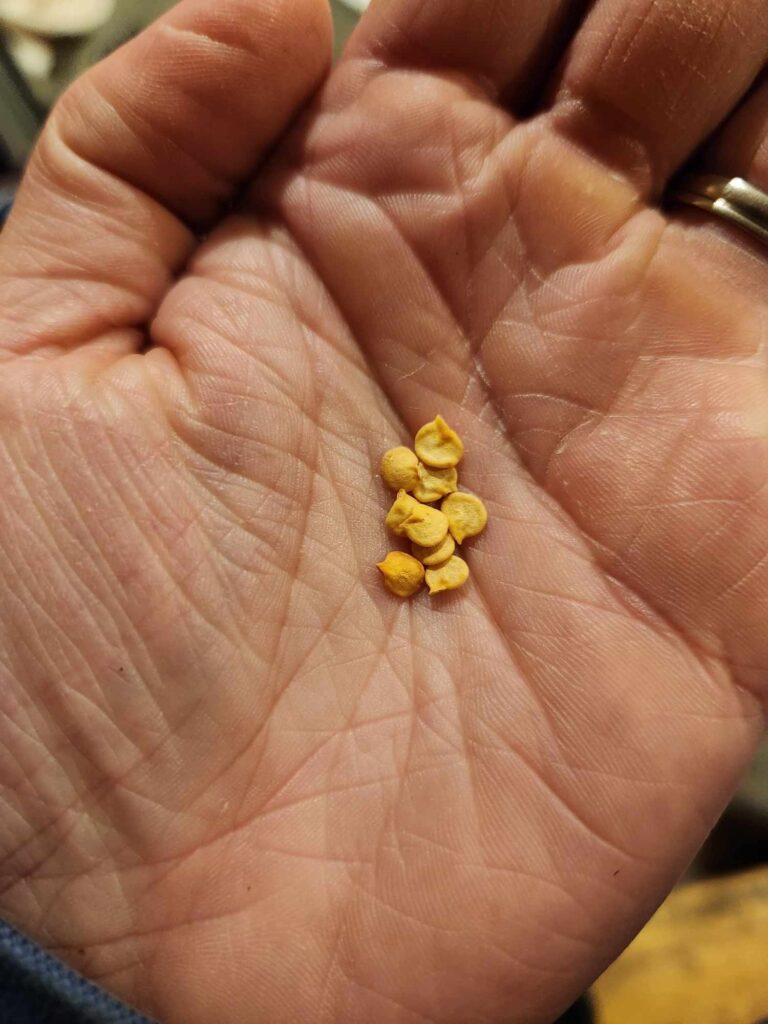
If you have a large pepper crop, you might have missed a few fruits during your harvests. While they might be a little overripe for eating, this is actually the perfect time to harvest peppers for seed!
I love the independence that saving my own pepper seeds gives me. If you are new to saving seeds, no worries, pepper seeds are one of the easiest to start with. First, make sure your chosen variety is not a hybrid. Otherwise, your next generation will not be true to form. Future germination rates are best with seeds that are saved from very ripe fruits. The pepper should be in full color and the flesh should be on the soft side, not firm like the crunch you may prefer for salad.
To save seeds, simply slice the bottom of the pepper and roll it over a clean, flat surface like a plate. Allow the seeds to fall as they may, then slice the pepper in half lengthwise and remove any stragglers.
Allow the seeds to dry, spreading them out in a single layer, if necessary, for 5-7 days in a well-ventilated area. I like to use a shelf in a closet with the door part way open. This keeps pets out, but still lets air move. Make sure your seeds are dry by breaking one in half—it should crack. If it doesn’t, let them dry some more.
Once dry, place the seeds in a jar, a reusable seed envelope, or heavy-duty plastic bag. Don’t forget to add a label indicating the date and variety and pop them into your favorite seed organizer. It’s ideal to store this container in the fridge, but if there is no room there, a cool, dry, dark place is fine.
When it’s time to put those babies in the ground, make sure you download our free PDF Planting Guide for info on spacing, depth, days to maturity, germination and more.
How to Harvest Peppers
Regardless of when you decide to pick your peppers, it is important that you harvest at the right time of day. Morning is ideal, but make sure the fruit has had time to dry from the dew first. Excess moisture can cause rotting issues in storage. Avoid rainy days and allow 24 hours after rains to give the peppers time to dry. This will ensure the crispiest, juiciest peppers that will still store well.
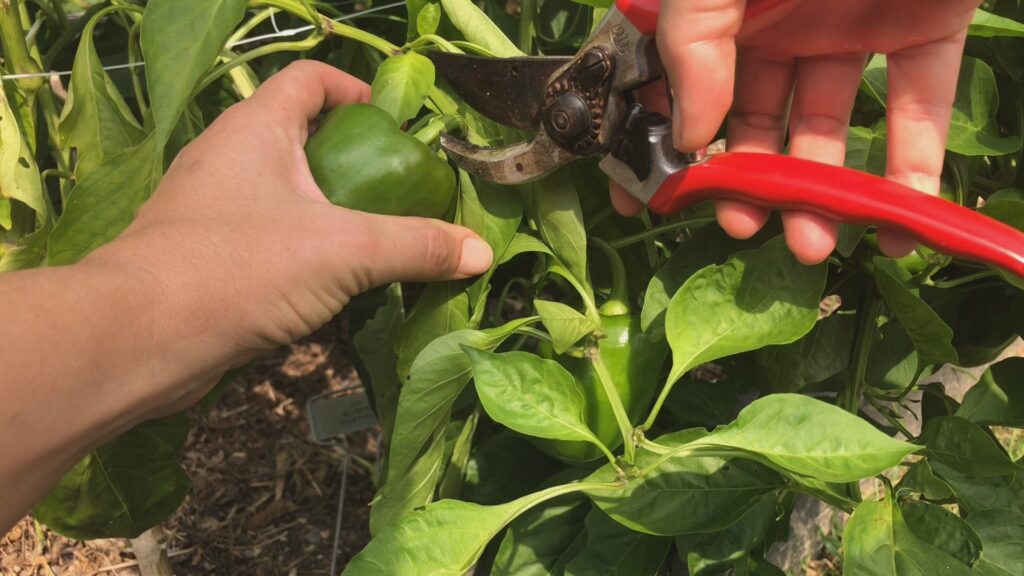
Don’t pull your peppers off the plant—ask me how I know this! (I may have accidentally uprooted an entire plant once by trying to do this.) Use a set of pruning shears to cut the stem cleanly from the plant.
How to Store Peppers
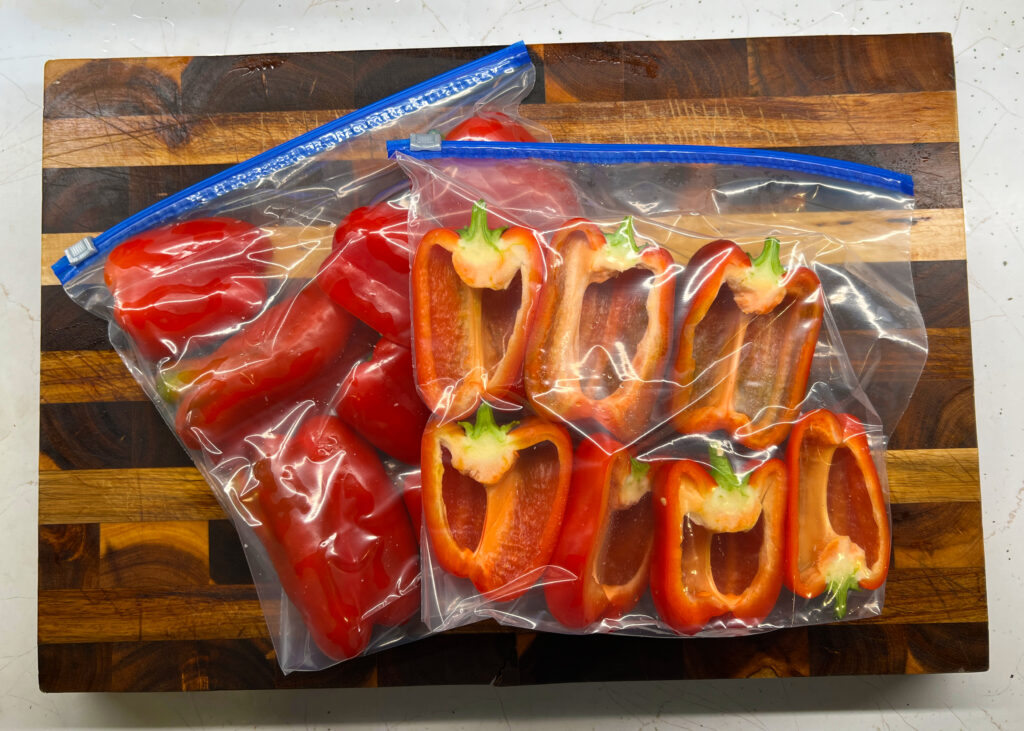
Wash and dry your peppers and store them loose in the refrigerator or in a mesh or cloth bag. For long term storage, peppers can be sliced and frozen or dehydrated. They can also be pickled.
What’s your favorite way to use preserved peppers? Let me know in the comment section.
Enjoying Your Peppers
There are so many ways to enjoy bell peppers, whether you choose to do so at the green or sweeter stages. Raw peppers are delicious for snacking and salads, they pair wonderfully with onions in so many dishes, and can even be the star of the show in recipes such as this one for stuffed peppers.
Cheesesteak Stuffed Peppers
Ingredients
- 1 lb. steak of choice, sliced into bite sized strips (my family raises our own beef and I use minute steaks for this recipe. Top sirloin or marinated round steak would work great too!)
- 4 bell peppers, tops removed, insides emptied of seeds.
- ½ medium onion, sliced
- 3 cloves garlic, minced
- Shredded cheese to taste (I use a 4-cheese blend)
- 1 tsp. Italian Seasoning (you can also use fresh or dried basil, oregano, and parsley from your garden)
- 1 T. olive oil
Directions
- Place the olive oil in a skillet.
- Add the steak and seasoning and cook on medium heat until steak is almost done to your liking.
- Add the onion slices and garlic and cook for about 3 minutes.
- Grease a 8×8 baking dish and place your peppers inside so that they are standing up. (If you have big peppers you may need a larger dish.)
- Stir shredded cheese to your liking into the steak mixture.
- Scoop the mixture into the waiting peppers.
- Add a little more cheese to the top.
- Place in the oven at 325ºF (165ºC) and bake for about 30 minutes or until peppers are tender.
Variations
- Broil for the last 5 minutes to give the tops a bit of a crunch.
- To cut down on waste, slice the usable flesh from around the stem of the pepper and add to the skillet when you cook the onion.
- Add mushrooms.
What is your favorite way to eat bell peppers? Let us all know in the comments below!
And don’t forget to subscribe to the ReSprout YouTube channel or check out the blog for more harvesting tips on crops like garlic scapes and coriander.
Sources
- Saving Vegetable Seeds, University of Minnesota Extension
- Saving Pepper Seeds, University of California Davis
- Peppers & Eggplant, Colorado State University


Leave a Reply