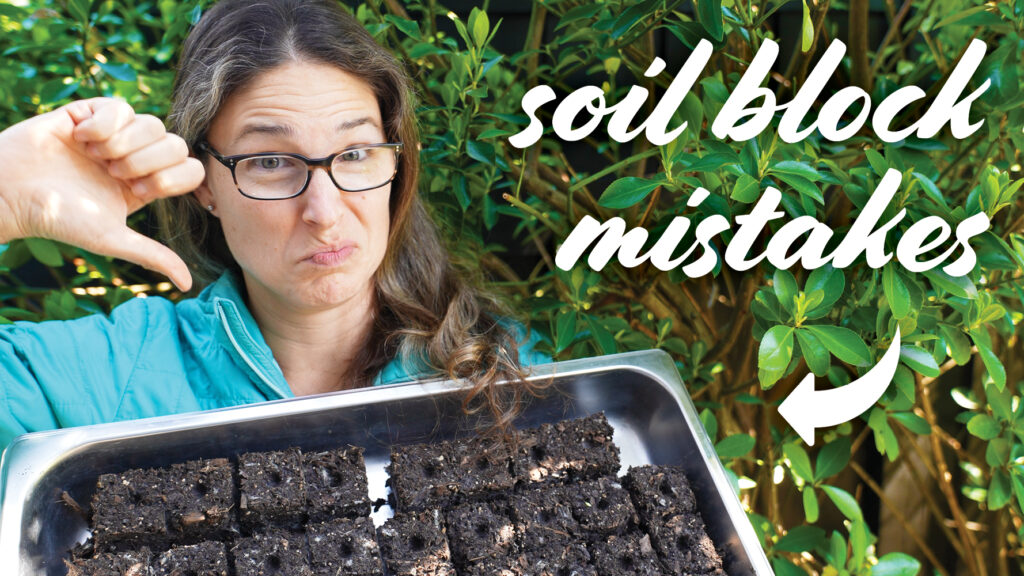
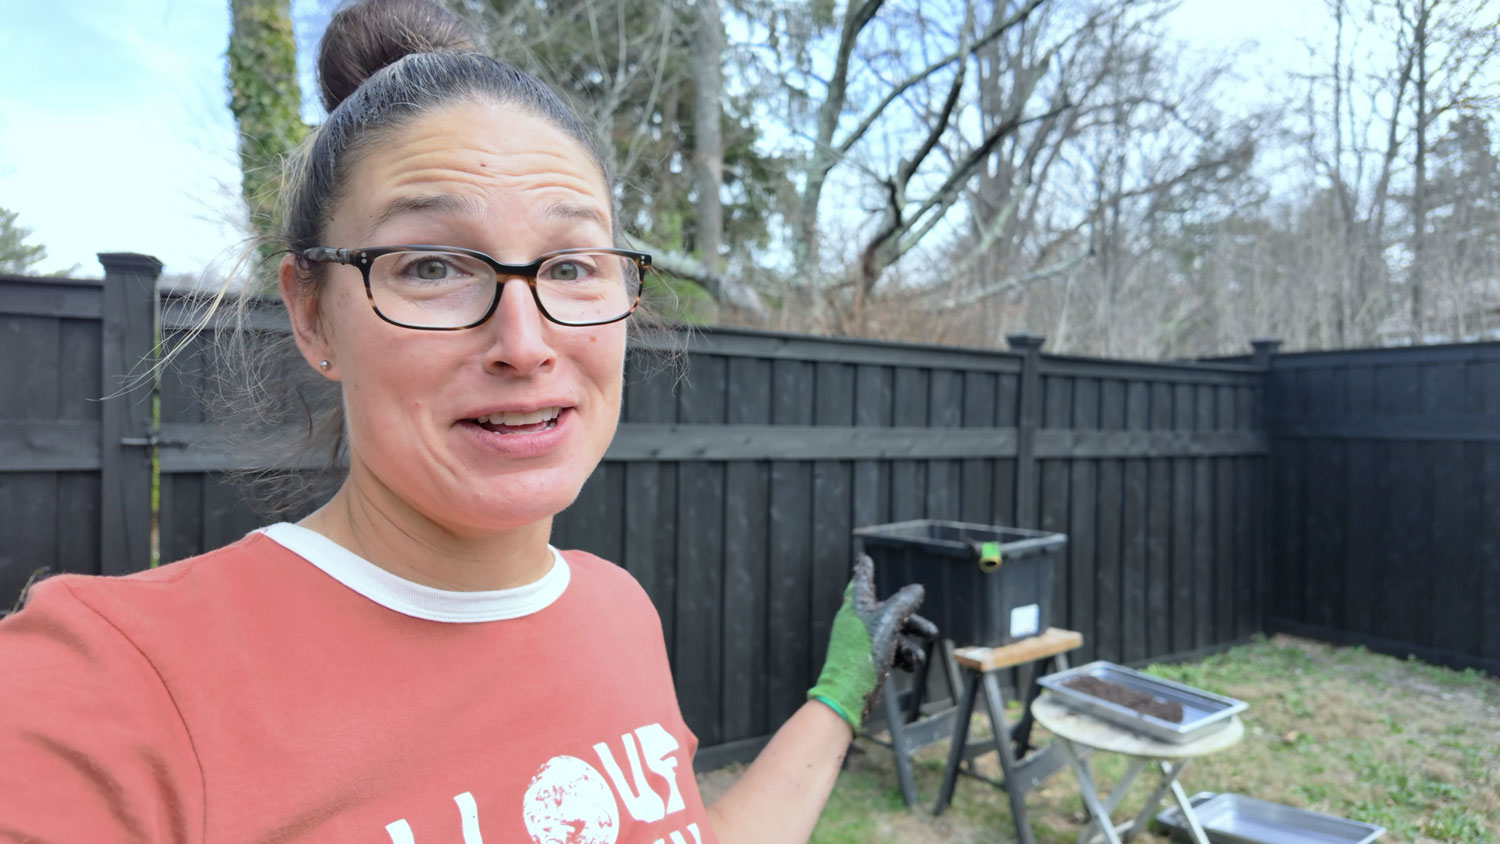
Are you ready for plastic-free seed starting that’s better for the plants, the pocketbook, and the planet? You need soil blocking, and it’s easier than everyone thinks. I’m gonna show you all the mistakes I made when I first started, so you can skip that part!
Mistake 1: Wrong Size
The first mistake isn’t necessarily a mistake, but something that may cause some frustration down the line, which is not how we want our soil blocking journey to go—and that is choosing the wrong soil blocker size.
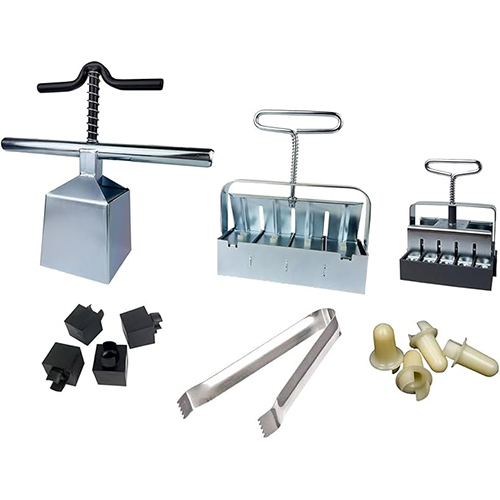
There’s a lot of brands out there, but for the most part you’ll see two inch blocks, ¾ inch blocks, and four inch blocks. The tiny ones are good if you need to start a lot of seeds or if you don’t have a lot of space for germination.

The biggest drawback is you have to transfer them to the bigger sizes. This process is called “potting up”. You’ll have to do that pretty soon after they germinate or you’ll stunt their growth. The big one is good for plants with extensive root systems that need to be indoors for a while, like tomatoes or zucchini. These take up a lot of room if you plan to start hundreds of tomato plants like I do every year.
The two inch soil blocker is the one I use for everything. I don’t need to pot anything up except for the tomatoes, which, I’ll be honest, I usually let outgrow their block a little and then just plant them outside.
Mistake 2: No Dibblers
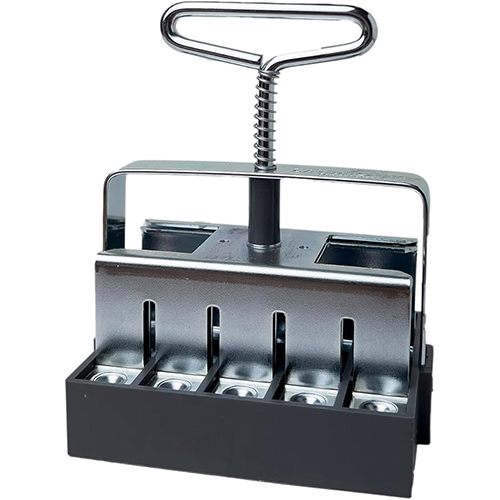
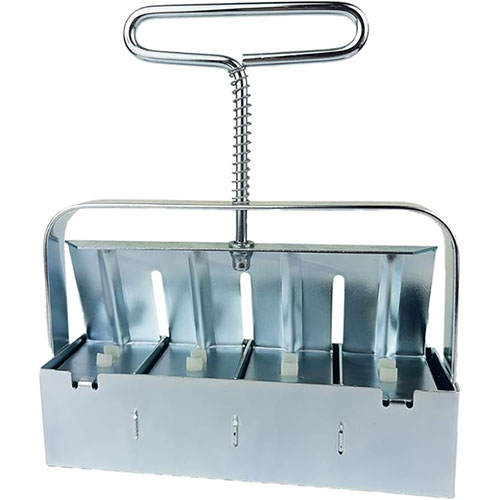
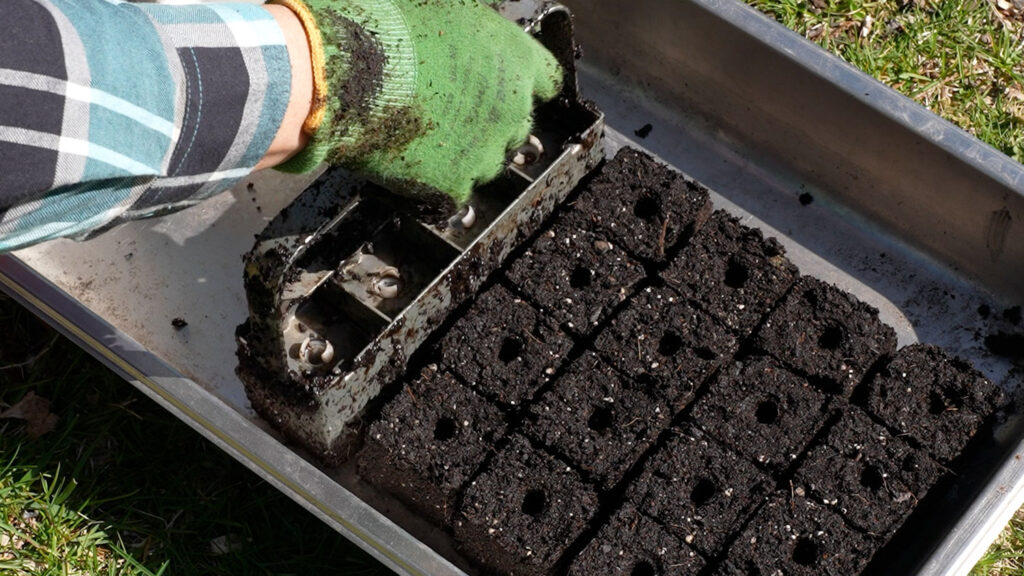
Another issue is not choosing a soil blocker with dibblers. Those are the little inserts that make the seed hole for you. Let me tell you, this seems like a minor inconvenience to make seed holes, but when you’re looking at trays and trays of soil blocks, you’ll be very thankful that they already all have holes!
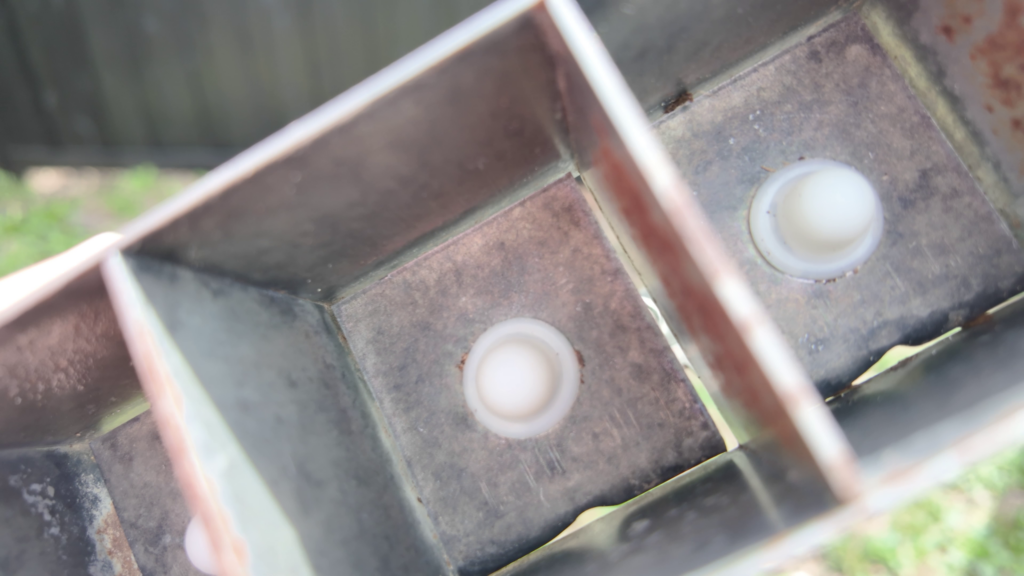
If you do make your own holes, be careful, because if you press too hard you could split the block into pieces.
Another tip, if you know you’ll be potting up smaller blocks into larger ones, look for soil blocker sets. Ladbrooke, for instance, makes a 3pc. soil blocker set where the smaller soil blocks can go inside the holes on the larger ones. That really makes potting up easy, if that’s the route you go.
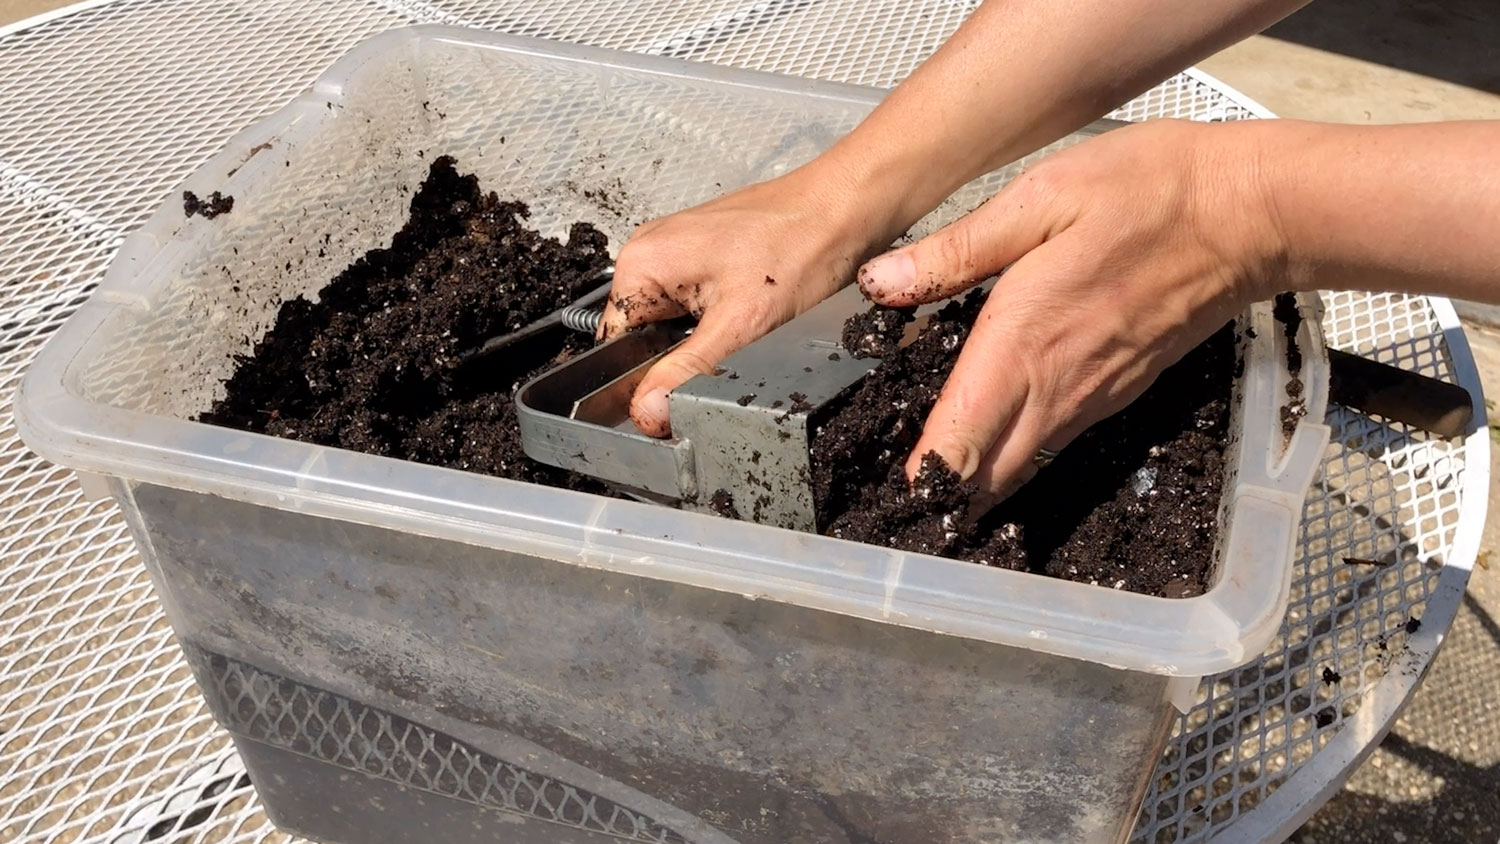
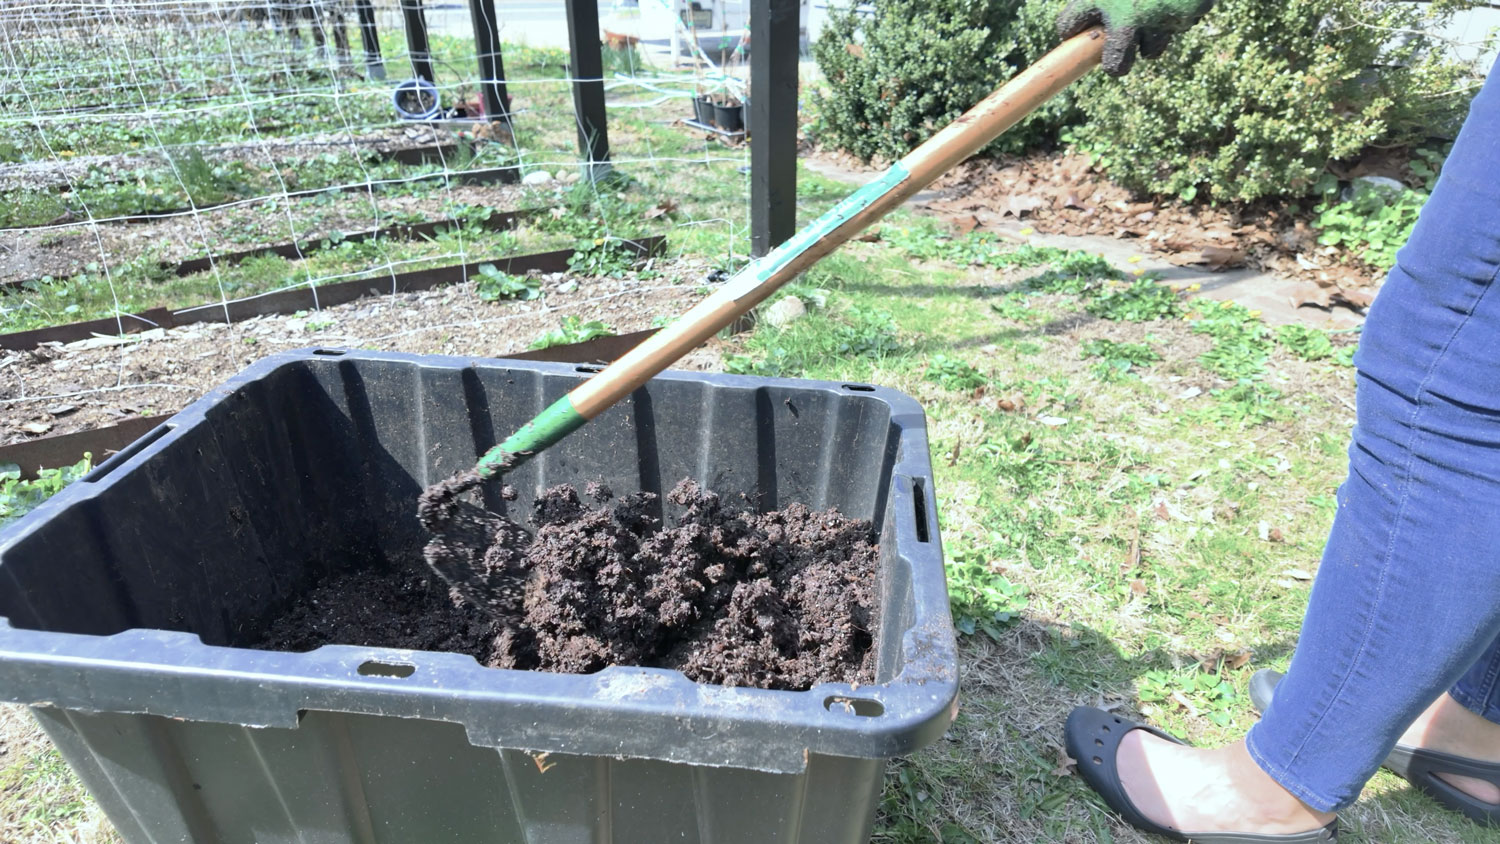
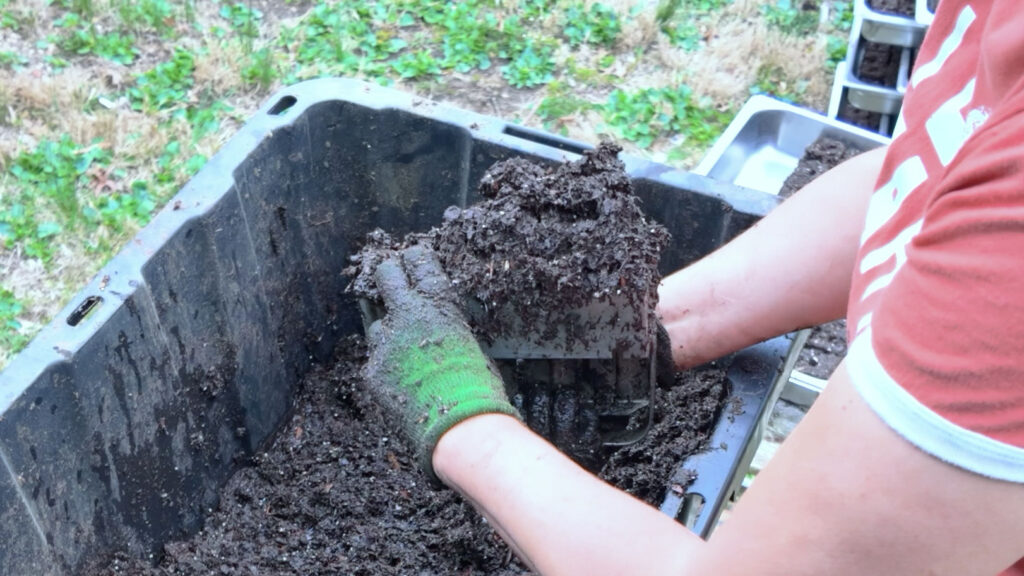
Mistake 3: Wrong Soil Mixing Container
Having the wrong container when you’re mixing your soil is going to make this an arduous process. Besides being waterproof, you’ll want something with flat and high sides. The flat sides will help with packing and scraping the soil blocker. The high sides will help with scooping, and will allow you to mix a decent amount of soil at a time so you don’t have to stop too often.
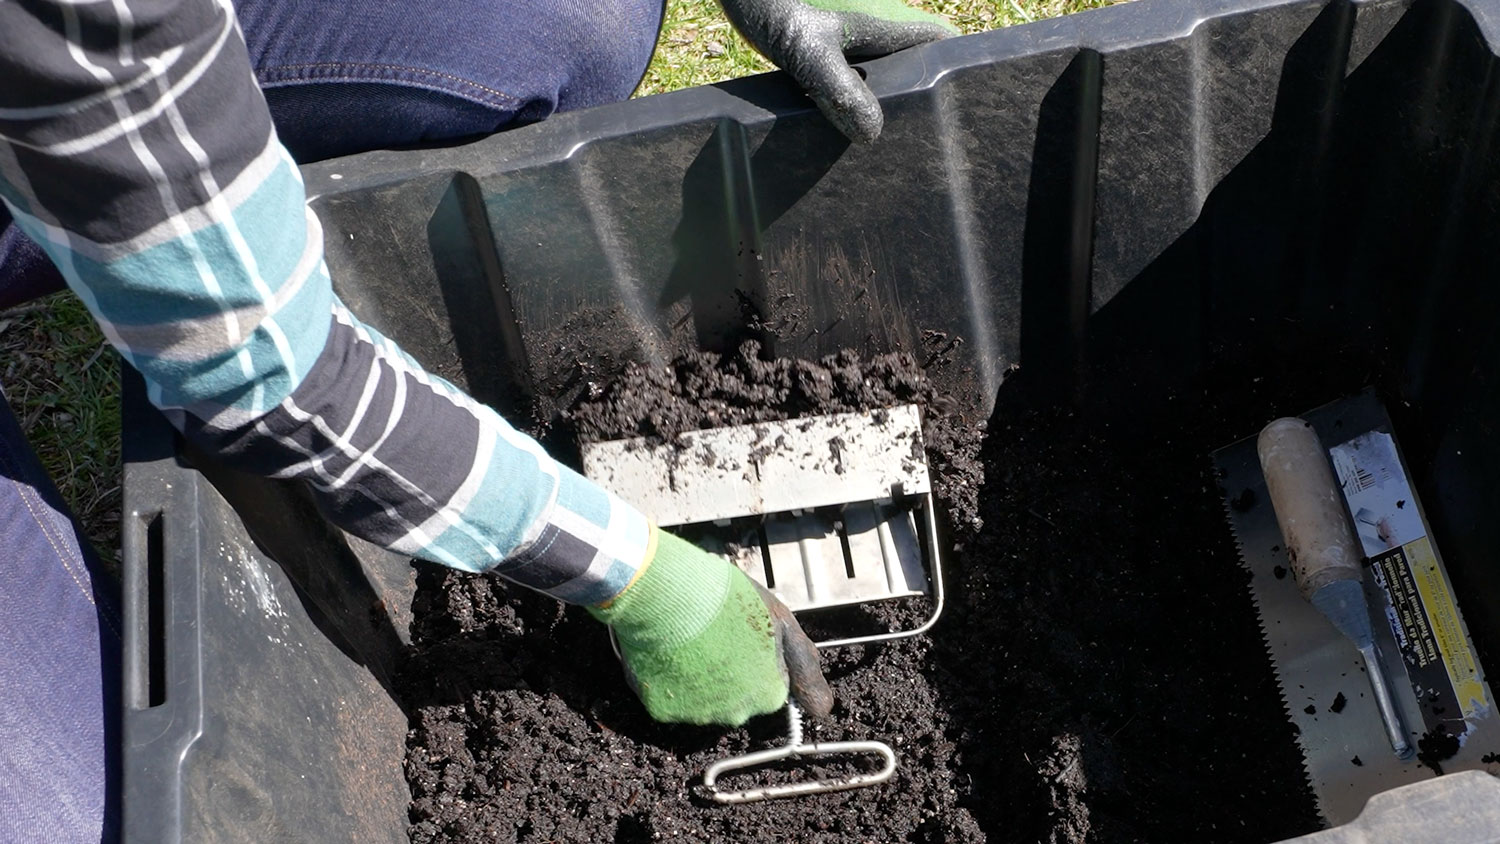
I used to use a tiny plastic storage box, but finally upgraded to what I truly believe to be the most useful garden tool ever, a large plastic storage bin.
They do make stand-up soil blockers where the soil is meant to be stored directly on a flat surface, like a concrete floor. I’m super intrigued by these because they can make a lot more soil blocks in one go, but it only takes me a few hours to make all my blocks for the whole season, so I’m not sure I’m ready to upgrade yet.

Mistake 4: Wrong Soil
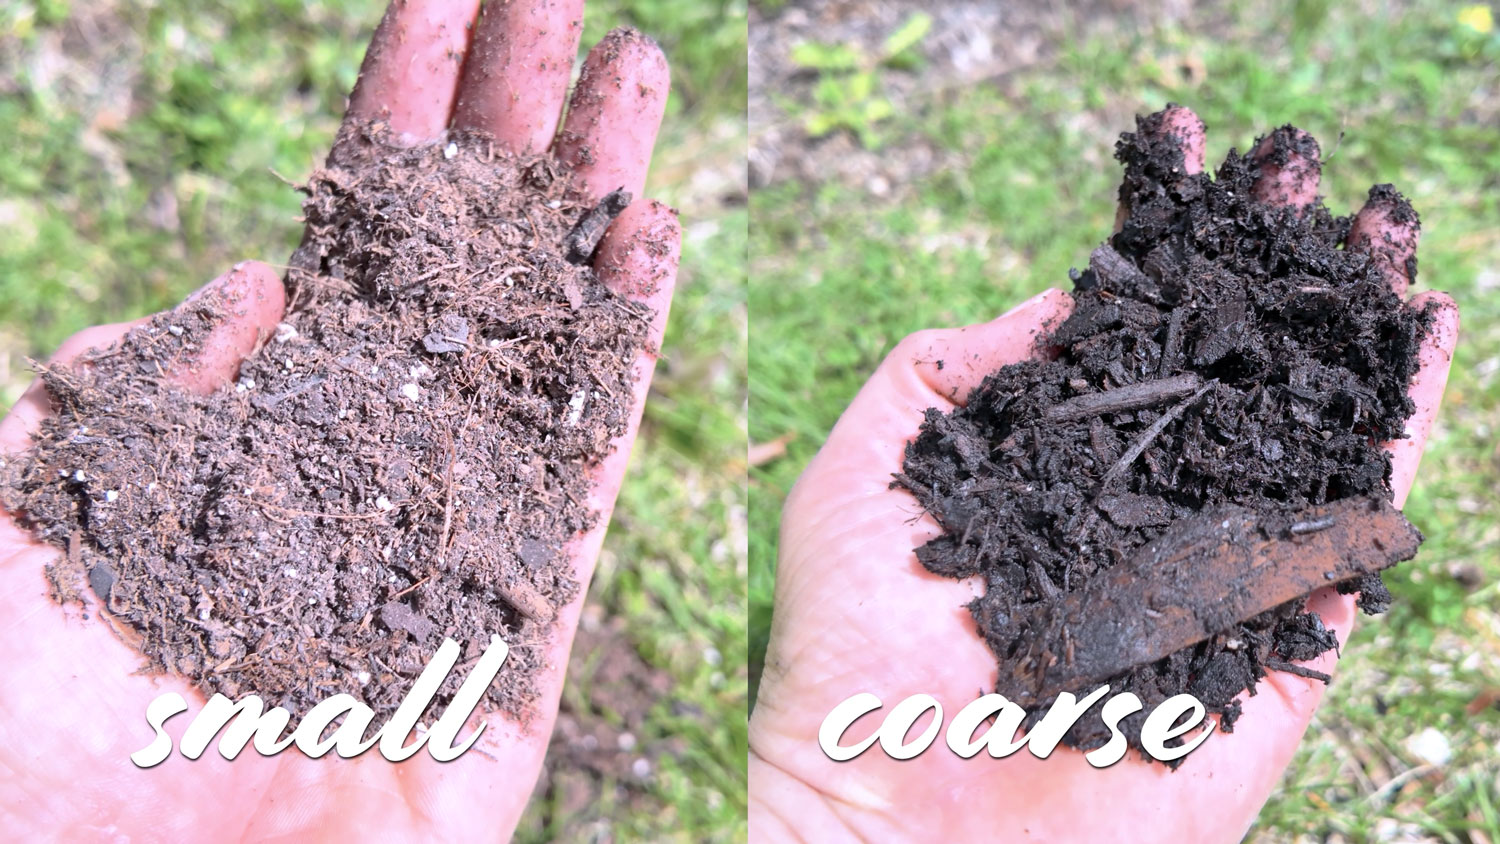
One potential big mistake and probably the most confusing thing about soil blocks is what soil to use. There’s a lot of recipes and people out there trying to freak you out about what is and what is not a good soil mix. But, you can boil it all down to two things: a good soil blocking mixture is fine-grained and absorbs and holds water. That’s it!
You can use a whole combination of things like compost, peat moss, coconut fiber, vermiculite, perlite, and more. You can also buy an off-shelf starting mix, though I’ve had mixed results with those.
A lot of people say you can’t use potting soil, but that’s what I use. So, no fancy mixing required, just try to use a brand that has smaller particle sizes. I use Nature’s Care potting soil from Miracle Gro, which you can get at your local big box store. That being said, coarser potting soil will still work, it will just be a little tougher to get soil contact with the seed.
Mistake 5: No Fertilizer
Another big mistake is not using fertilizer of some kind. Seeds are amazing little packages, with everything they need to germinate, but experts agree that while they’re still young, they could use a little help from us in the form of fertilizer. If the mix you’re using already has fertilizer in it, you’re good to go!
If your mix is lacking fertilizer, you can mix a powdered or granular fertilizer in your soil before you make the soil blocks.
Or, you can add fertilizer after by adding it to your watering solution. Just make sure your fertilizer isn’t too smelly for indoor use—there are some real stinkers out there!
Mistake 6: No Gloves
Another thing I would definitely avoid is not using gloves. The reason why is because these soil blockers are not the smoothest of tools. Even if they were, if, like me, you’re making a lot of blocks in one go, and if, like me, you have baby hands, you are definitely opening yourself up to blisters.
You’ll also be using your hands to do a lot of soil packing, so they’re going to get super dirty. When I’m starting seeds in winter, I will even put a pair of latex gloves underneath my garden gloves, just so my fingers don’t freeze from contact with all that water for an extended period of time.
Mistake 7: Dry Soil
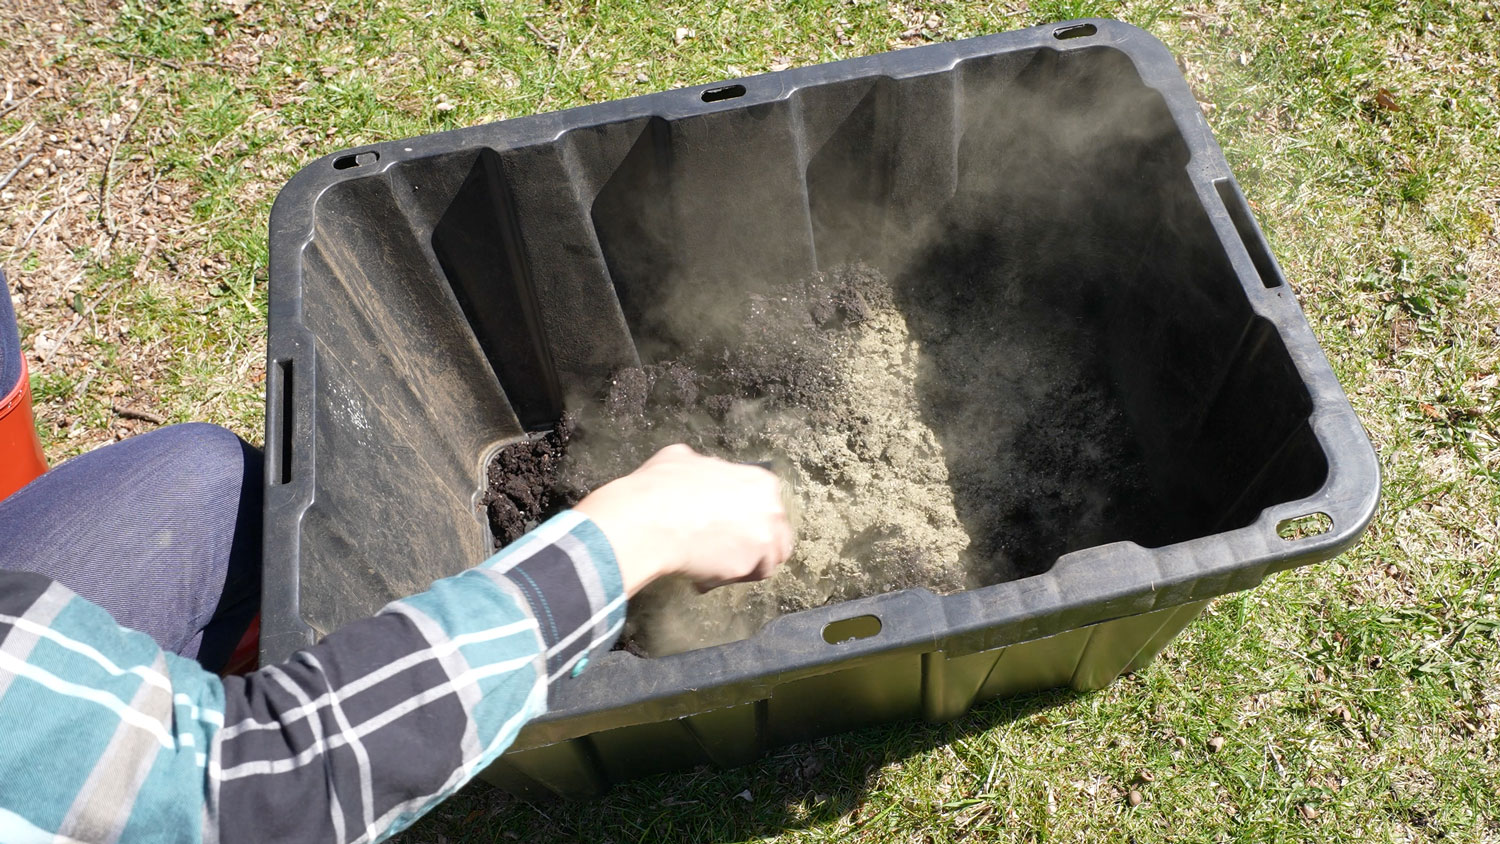
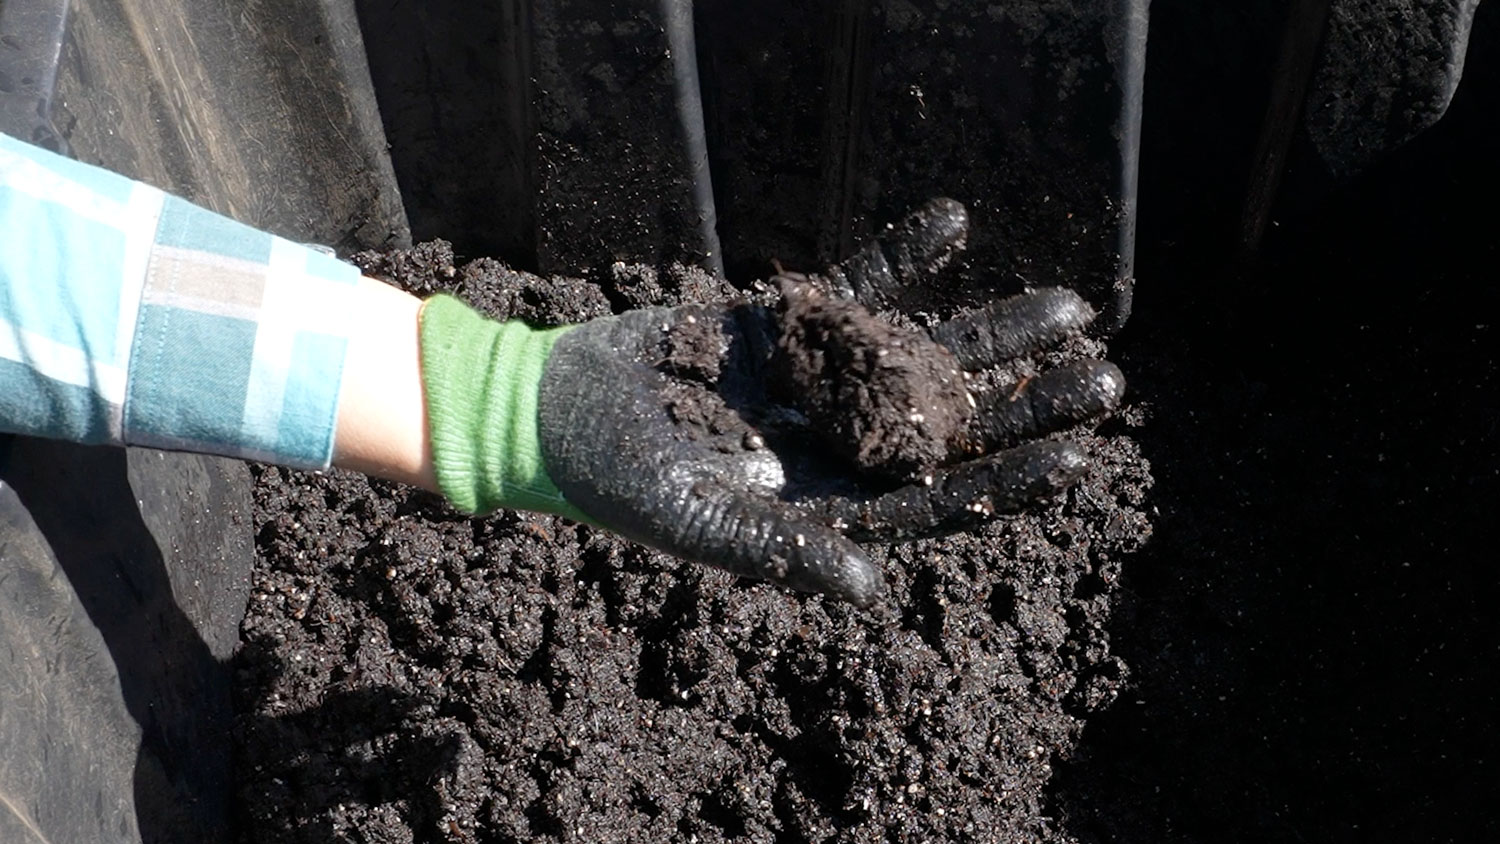
Another big mistake is letting the soil be too dry. Water is the magic binder that holds it all together! The wetter it is and the tiger you pack it, the smoother the block is going to be. You have to add a lot more water to your soil than you think to get it to the proper wetness. You’ll know you have the right consistency when you can pick up a clump of soil, squeeze it, and water runs out between your fingers.
Mistake 8: Wet Soil
However, too wet isn’t a good thing either! If it’s so sloppy and muddy it won’t stay in the soil blocker, or the soil blocks pancake in the tray, you’ve gone too far. In this case, add more soil. I always hold back a portion of my soil mix for this reason. If you’ve already mixed all of your soil in your bin…you’re gonna have to go shopping again!
Mistake 9: Bad Mixing
Another mistake I see is mixing inconsistently, resulting in really wet or really dry pockets. My favorite tool for mixing is actually a good old-fashioned hoe, providing the bin is on the ground and large enough. If you have a smaller bin or it’s on a table, a hand hoe works great too.
Can you use your hands instead? Absolutely! But, it’s not a small amount of work and a tool makes it easier. If you’ve hand kneaded homemade bread, you know exactly what I’m talking about.
Mistake 10: Inefficient Setup
Here’s a mistake I made for many years. I actually did all of this stuff on the ground and destroyed my back. Just bending down, getting up, bending down…so definitely make sure you work at hip level, up on a table, sawhorses, something!
The best way to set it up is like an assembly line: soil bag and water on one end, then bin, then your current tray, and at the other end, your stack of finished trays.
I used to seed each tray as I made the blocks. Though this was satisfying, it’s much more efficient if you make all your blocks in one go and then add the seeds later. The reason why is because you need completely different tools, setup, location, and mindset for these two activities.
What’s great about soil blocks is you can make them and they can sit for weeks, completely dried out until you’re ready to rehydrate them and seed. So, don’t be shy about making extra trays! Speaking of trays…
Mistake 11: Wrong Trays
One mistake is not having trays that are tall enough to contain the blocks and make sure they get enough water. I use these 2.5 inch tall stainless steel hotel pans. If you guys want to complete your plastic-free seed starting setup, these are clutch.
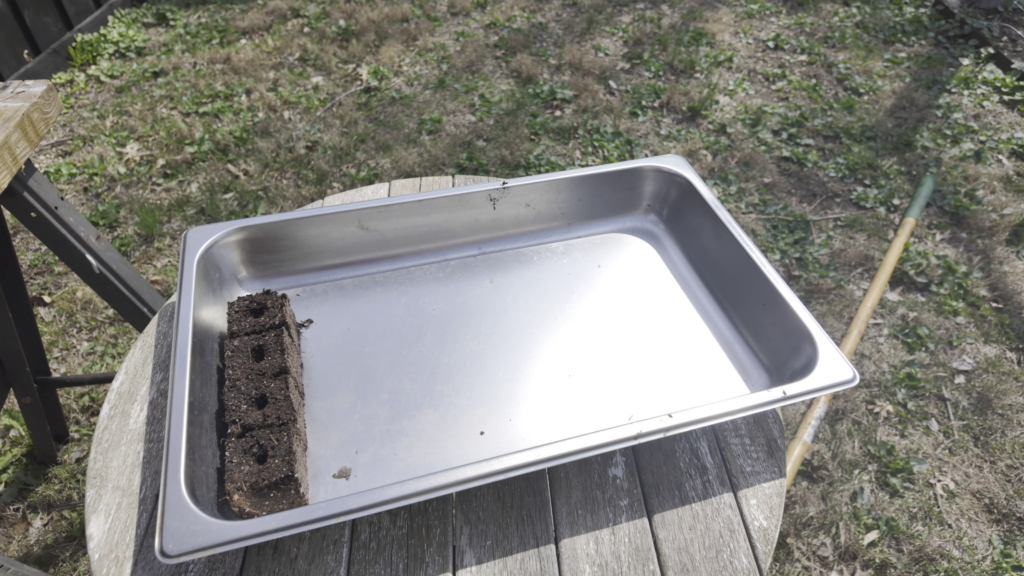
When I fill these trays about half full with water, that is usually perfect for moistening a full tray of mature seedlings. You could probably go as short as an inch and half with your trays, but I definitely wouldn’t go any lower than that, especially if you’re using heat mats, which make water evaporate faster.
Another thing to watch out for is the bottom of the trays. The channels on the typical 1020 trays will actually deform the bottom of the soil blocks over time, or make them tip over. The best trays for soil blocks have smooth bottoms, which keeps all the blocks level and evenly hydrated.
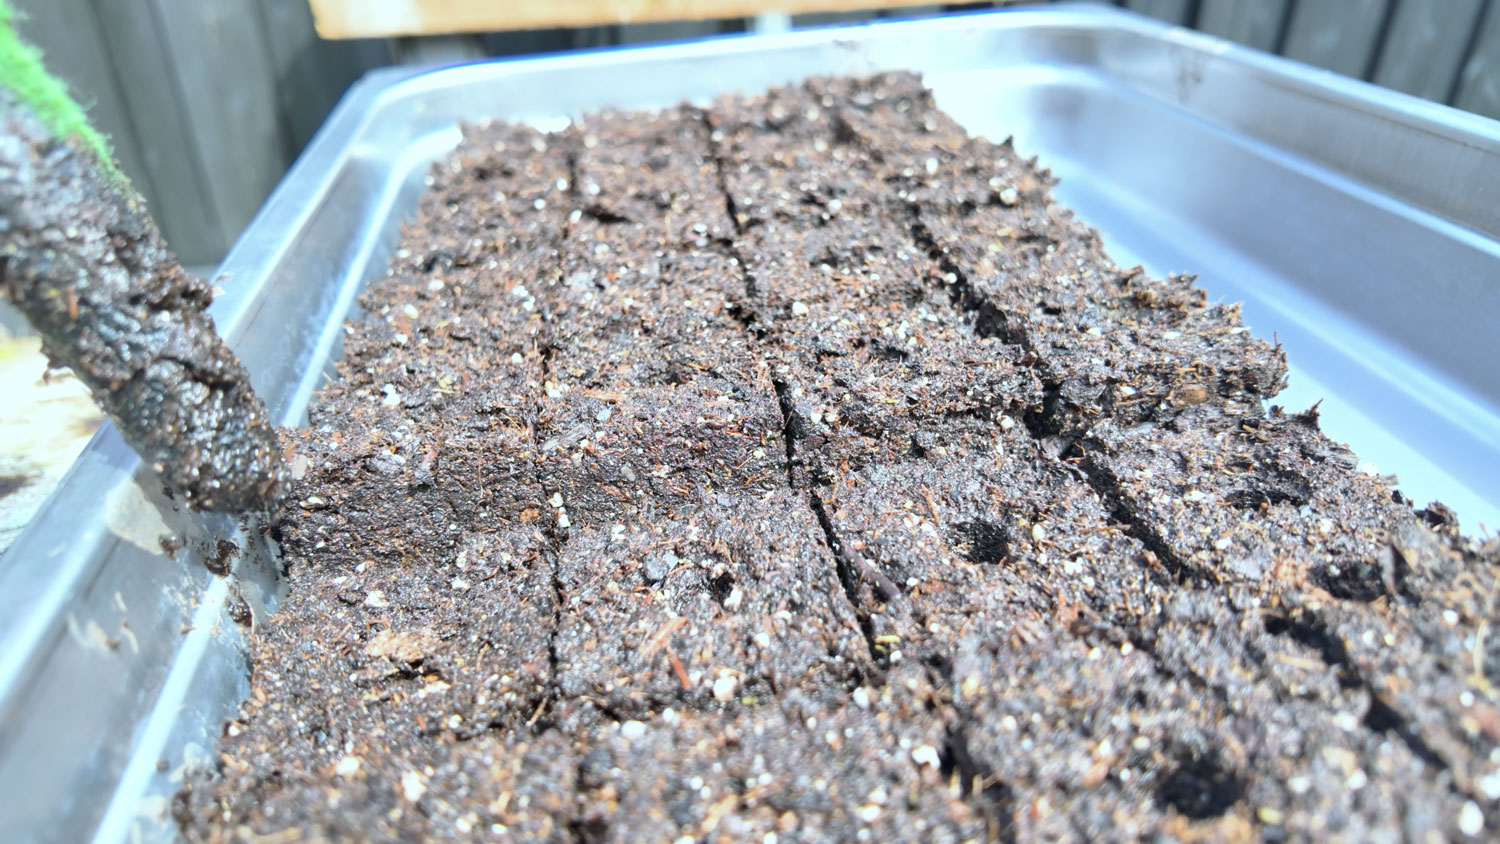
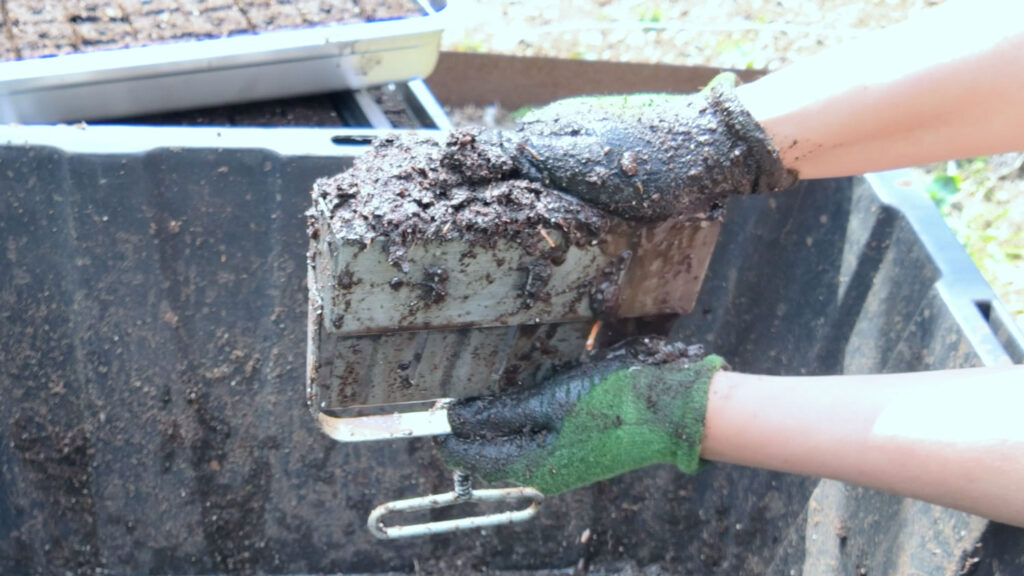
Mistake 12: Not Packing
It is important to make sure you pack each block completely. Not doing this, and not enough water, are the main reasons soil blocks fall apart in the tray.
So when I say pack, it is tight, way tiger than you think any plant would rightfully want to live. You’ll know it’s tight enough when you can’t squeeze and more soil in. You’ll need to pack it more than once, so keep going!
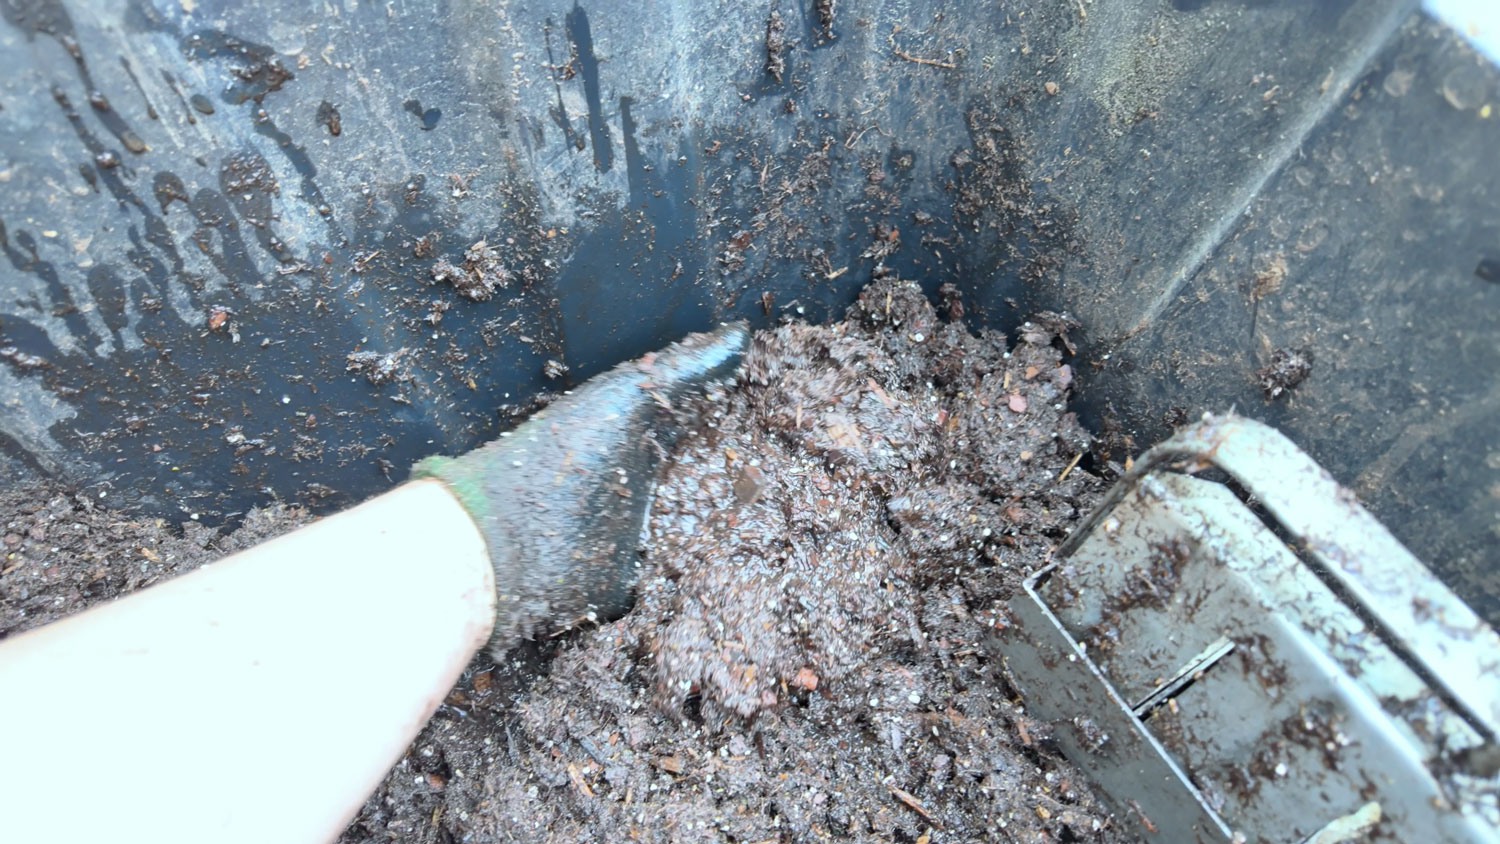
Mistake 13: Not Cleaning
Another mistake is letting the soil blocker get too dirty. You’ll know this is an issue if chunks of your soil blocks are missing. This is usually a symptom of two things: dry soil or coarse soil. Soil that’s too dry will stick to the soil blocker instead of sticking to itself and forming nice smooth blocks. And soil that’s too coarse, with sticks and barks and big pieces will get jammed up in there. If the soil is too dry, get it wetter. Either way, rinse out the soil blocker before you do the next batch.
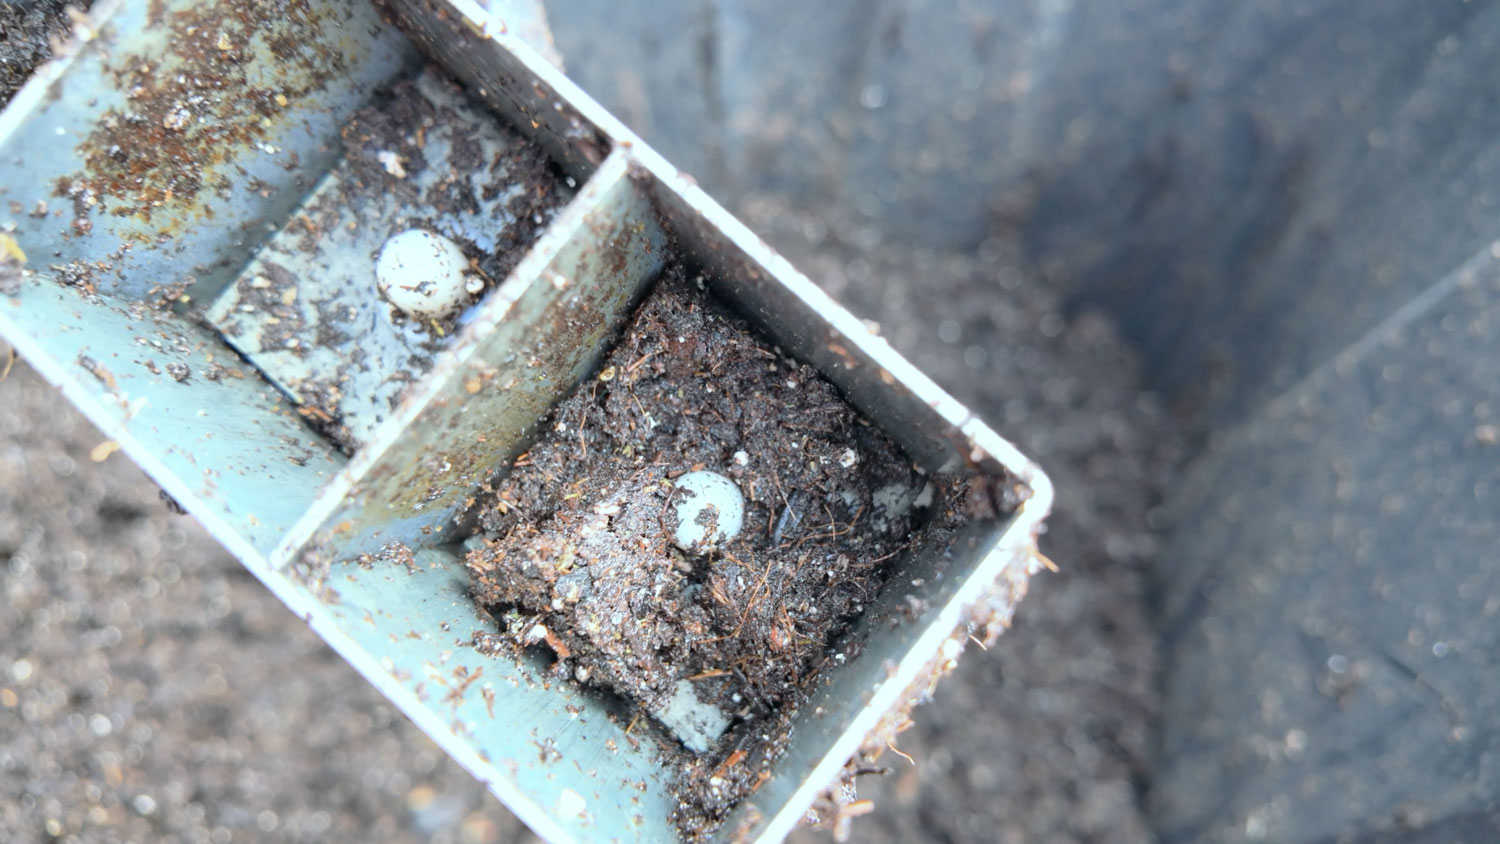
Mistake 14: Losing Dibblers
Guys, if your soil blocker comes with dibblers, do not lose them! As we previously discussed, making your own holes sucks! For that reason, I finally bought a spare pack of extra dibblers.It depends on your brand, but if the soil is too dry, my soil blocker has a couple that get randomly loose, and I’ve lost a few that way. So, keep an eye out, because they might come out, end up in your soil, and then you’ll never find them.
Mistake 15: Slow Technique
Here’s another mistake: not having the right efficient technique for packing. If you’re going to be making trays and trays of these things, you want this to be fast, right? Here’s my technique:

- Make 1 giant scoop against the side of the bin.
- Use two fingers to hard pack into each block, once only.
- Do a giant second scoop against the side of the bin. For the final pack, use the flat of your palm along the length 2-3 times depending on the size of your palm. Again, baby hands are not helpful here.
- Then, scrape the sides and bottom with one motion, possibly twice if your soil is coarse. Cleaning the sides is really important. The reason why is because anything on the sides of the soil blocker will interfere with the blocks in your tray.
- Put the blocker on the floor of the tray.
- Do a double or triple half squeeze to gently ease the blocks out.
- Then, use the side of the clean blocker to slide them next to your last row to save space.
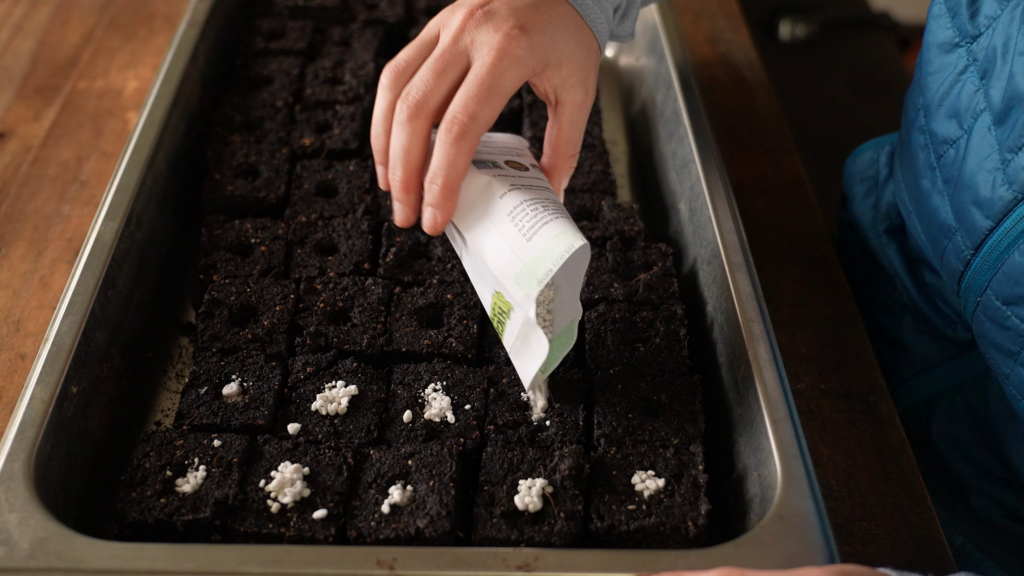
Mistake 16: No Soil Contact
Once you have your soil blocks made, another mistake to watch out for is not having good seed to soil contact.
You can pat down the soil when you’re done seeding, that’s one way to solve this. Or, you can water from the top, which settles soil. That can get messy indoors though, so I avoid that.
Instead, I drop the seeds into the hole and then quickly go through with the back end of a pencil eraser and gently press them into the bottom of the holes. I pour perlite into the holes after that. Perlite is easier than soil mix to work because it’s super light and finely grained. I can pour it into an old seed envelope, then I can quickly just go down the rows and top off all the holes. The perlite easily wicks moisture from the surrounding soil, keeping the seeds moist.
Mistake 17: Bad Germination Environment
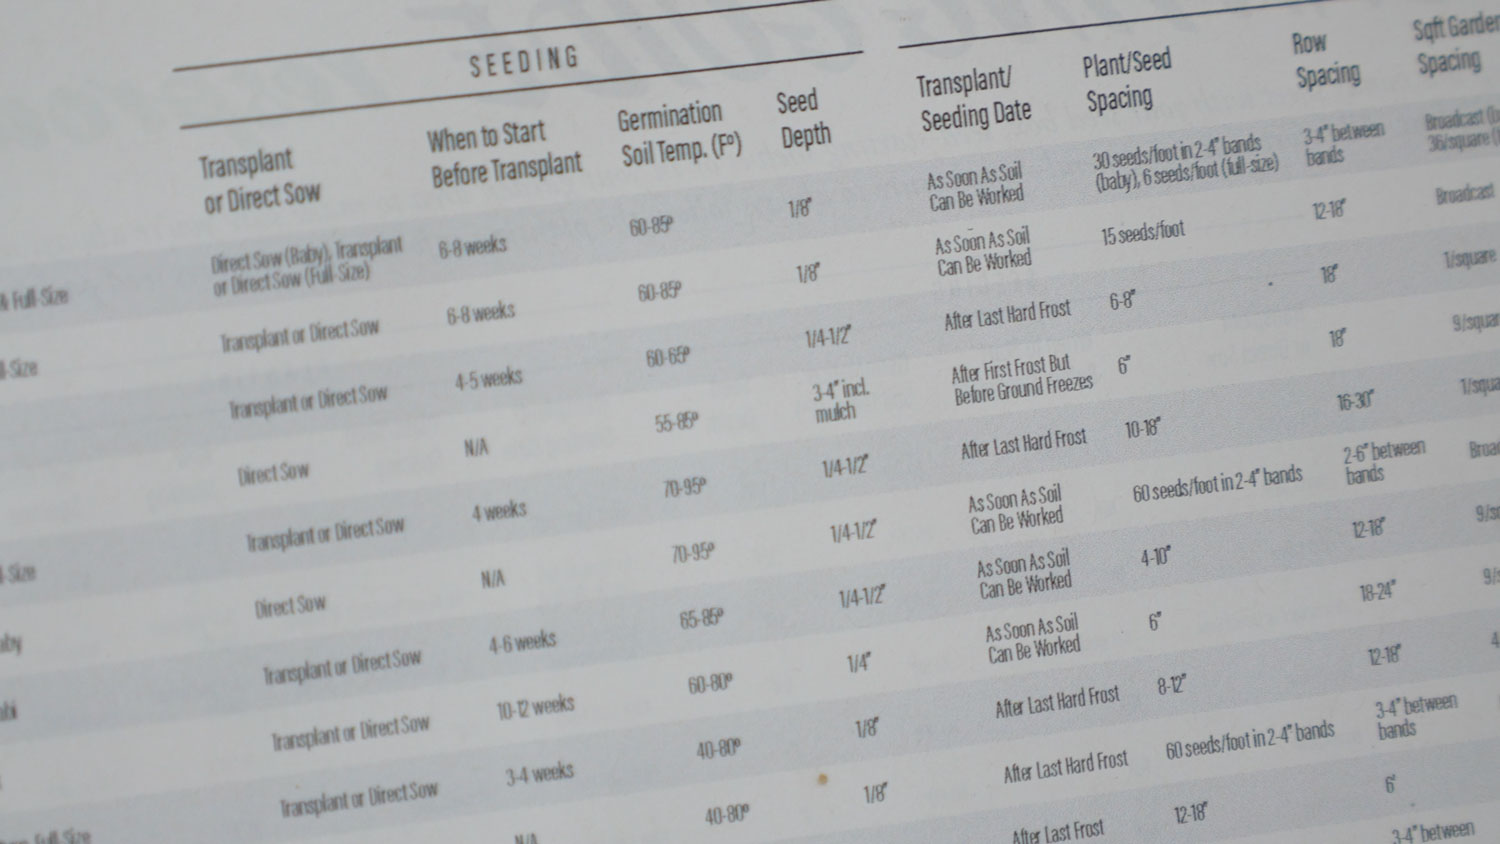
A bad germination environment is going to be an issue for all seed starting situations, whether you are starting in pots, plug trays, flats, or soil blocks. So, what we’re mainly talking about here is temperature and moisture. You want your blocks to be moist at all times and you want the temperature to be in the right range for that crop. For most veggies, room temperature is fine, but if you want a more detailed breakdown of ideal temperatures and how long different seeds take to germinate, you can download a free seeding guide.
Mistake 18: Not Starting!
Okay, now don’t laugh at me, this is cheesy, but the biggest mistake, honestly guys, is not getting started. There’s no excuse, just give soil blocking a try!
It may seem like there are a lot of pitfalls associated with soil blocking, but these tips are just to help get you on the right track for efficiency and success, and skip the hiccups that I dealt with.
If this isn’t your first rodeo, let us know in the comments if you have any more tips for starting with soil blocks, and how they have improved your seed starting experience.
Leave a Reply