It’s been awhile since I’ve done a tour of my front yard vegetable garden and trellis area, so today I’m gonna show you all the changes I’ve made in the last few years, talk about the projects I’ve got planned for this summer, and do some harvesting along the way.
If you’re looking to get into the weeds straight away—sorry, couldn’t resist that one! You can also skip to the full list of the plant and seed varieties in my garden.
Perennial Foundation Bed & Herb Garden
First off, guys, I want show you the amazing view from my front porch. How awesome is it that I get to get to look at this every time I come home?
And then of course, there’s the Amazon guy who does one of these.
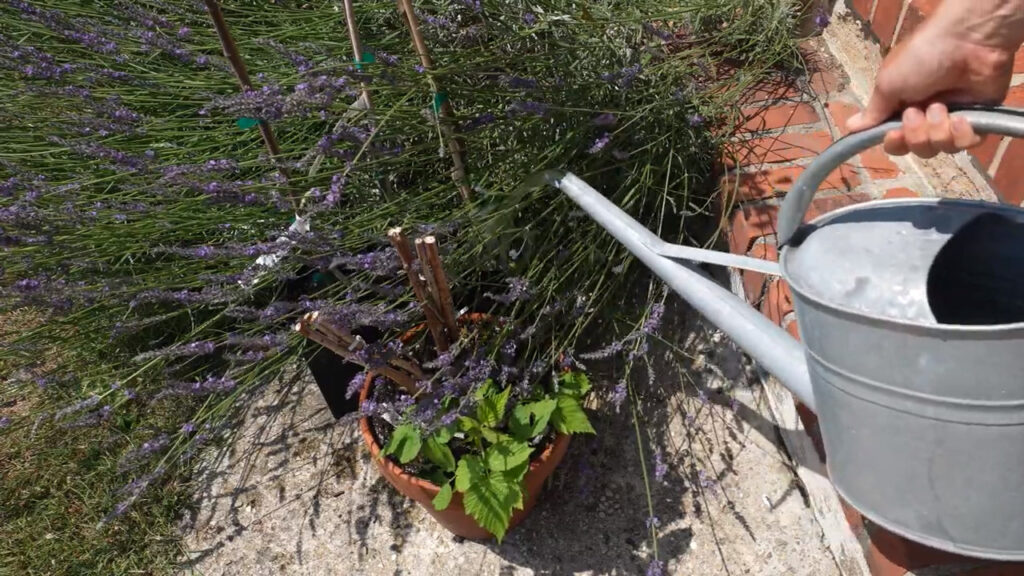
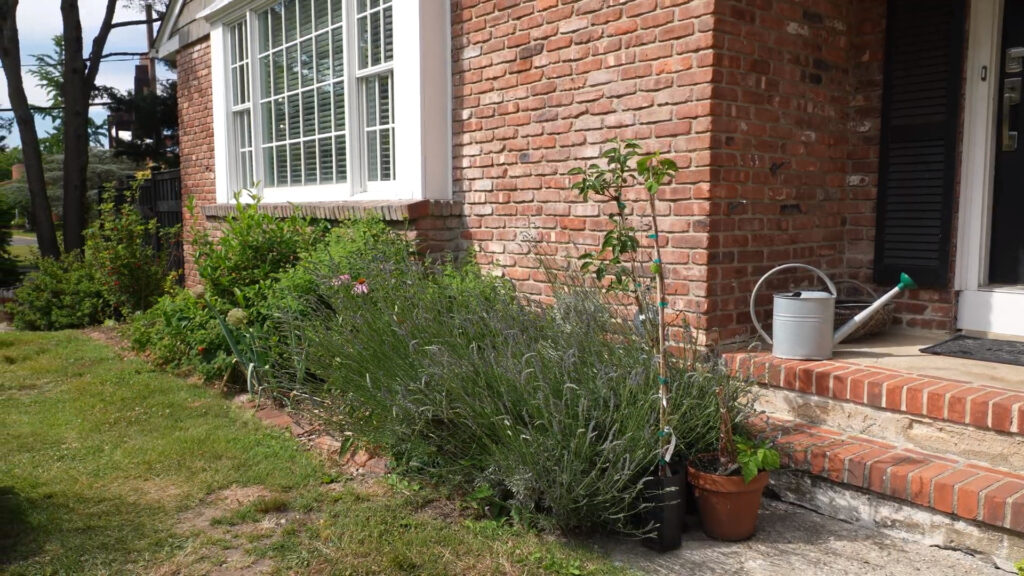
Over here I have a very small amount of container plants. I do try to avoid containers as much as possible because they’re such a pain to water, but that is also why they’re right next to my watering can, by my front porch. Included in here are some raspberries which I plan on planting in a new bed in my trellis area. I’ll show you that in a bit.
This is a Little Ruby fig. I actually already have one, but I did not think it survived the winter, so I got this one as a replacement from my friends at Stark Bro’s.
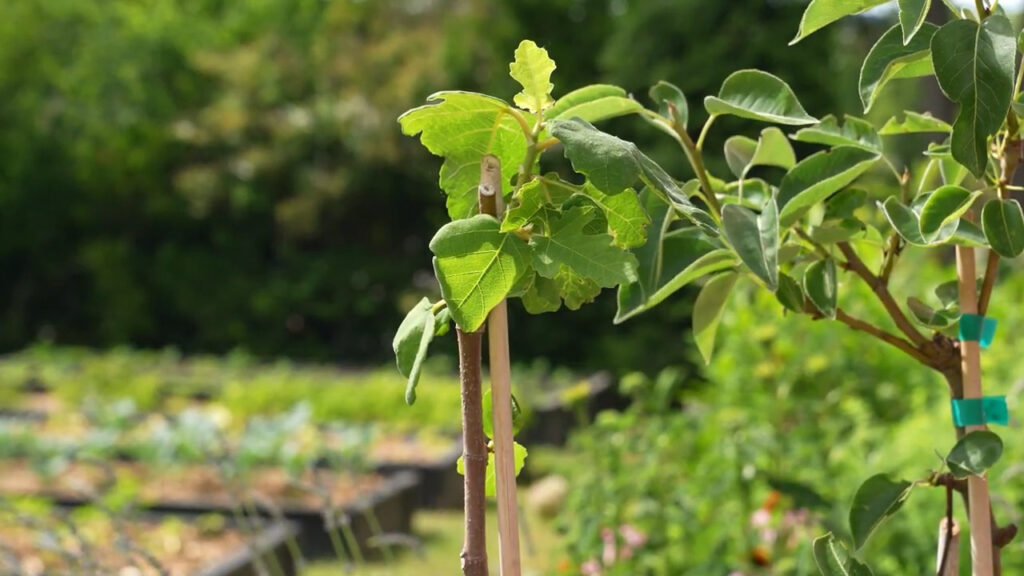
I have since learned about what’s called a “scratch test.” You can read about that on my blackberry pruning post. Had I done that, I would have known my existing fig was perfectly alive. So now I got this big guy, no clue where to put him.
For those of you who read through the whole garden tour, let me know in the comments where you think I should put it.
It’s a miniature fig, but it still 4-6 feet wide. And since the figs are self-pollinating, they don’t need to be near each other.
I know I’m gonna get a lot of questions about varieties in this post. I set up a varieties list for you guys of everything I’ve planted this year.
If you really want detailed info like spacing, germination rates, dates to maturity, whatnot, I even have a spreadsheet you can download, for the garden nerds amongst us.
By my front porch, in pots still, I have a Peggy Asian pear and a regular Bartlett pear, also from Stark Bros. I’m so excited about this, and I can’t believe I got the hubs to agree to my plan! Picture this: on either side of this window here, on the brick, I plan on installing some beautiful steel grids. Black of course! And these two pears are going to get espaliered against the wall, one on each side.
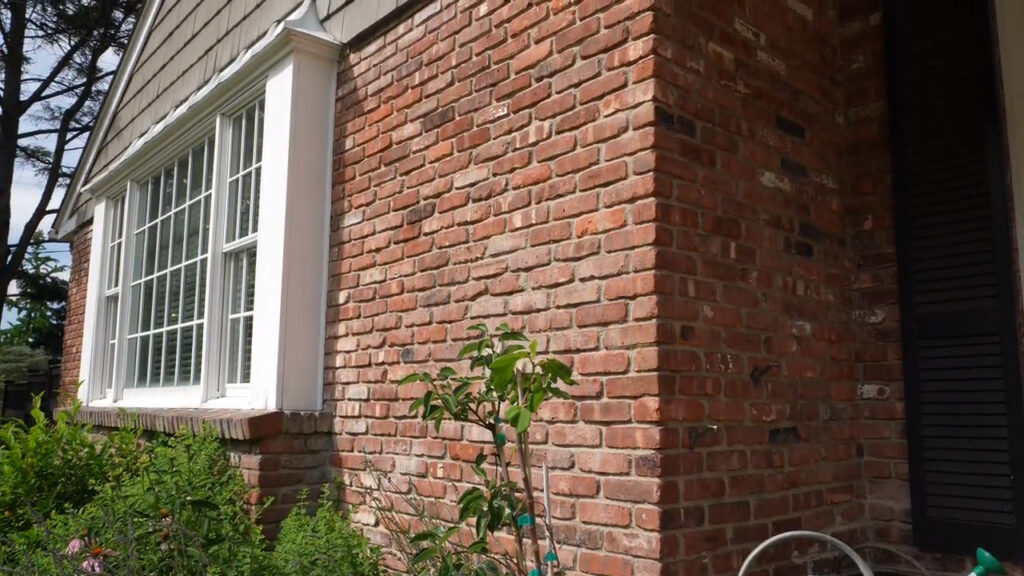
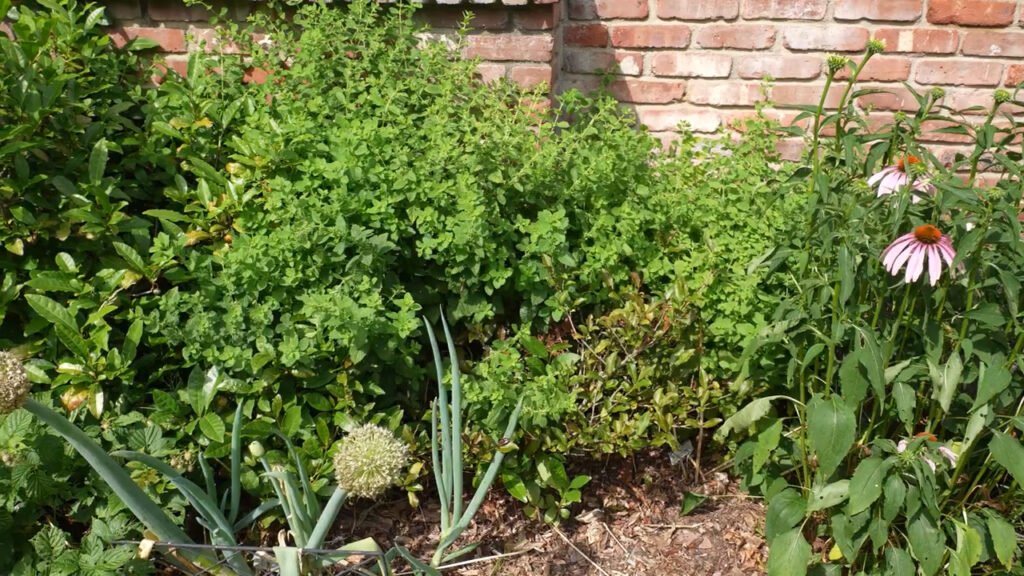
This of course means I need to clear out or transplant some of this beautiful lemon balm. This stuff is definitely taking over! If anyone has some good recipes for this stuff, let me know in the comments.
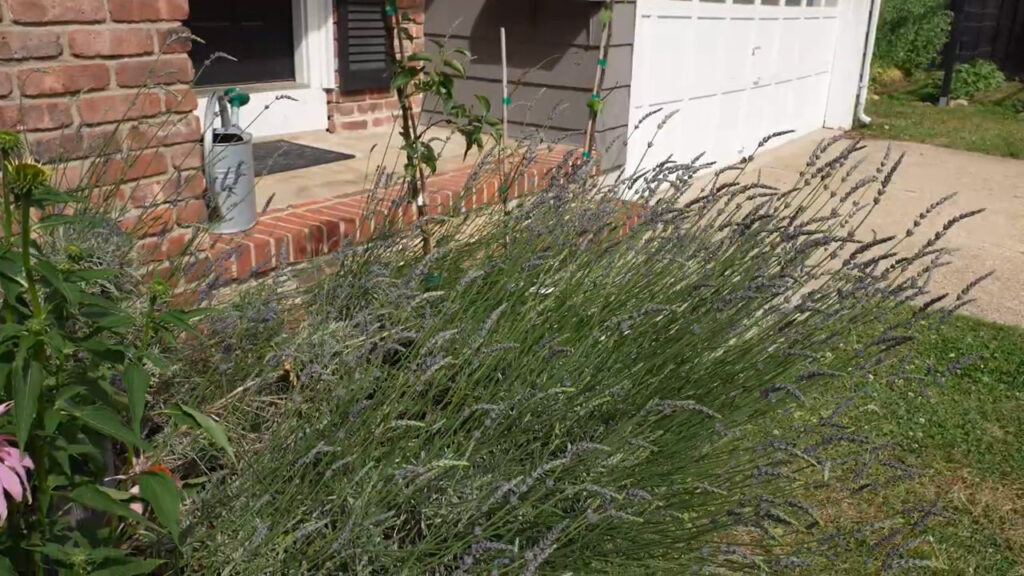
Next to the containers, I have some Phenomenal lavender. It’s about to bloom. The bees really love this stuff.
Behind this is the barrel where I planted some sweet potatoes last year. This is getting moved to take the place of one at the other end of this bed, which is completely falling apart. Once I move it over there, I have some mint in my backyard that I’m going to transplant into it.
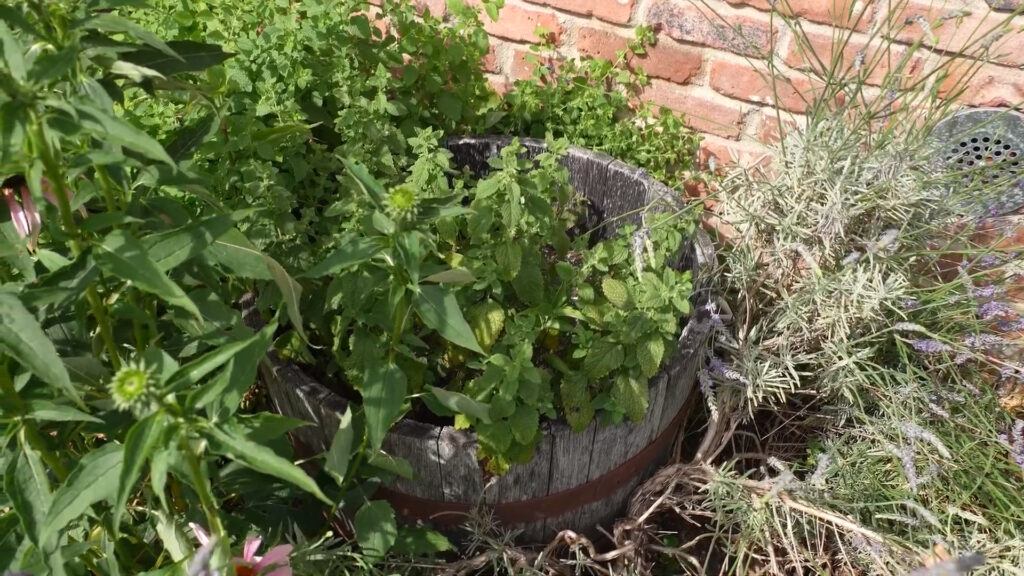
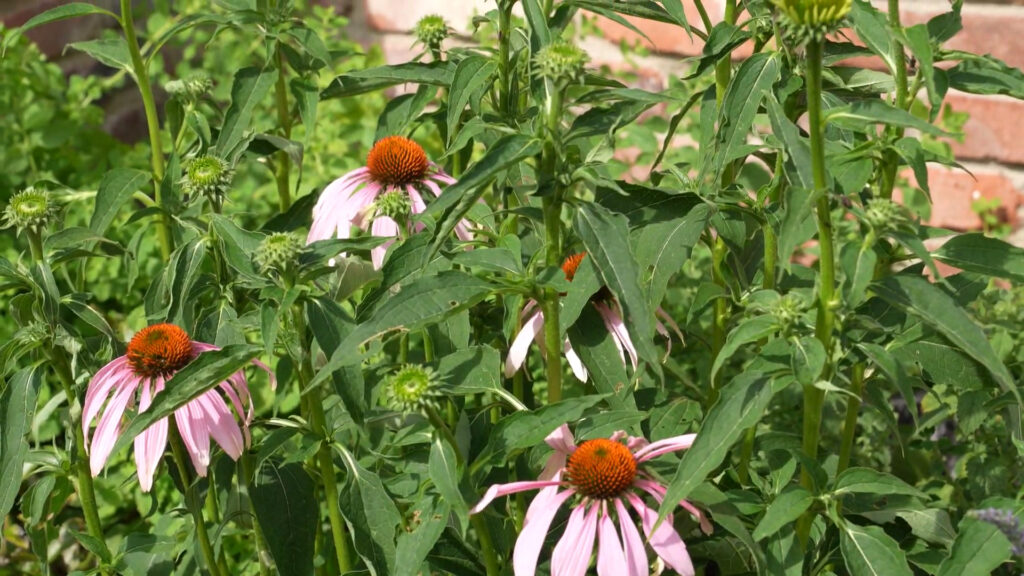
Next to the lavender is some echinacea I planted from seed maybe five years ago. This is probably gonna get transplanted too, since it’s a little tall for this space, especially if I end up putting a pear back there.
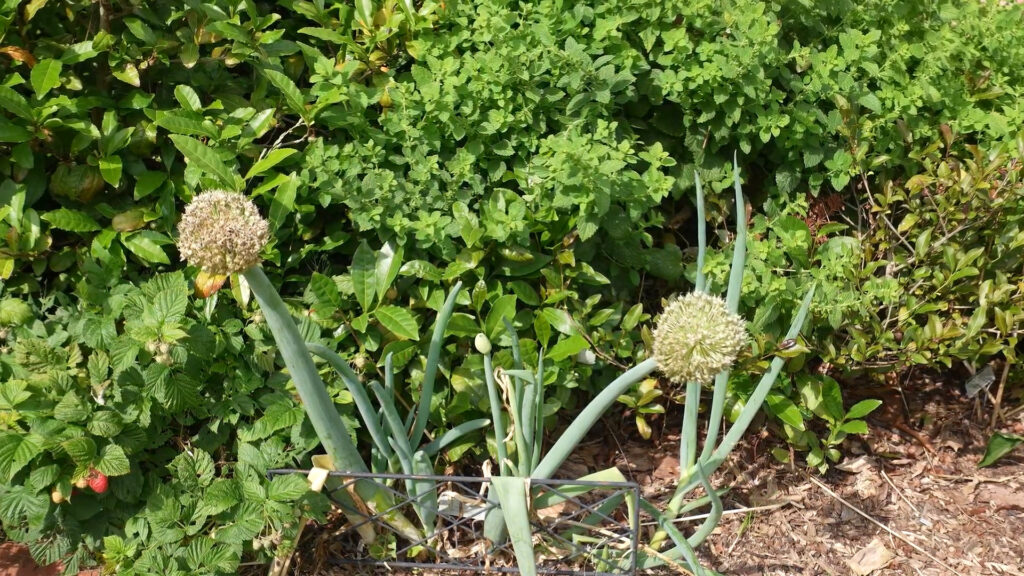
In front I have some evergreen bunching onions I also started from seed years ago. These are great because they’re perennial. Whenever I have a recipe that calls for leeks or scallions, I use these. As you can tell, though, they need some support. So these also might end up getting transplanted somewhere else in this bed.
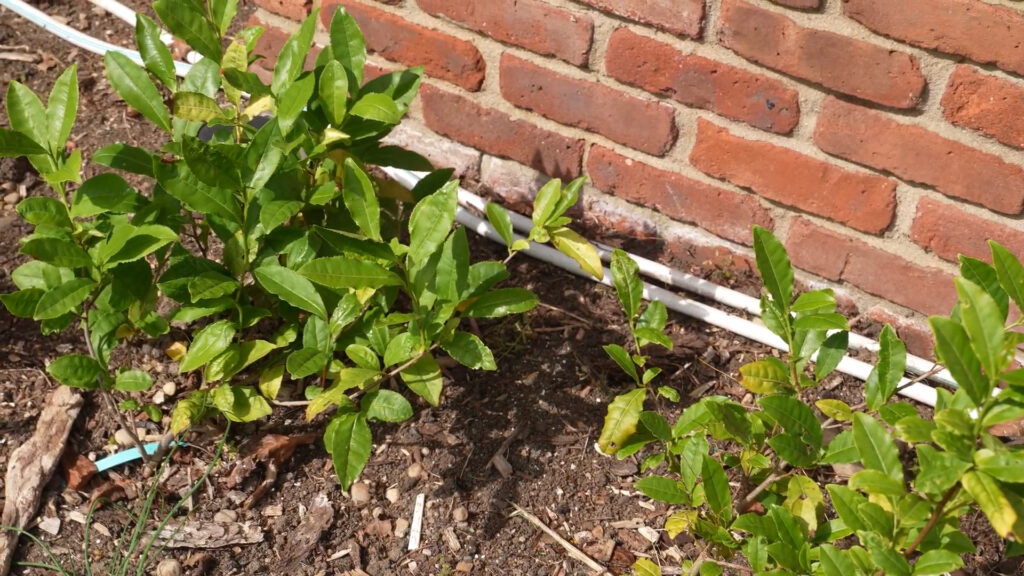
Next to it, I have my tea plants, camelia sinensis. You guys, I drink a lot of tea. But the problem here is that I tried to brew this stuff once and it tasted terrible. I think there’s a bit of processing involved.
Leave a note in the comments if you have any tips and tricks for home processing of this stuff!
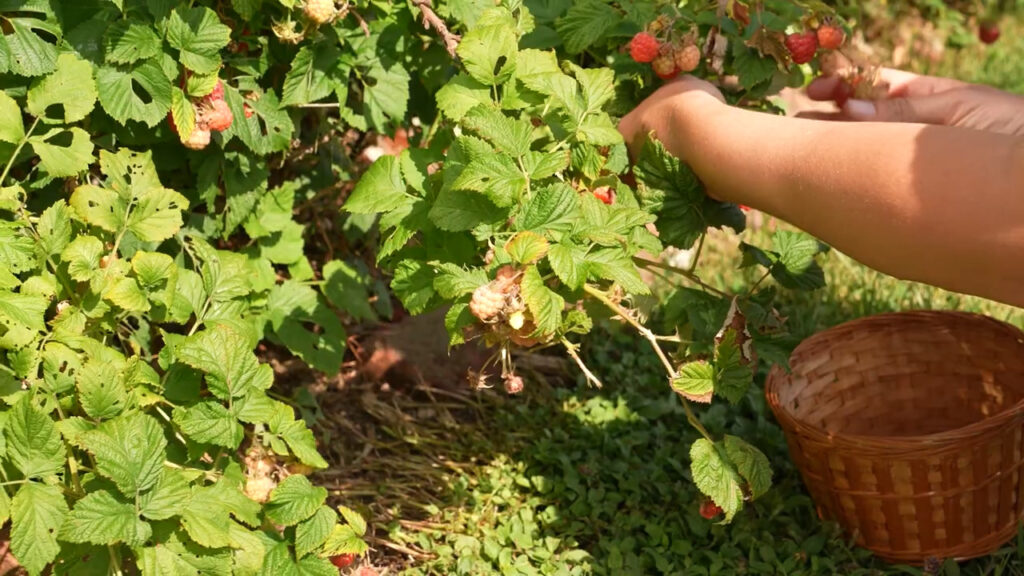
Tucked in, here and there, I have a container variety of raspberries called Shortcake. I did not have high hopes for these, but look how many raspberries are one here! What I like about this variety versus standard raspberries is that the berries are hiding under the leaves. I never have bird problems with these berries. I don’t think the birds know about them. You can never have too many raspberries! So I am really trying to figure out how to add more of these to my garden, there’s just so little space left!
In front of the new upcoming pear area, I have a little perennial herb border—some oregano, chives, rosemary, regular sage, and some variegated sage. What’s so great about having perennial herbs this close to your kitchen, is you can just come out here at 6 o’clock at night when you’re cooking dinner and just snip those 5 leaves you need. You never have to worry about buying fresh herbs again.
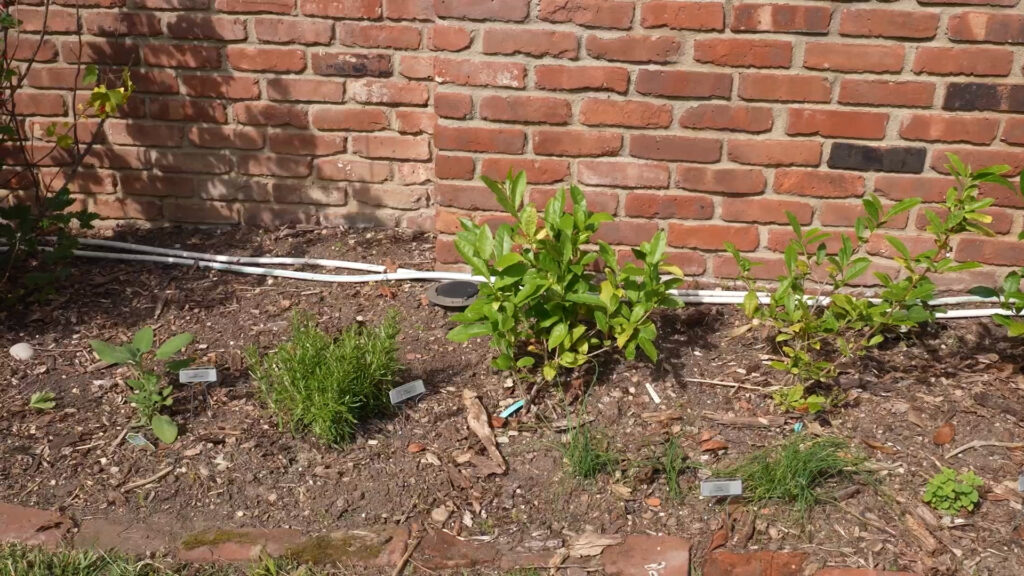
I just ordered more perennial herbs on Etsy that I’m gonna plant in this area— marjoram, thyme, and tarragon. I have some bay that is going in a container since it’s only good down to zone 8 and I’m in zone 7, and it will come indoors over the winter.
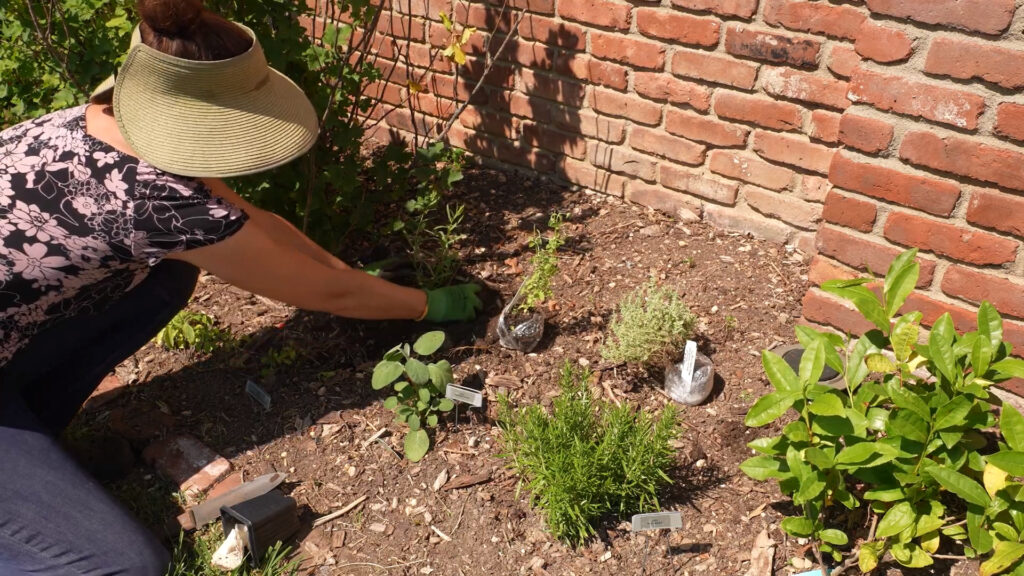
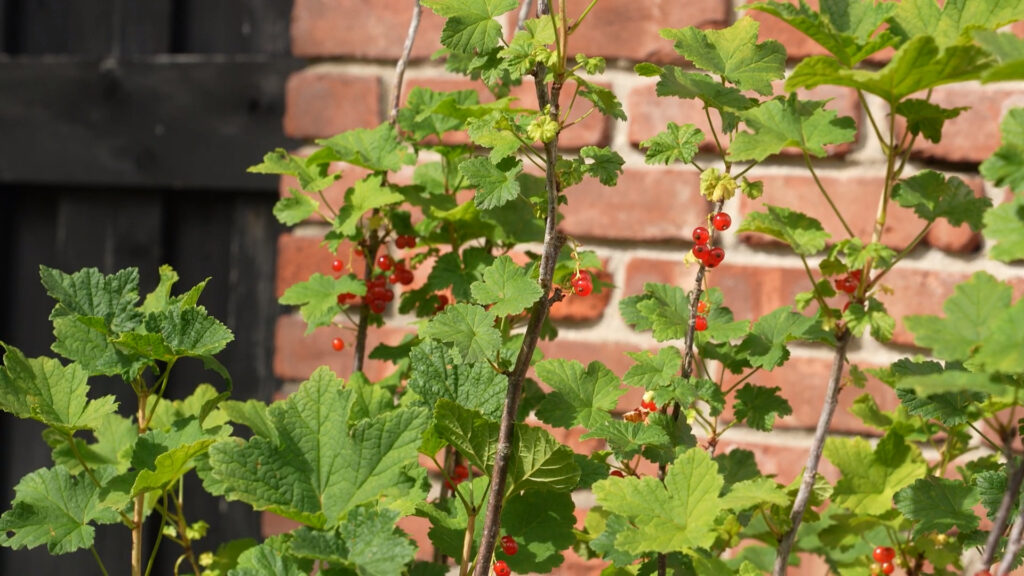
To the left of the herb bed is my currant bush that came with the house. As you can tell, these are definitely ready to harvest. Stay tuned, I think I’ll be doing a currant growing guide soon for more in-depth info.
Next to my currants is a shrub I got as a pollinator. It has gorgeous pink flowers when it’s in bloom—I forget the name.
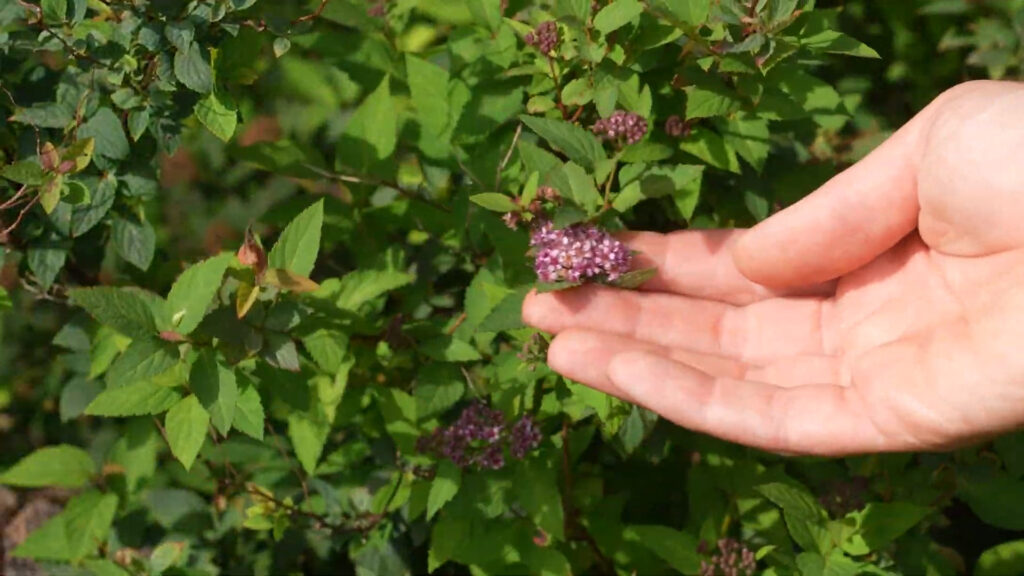
Please somebody tell me in the comments so I can label it, since I’m such a label freak.
On the very end of the bed is the original fig tree I was telling you guys about. Definitely alive! It should fill out this entire area eventually at 4-6 wide and tall.
Underneath the fig, I got some June-bearing strawberries as a ground cover. I’m not sure how long these are going to stay here since I’m not sure how the fig is going to fill out, but in the meantime, I get strawberries and I don’t have to pull weeds, so double plus.
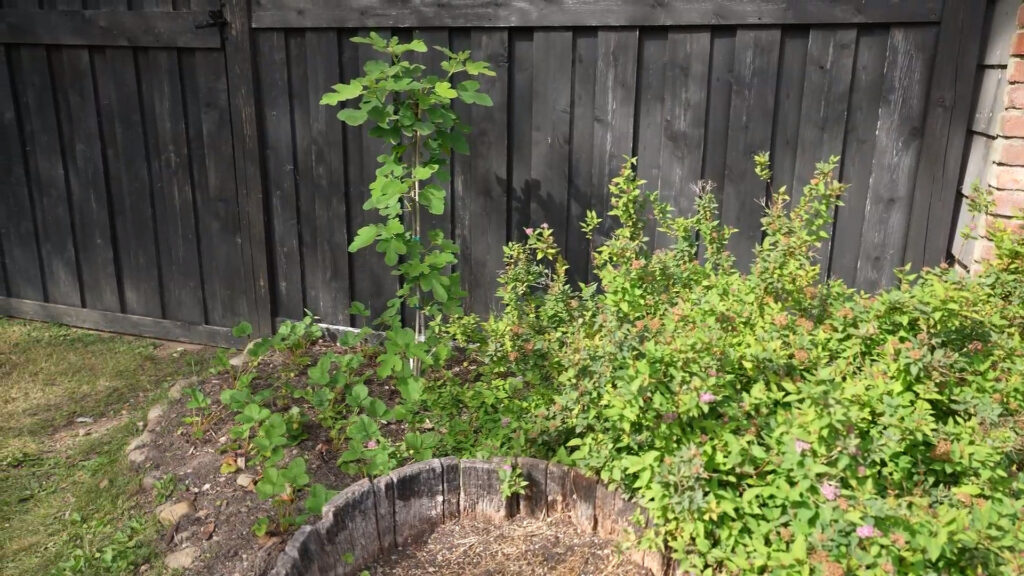
So that is the perennial foundation bed that runs along the front of my house!
Front Yard Raised Garden Beds
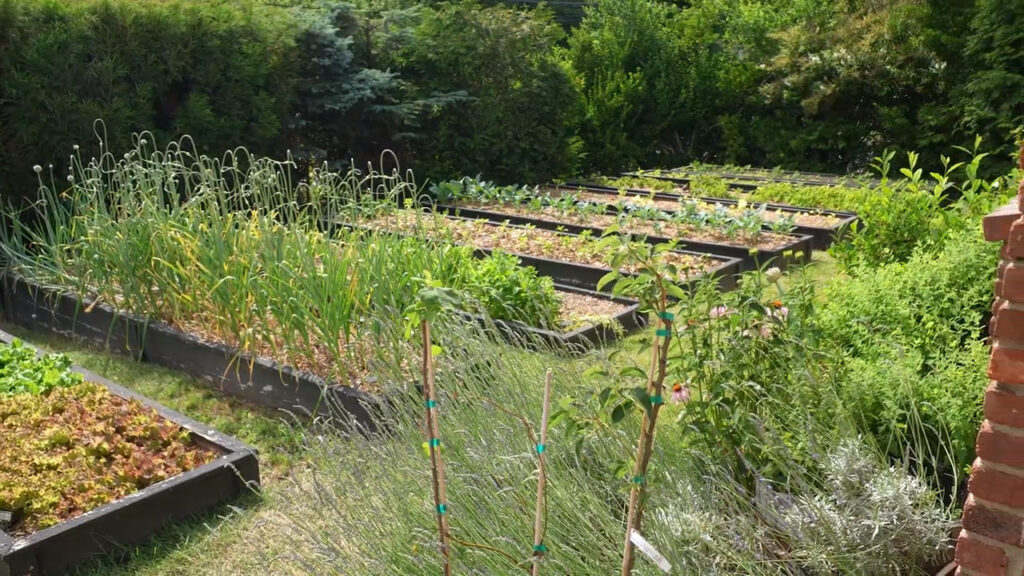
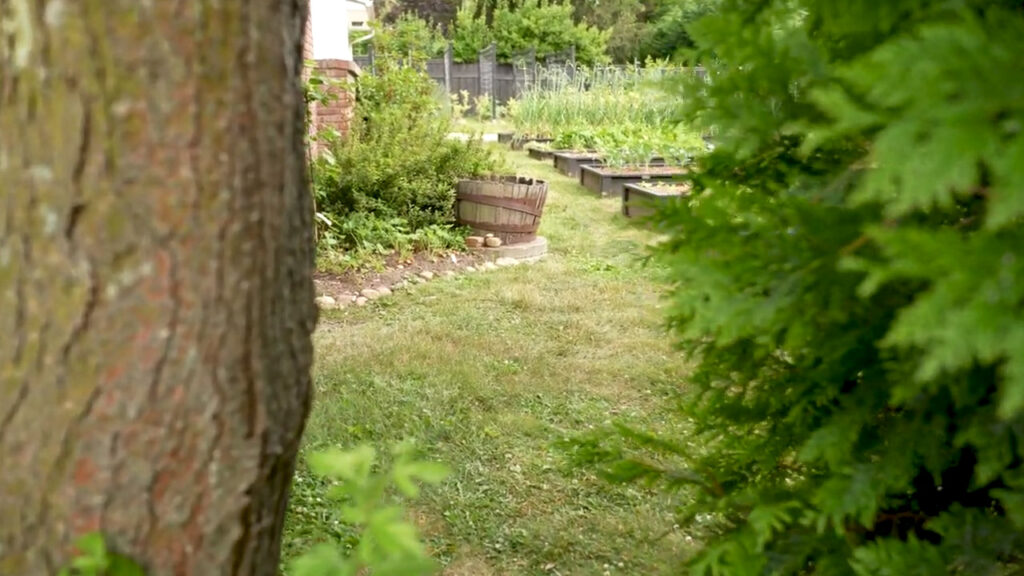
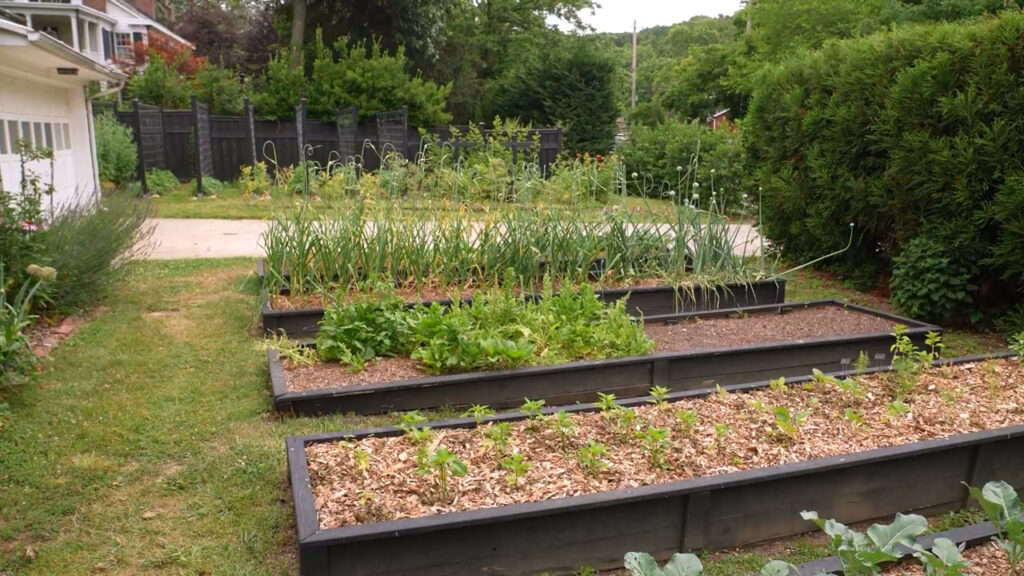
This is the raised bed area of my garden, what I call the “front garden.” This is in my front yard, but a lot of people don’t know all this is here because of the hedges we planted years ago.
Funny story. I was getting compost one day, in my side yard. I came through the gate with my wheel barrow and all of sudden there were two people there. I screamed I was so freaked out! Apparently, they were road surveyors and had seen a peek through this little secret entrance and they got sucked in. They just kept repeating, “I can’t believe this is all here. I can’t believe it.”
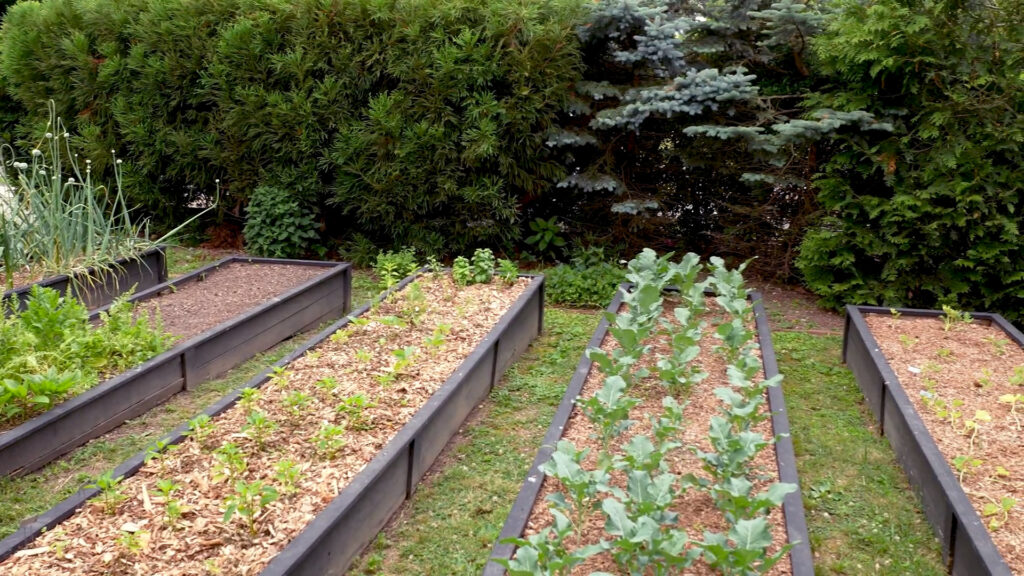
I have 9 beds total. They’re all 14 feet long and 3′ wide with 2′ walkways. That is just wide enough for a wheelbarrow or a push lawnmower.
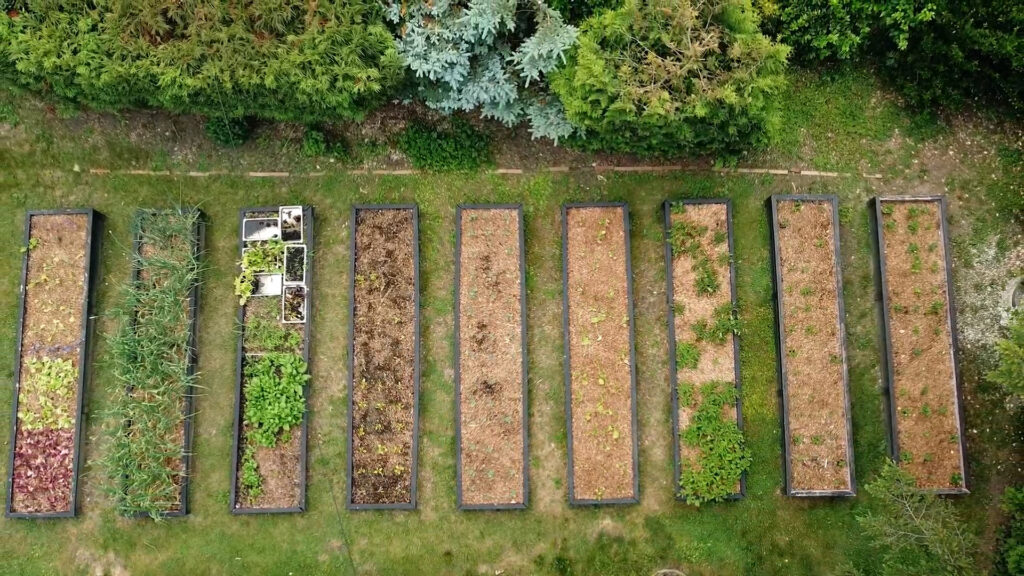
I just added two new beds on the end last year. Both are strawberries, just planted this year. One is the Ozark variety and the other is Tri-Star. Unlike the strawberries under my fig tree, these are everbearing, so I start getting strawberries in June and will get them here and there throughout the season until frost. Since I have two big beds that usually gives me a small bowl every couple days, which is exactly the amount I want.
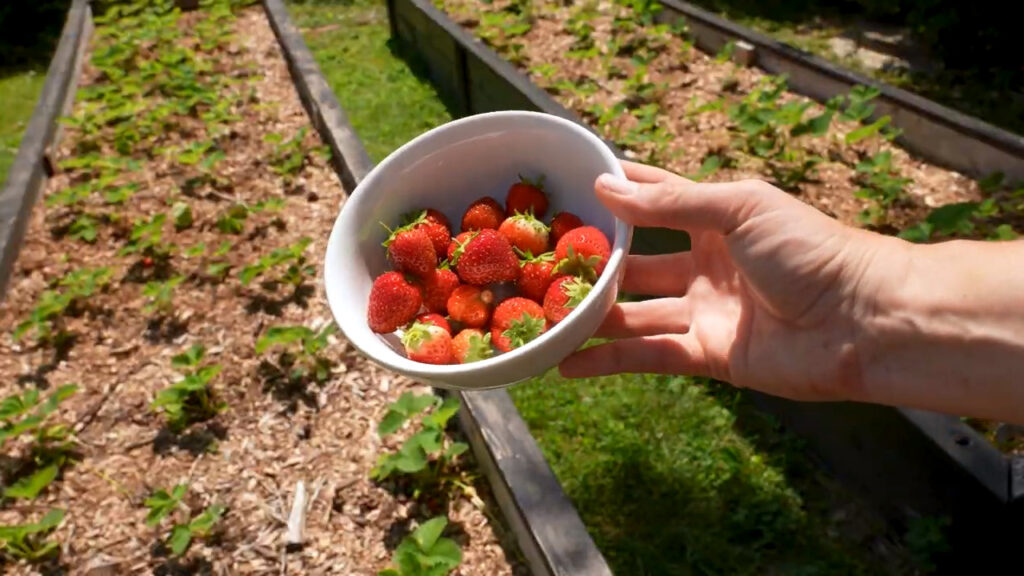
If you’ve seen my strawberry planting video or my last garden tour, you maybe wondering what happened to my last strawberry bed. Yeah… so, I planted them, set up a sprinkler on a timer and went on vacation for 3 weeks in the middle of summer. I came back to a bed of 3 foot tall weeds and dead strawberries. The weeds had shaded them out. So…mulch. That was a hard lesson. I should have mulched.
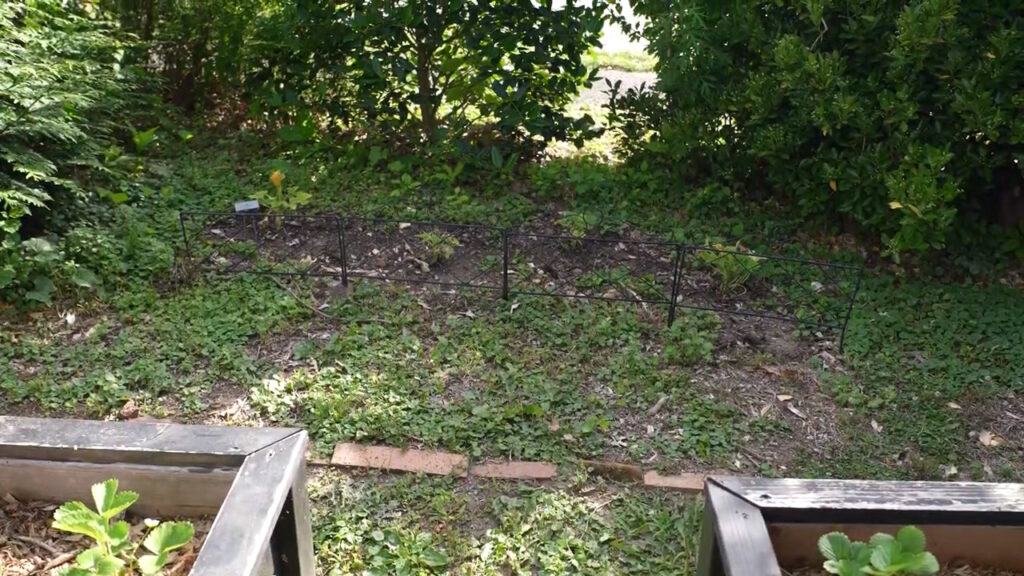
Back behind the strawberry beds, near the hedges, I have a quarantined area for the zucchini. Zucchini always takes over my raised beds and has even killed neighbor plants, so I’m putting them in a corner this year. This is not the best area for them, since there’s less sun, but I planted extra to make up for that. We’ll see how it goes.
Bed 7 is my potato bed I planted this in fall. You guys, I cannot say enough good things about fall planting potatoes. For one, this shifts some of the planting workload from spring to fall. Also, fall planting solves a winter storage issue for me. I harvest a lot of potatoes in the fall, and instead of struggling to store them all winter and dealing with spoilage, I separate the best ones out and plant those back in the ground as seed potatoes. Because the potatoes are getting started earlier, you get to harvest new potatoes earlier in the spring. My potatoes are gonna be ready to harvest soon. Once that happens, I can pull them out and start another crop for fall, though I’m probably gonna flip the bed with my garlic bed so I’m not planting potatoes in the same bed.
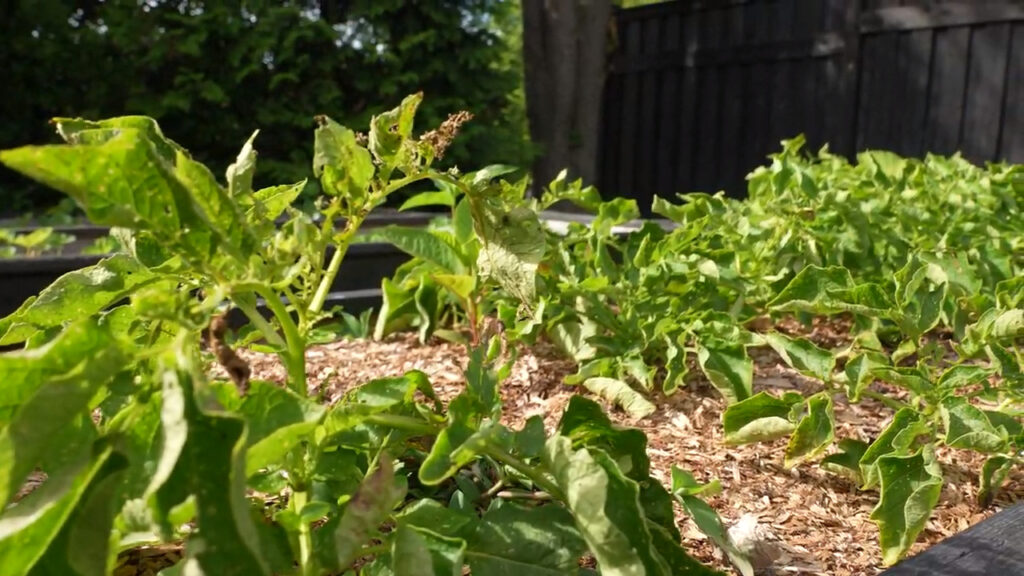
You can see here, I have some sort of pest on the leaves, whitefly I think, but if you know for sure, leave it down in the comments, please! I’m gonna spray with neem oil soon to see if that helps.
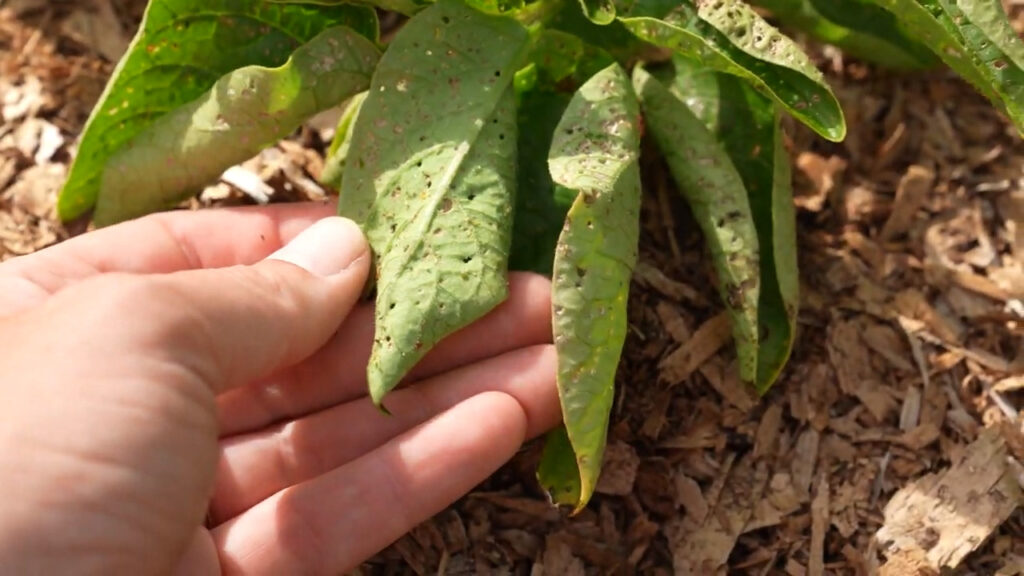
Bed 6, next to the potatoes, is my melon bed. The back half is watermelon and the front half is cantaloupe. I’ve done melons on the trellises, but they just did not flourish there. However, they don’t seem to be flourishing here, either, so I’m not sure what the deal is. Maybe I just need to be patient.
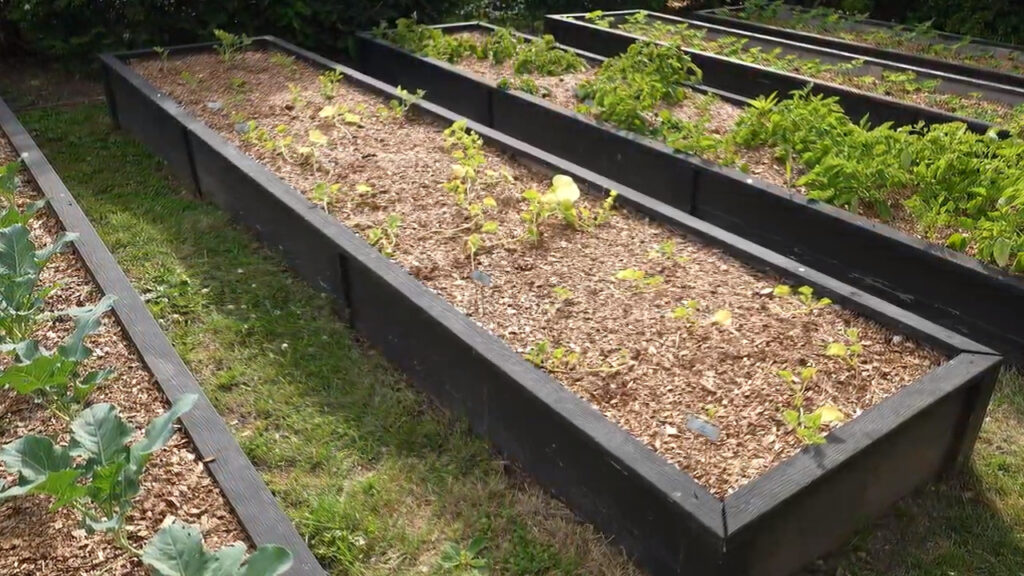
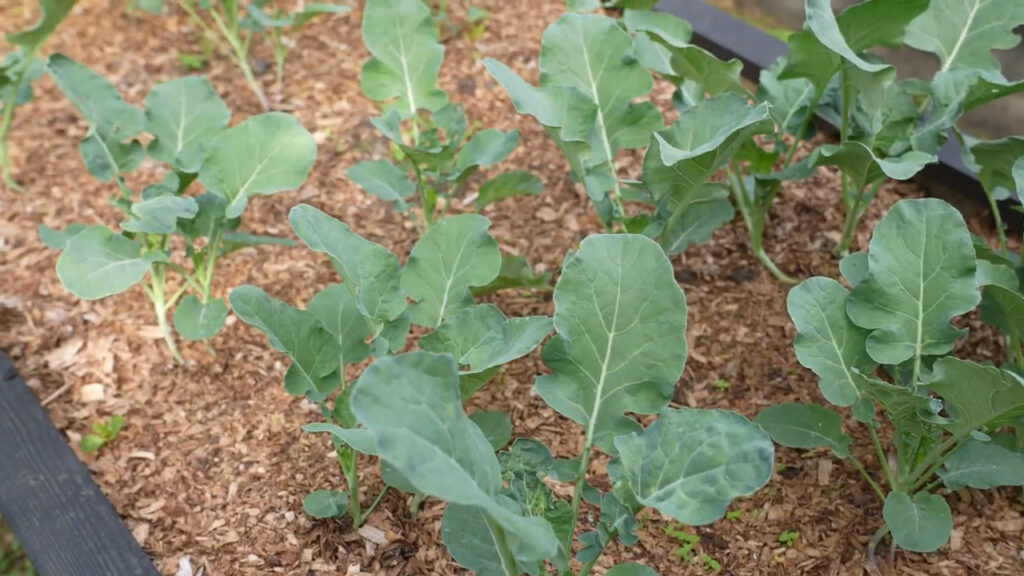
Next to the potatoes, I have a whole bed of broccoli. Normally I only do one bed in the fall, to avoid cabbage worms, but I didn’t get to do my fall planting last year, so I’m pretty desperate for broccoli (as much as anyone can be “desperate” for broccoli). I do eat the leaves off of broccoli— they’re a really great substitute for kale— so I come out here sometimes and just harvest a couple leaves here and there while I wait for the head to develop.
Next up is my miscellaneous bed, where I have a little bit of everything. In here I have some jalapeño peppers, some regular bell peppers, and eggplant.
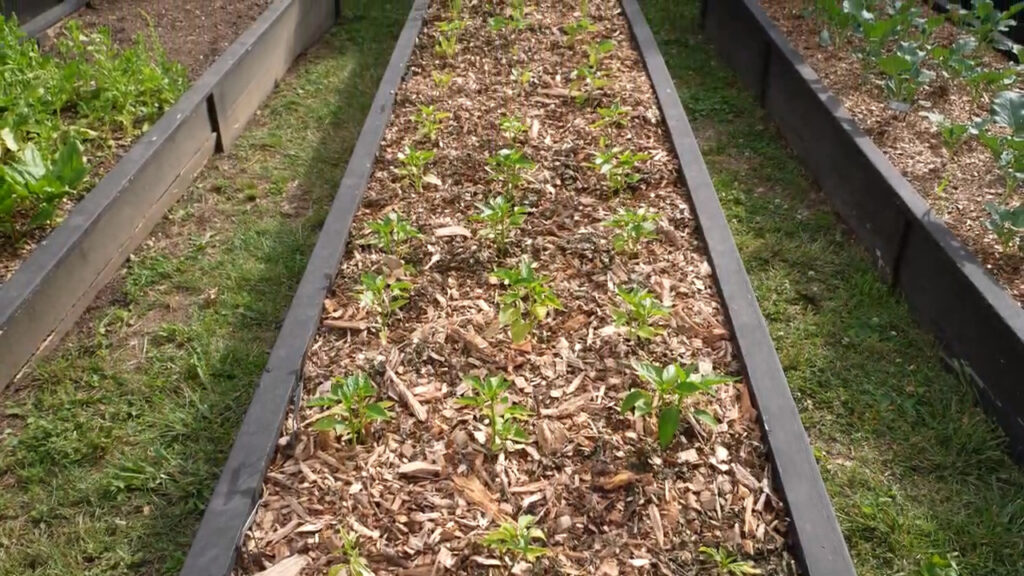
On the back half, I have my collection of annual herbs, which includes parsley, basil, Thai basil, dill, and fennel.
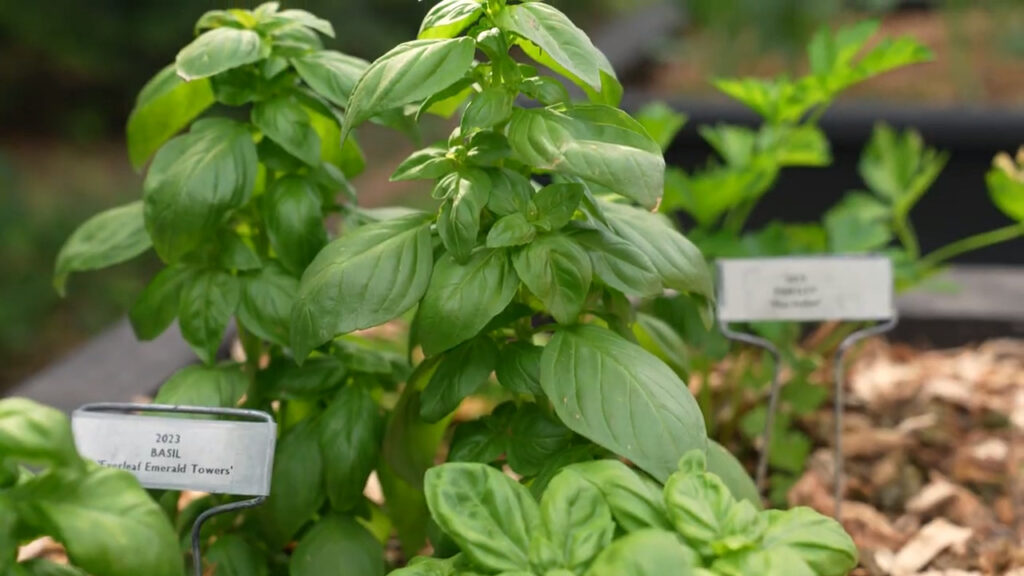
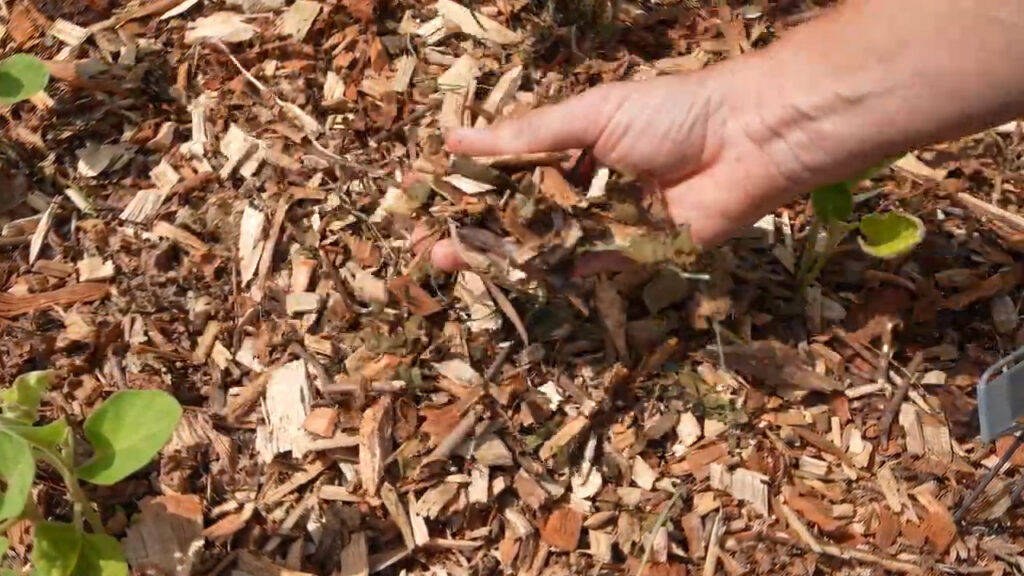
Also in here, speaking of mulch, are some wood chips I just got delivered this week. I’m working on getting that put down so I don’t have to worry about weeding and watering so much this year.
The next bed is my spinach and carrot bed, the one bed I don’t mulch, since it’s my only direct sow bed. I plant the seeds directly into the soil here and I need very finely tilled soil for both greens and carrots. So what I do here is, as soon as one crop is done, I harvest and replant it. The carrot half is empty right now.
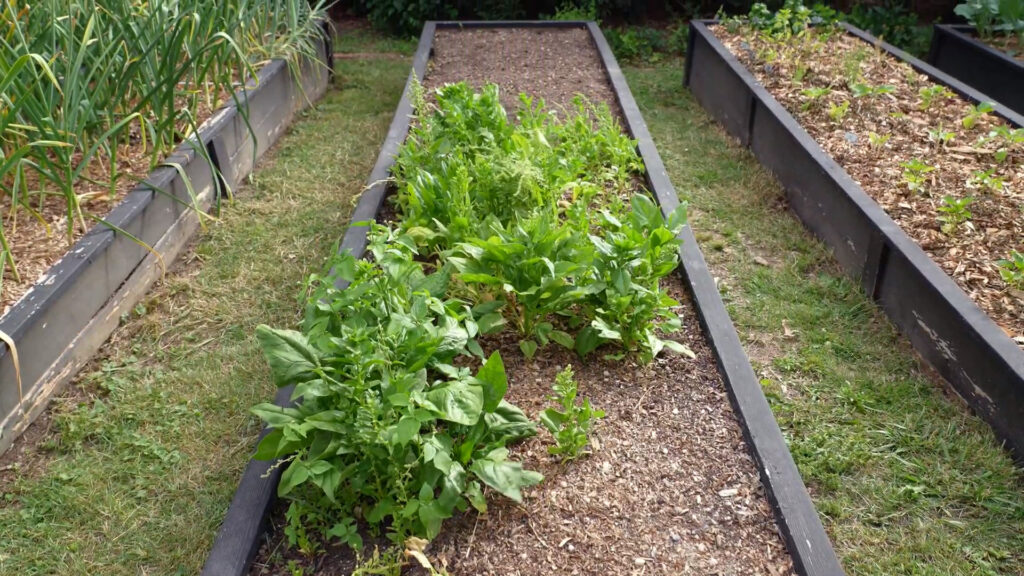
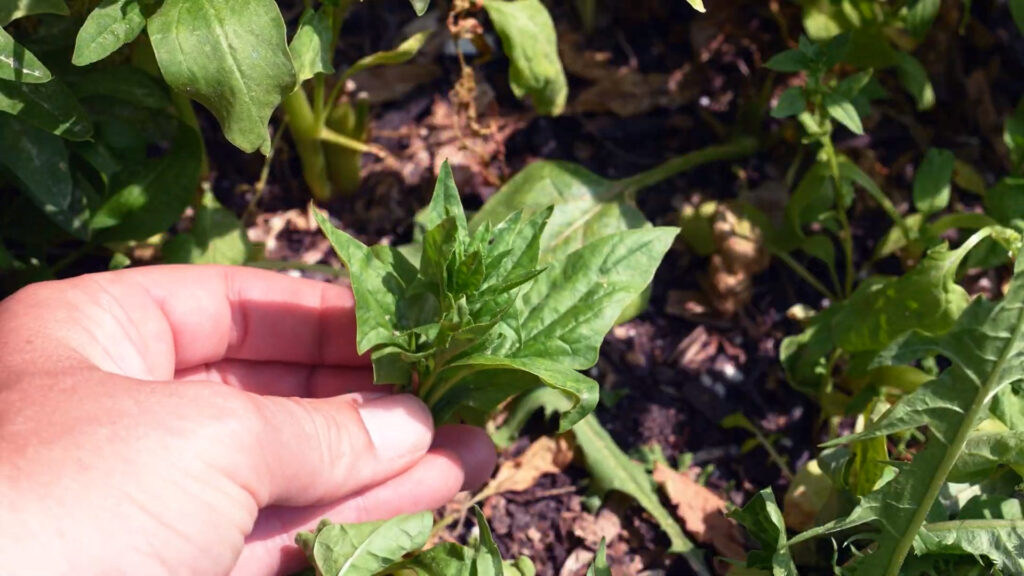
The spinach in this bed is a spring variety that’s bolted. You can tell it’s done because instead of having round leaves, they become pointed and have these jagged side lobes. The leaves pretty much stop growing, because it sends all its energy into these flower stems. I’m gonna harvest the rest of this this week and put a heat tolerant spinach variety in for the summer. Same with the carrots.
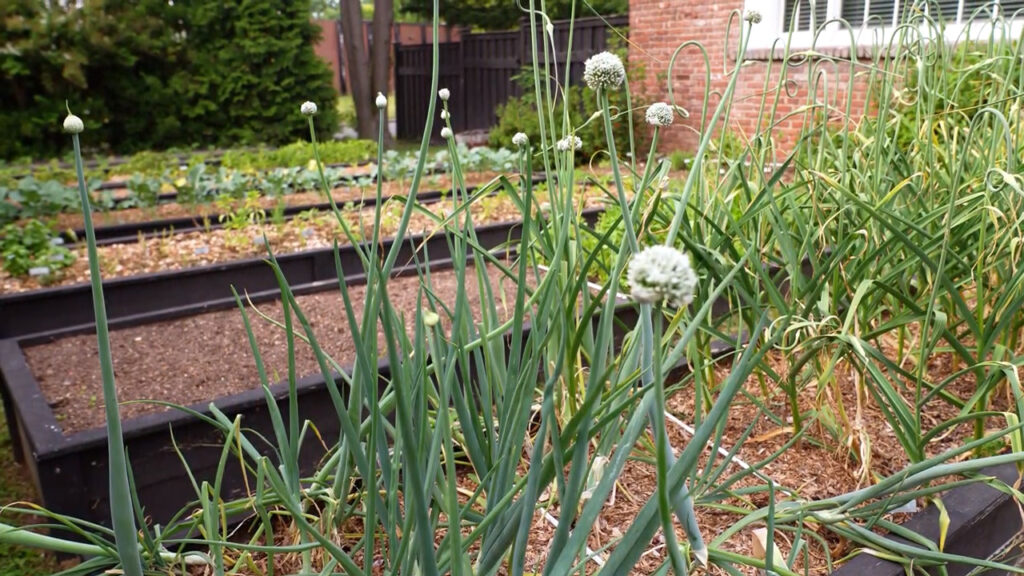
The next bed, my garlic and onion bed, is another fall-planted bed. It works the same way as the potato bed. I save my garlic heads from my summer harvest and re-plant the best ones in the fall. Everything else gets stored for winter. These garlic scapes are probably a week past being ready to harvest so I’m gonna grab a bunch of these while I’m out here!
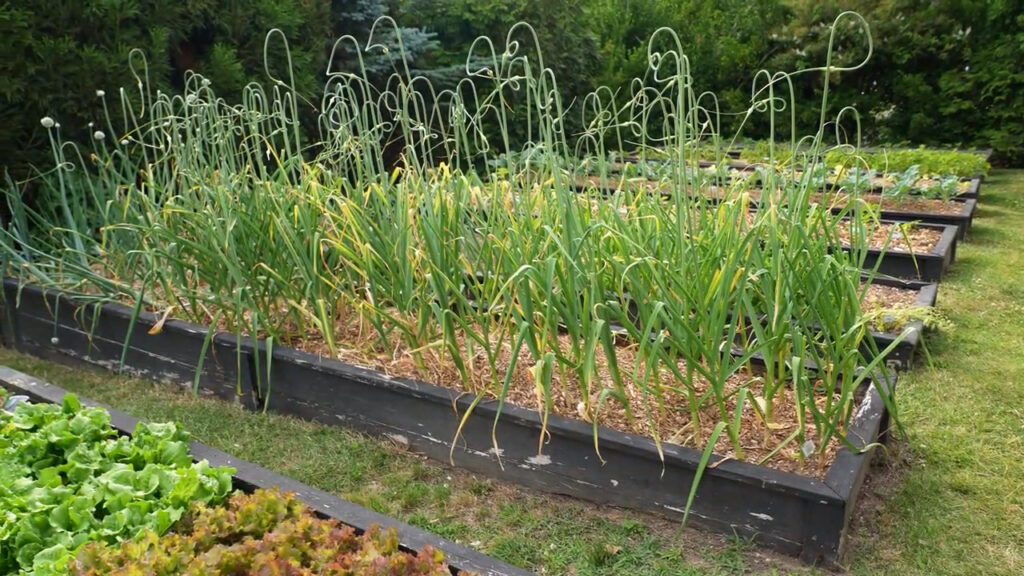
On the end of this bed, I have yellow and red onions. This bed, when I harvest the garlic and onions in summer, is gonna become my fall potato bed.
The bed closest to my driveway is my greens bed. This is the bed that has the most pressure to look pretty, since this is the path people take to my front door. So I purposely went out of my way to choose greens varieties that were colorful. I have New Red Fire lettuce from High Mowing seeds. This is heat tolerant. Then I have another quarter of the bed in a romaine lettuce called Concept, also from HMS, also with good bolt tolerance. So the front half of the bed is salad greens.
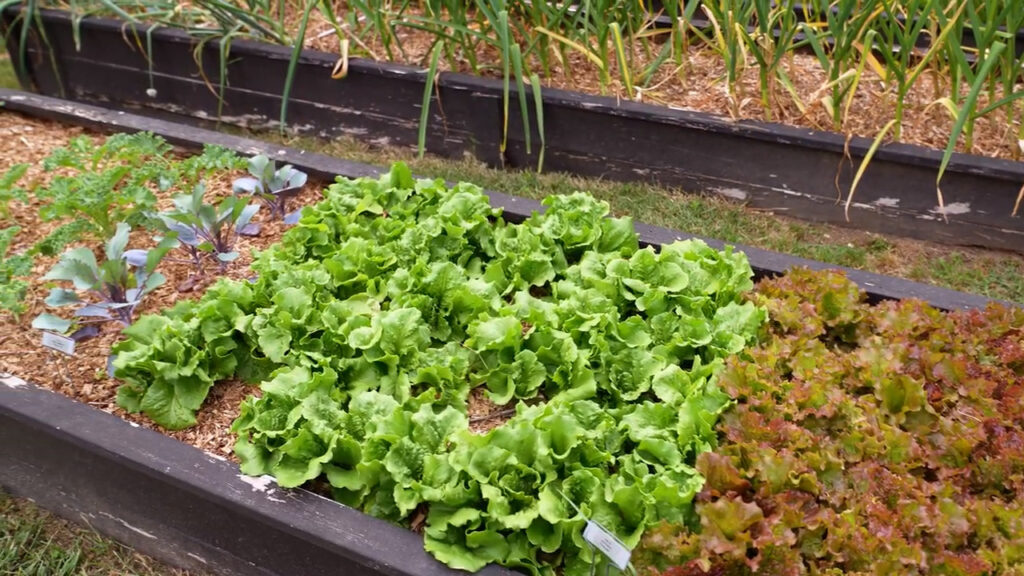
The back half is cooking greens. Here we’ve got a red cabbage, a curly kale, and Lacinato kale, which I generally prefer, but I ran out of seeds when I was seeding. In here is also a volunteer Swiss chard from last year. I just left him since he fit the theme. Lastly, a row of Red Russian kale for more color.
We eat a lot of greens in my house. An average of, I’d say, between my husband and I, a salad a day. Then I usually cook with greens at least one big meal a week. Plus, I want enough to freeze for the winter. So I’m thinking this whole bed, plus the half spinach bed (which can be cooked or eaten raw), plus the broccoli leaves, plus one more bonus bed coming up, and we have our greens situation figured out. That’s the plan anyways!
Vertical Garden & Berry Garden
To the right of my house, next to the driveway is my berry and trellis area. This is where I keep all my vertically grown crops so they don’t block the front of the house.
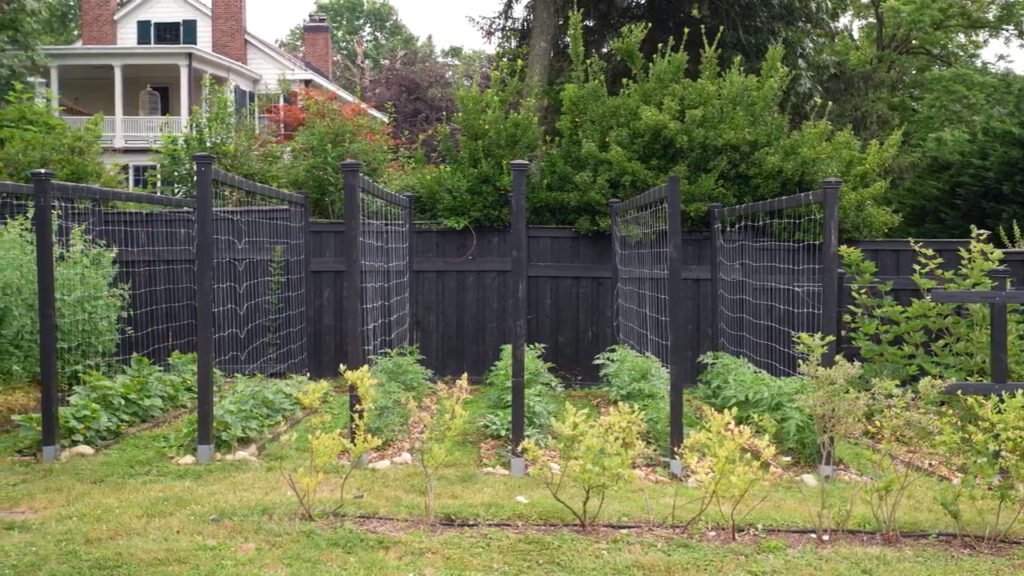
Along the driveway is my blueberry hedge, which creates a nice garden room out of the area. I planted these 2 feet apart to get that hedge effect. These are almost ready to harvest, I’m so excited!
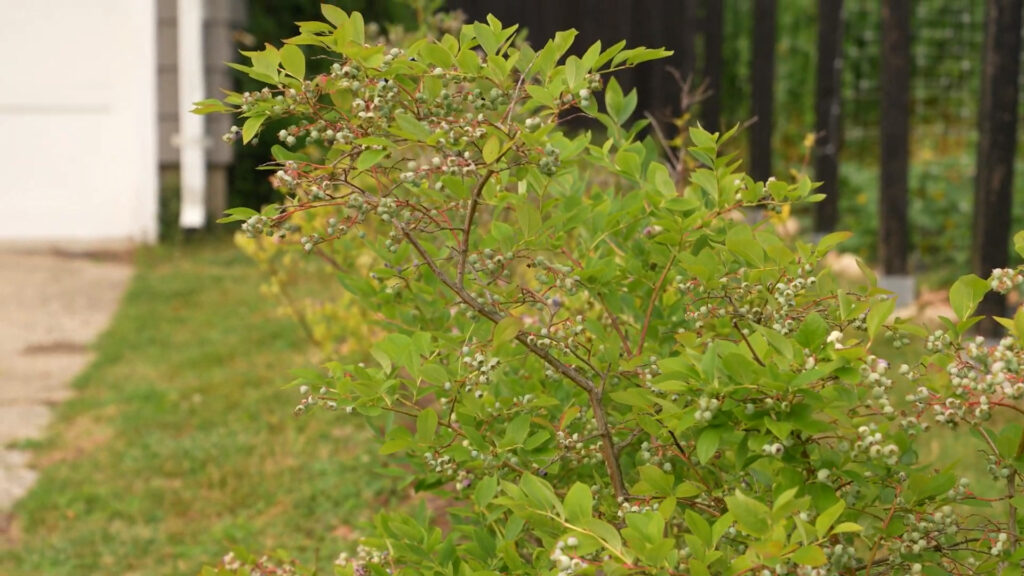
If you guys saw my last garden tour, you’ll notice I replaced a big mass of deciduous shrubs that were over here with some hollies, which are evergreen. This gave me more space, more privacy, and allowed me to plant 4 more blueberry bushes to continue the hedge. If you want to see how I planted those, check out my blueberry planting guide.
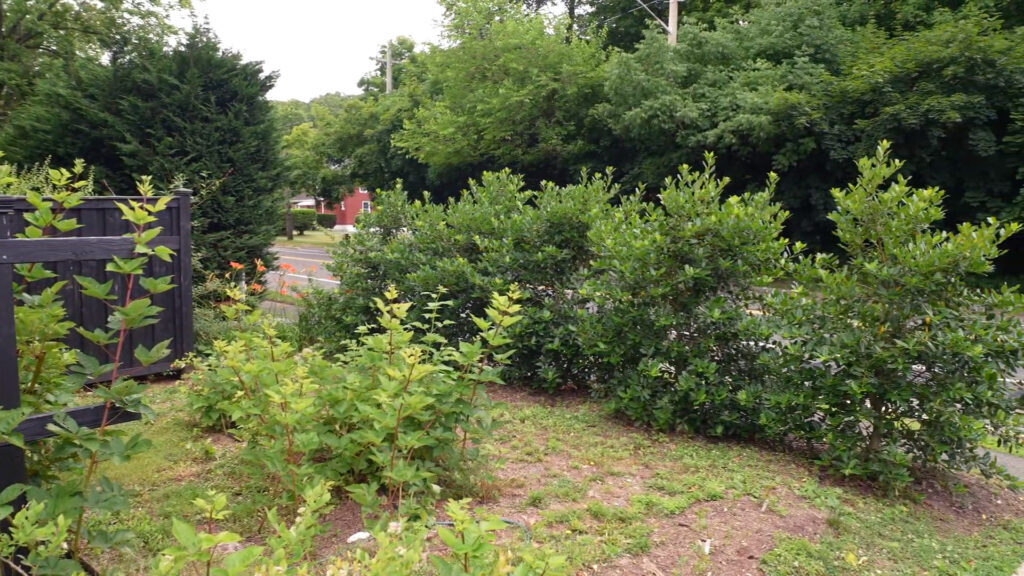
Along with creating more space for the blueberries, the hollies also gave me room for a new raspberry bed. Like the shortcake raspberries in my foundation bed, these are also ready to harvest. I’m hoping to build a trellis for these guys this year, because it is just pure chaos.
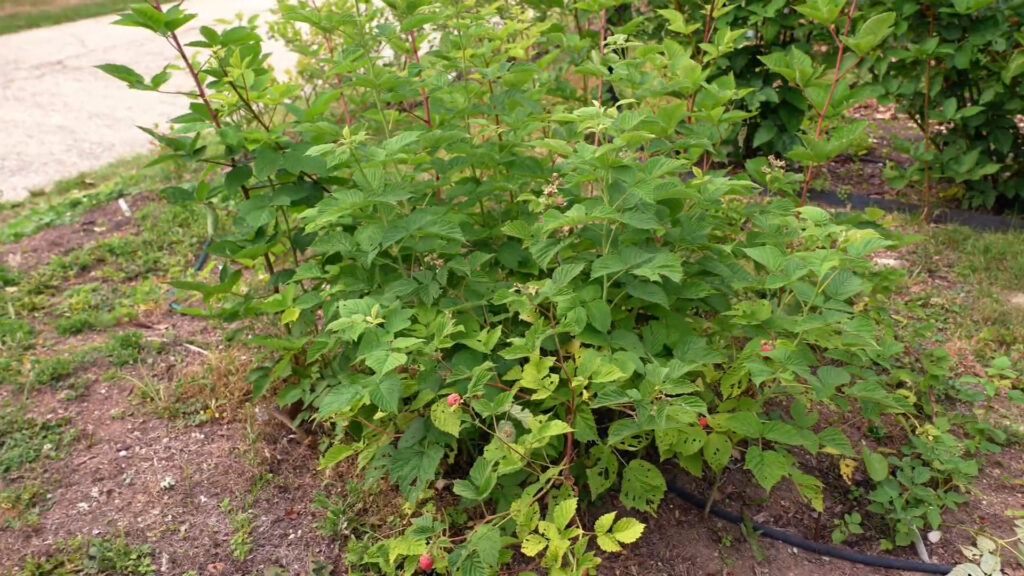
But check this out, most of the chaos here is not from the raspberries. If you look close, you’ll notice these are actually blackberries. And where are they from you ask? From the blackberry bed next door, which is several feet away! I even have blackberries in the blueberry bed, this is how serious the runners are.
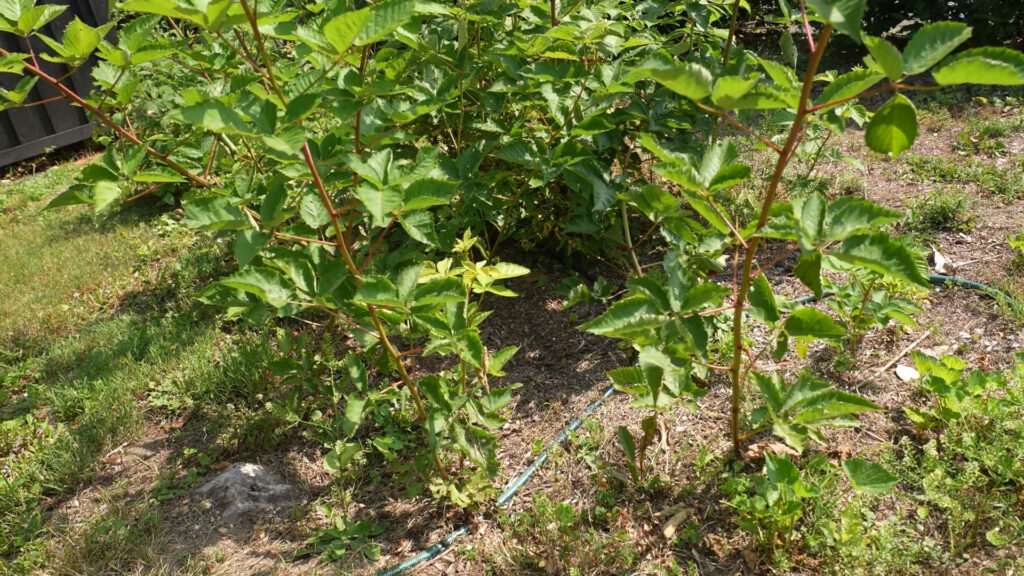
I have two total blackberry rows in the garden. The reason there’s so much space between the raspberry and this blackberry row is because I thought I was going to transplant the rows over. When I built these trellises, I put them way too close together. It is nearly impossible to get in between them. But good news is that the blackberries don’t actually need trellises that wide, so this year, I’m gonna shorten the arms and restring the wire and see if that helps. If that works, and I can get in there, I’m gonna use that extra space to squeeze in another row of raspberries.
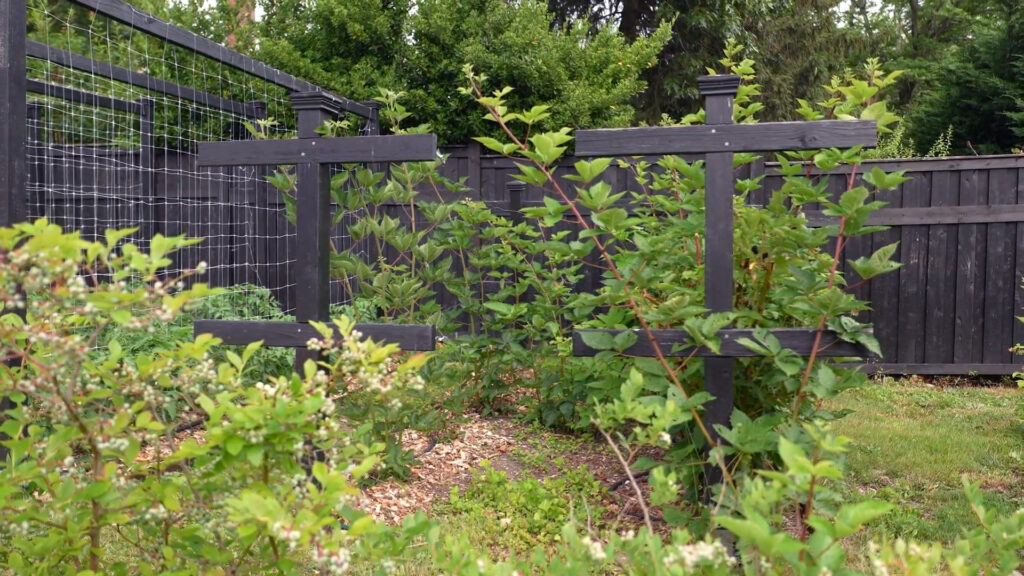
Next to the blackberry trellises I have my vegetable trellises. I have gotten so many questions about these trellises from my last tour, I finally made a vegetable trellis building tutorial, if you want to check that out.
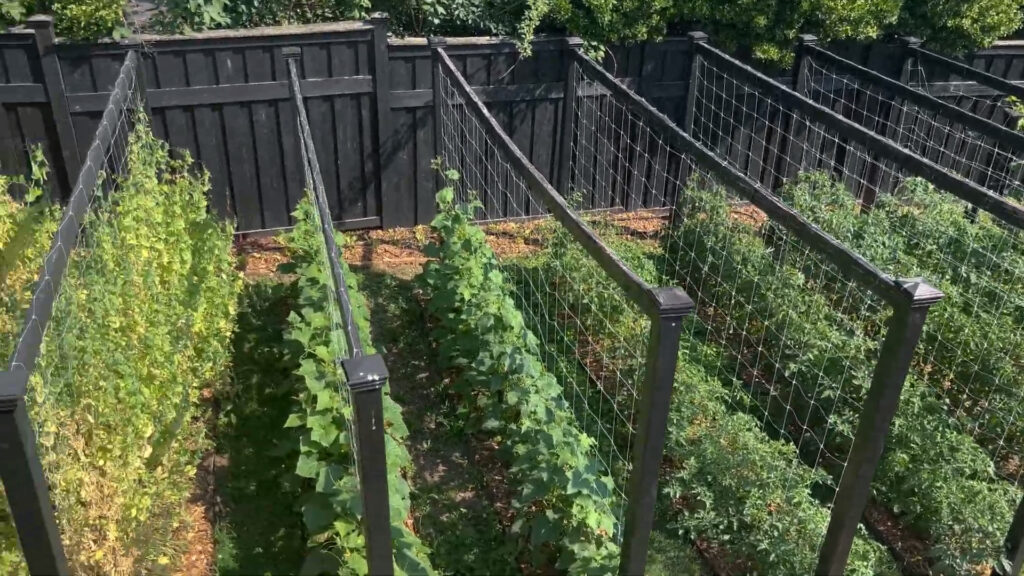
These first four rows are tomatoes. I have one row of Damsel slicing tomatoes, which is the best slicing tomato for BLTs. It’s a variety from High Mowing Seeds. Then another row of slicers, two varieties, Arbason and Rutgers. Then a row of paste tomatoes split between two varieties. Almost all of the paste tomatoes get canned for winter. If I have an overabundance of slicers or even cherries, I’ll can those, too, along with the paste. And then there’s a row of cherry tomatoes, Montesino, which is sweet, for the hubs, and Sunrise Bumble, which is acidic, for me.
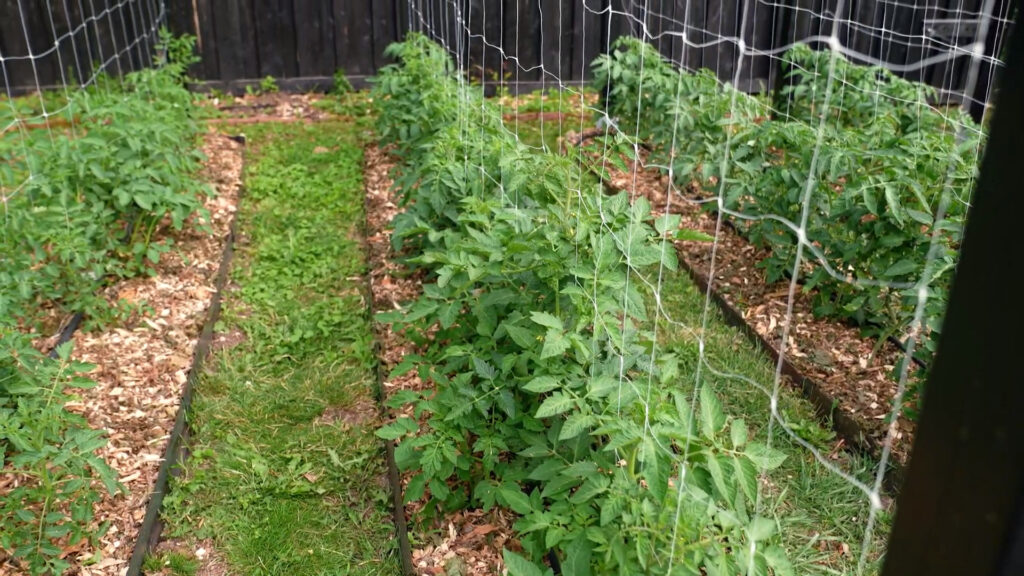
These are all indeterminate tomatoes, which is why these trellises are so high. Depending on the weather and the variety, they will absolutely reach the top of these 7 foot trellises and that’s when I have to start pruning the tops, no joke.
I have to tell you, I’m so excited about these tomatoes this year. They are so healthy looking, healthier than ever. I really think it’s because I got serious this year with the soil amendments and fertilizer. I just came out with a bed prep post, so check that out if you want to learn more about what I did to the soil this year.
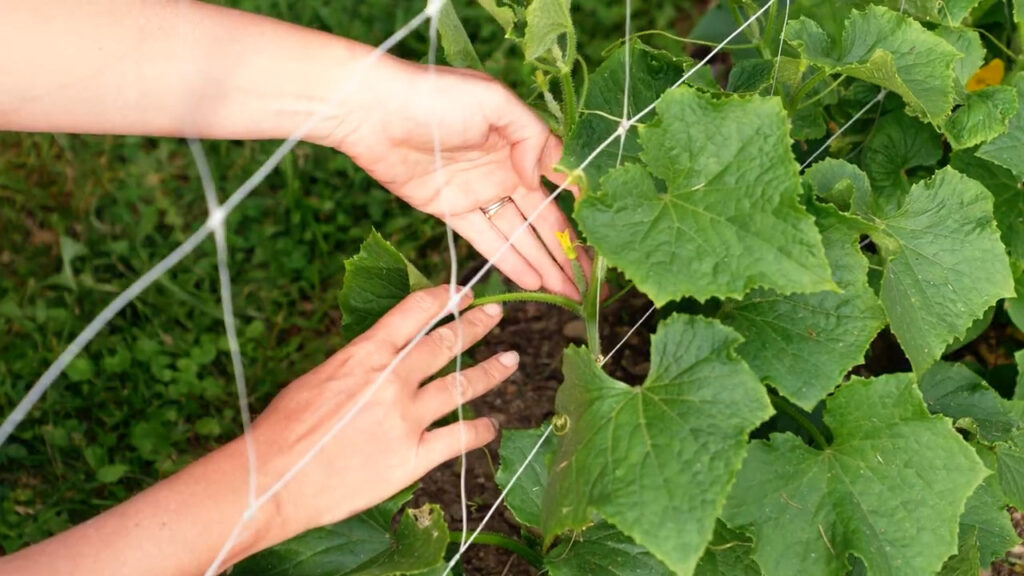
Next to the tomatoes I have two rows of cucumbers. Half of one of the rows is a pickling variety. I have to tell you, I have not really had a lot of luck with pickling varieties, but I’ve been pretty impressed so far with these. I really like that they’re earlier than my regular cucumbers. So I may do a full row of these next year, just so I can get early cucumbers. We will see how they do on cucumber mosaic virus, though. That is something I battle every year.
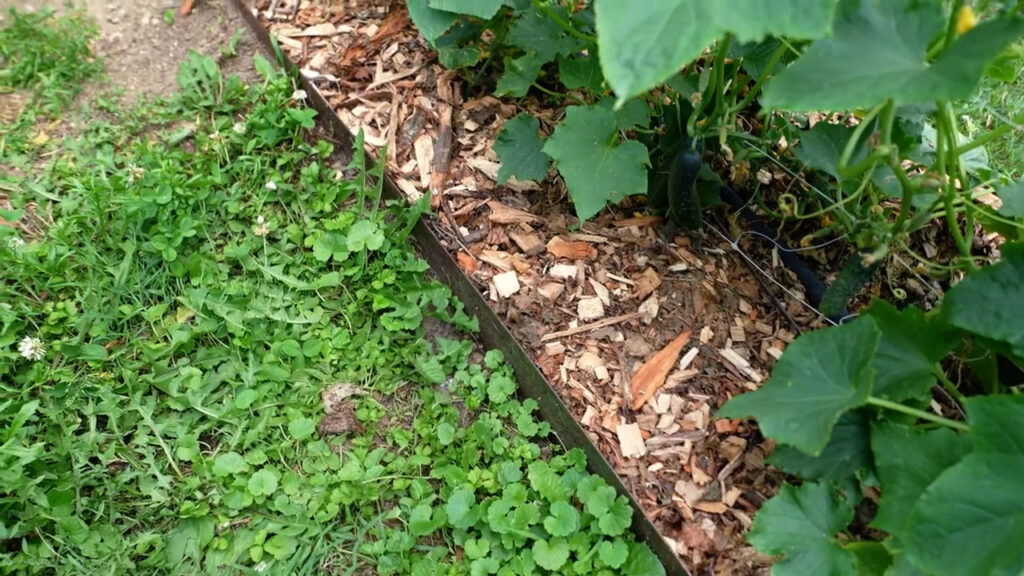
In the trellis area, you can really see this new edging I put in. You guys, this looks so nice! I got this from Edge Right, who are sponsors of mine. I’ve had some time working with this edging now and all I can say is that I like it even more than I thought I would, and I thought I was gonna like it a lot! One of my favorite things is that when I water, the water actually stays in the rows instead of trickling down and pooling up in the pathways, where I most definitely do not need water. Another thing is that it just so beautifully holds the wood chip mulch I’m putting in. It’s not getting kicked or washed out by rain into the pathways. I just love it. It just looks so sharp.
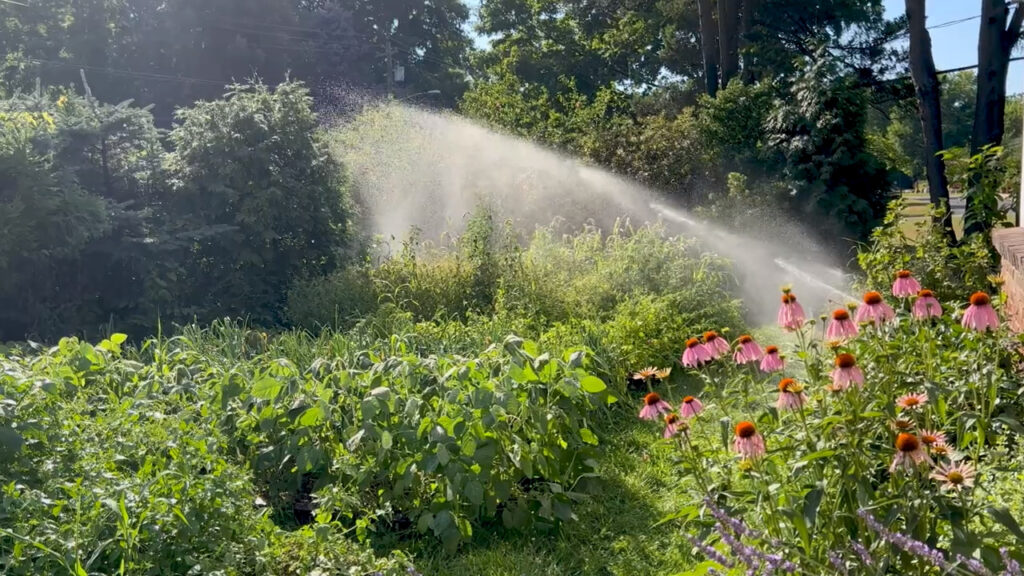
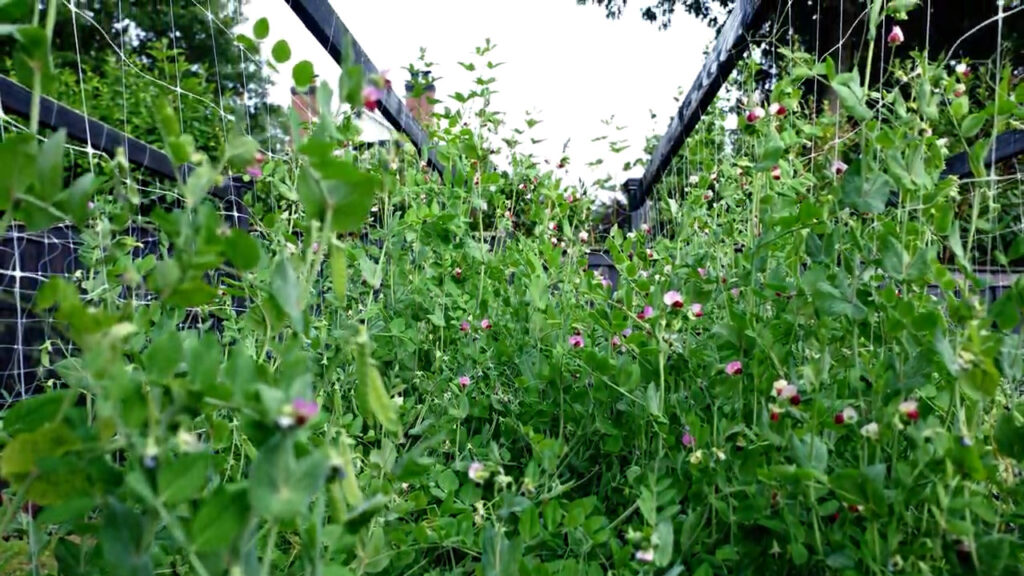
The next two beds are peas, actually a snow pea. Aren’t these flowers gorgeous! I used to plant both snow peas and regular shelling peas, but I found that the snow peas, if I let them mature past the tender pod phase, I can just shell them like regular peas. So this is actually a three-in-one crop for me, because pea leaves are also edible. I’m gonna harvest some of these now for a salad.
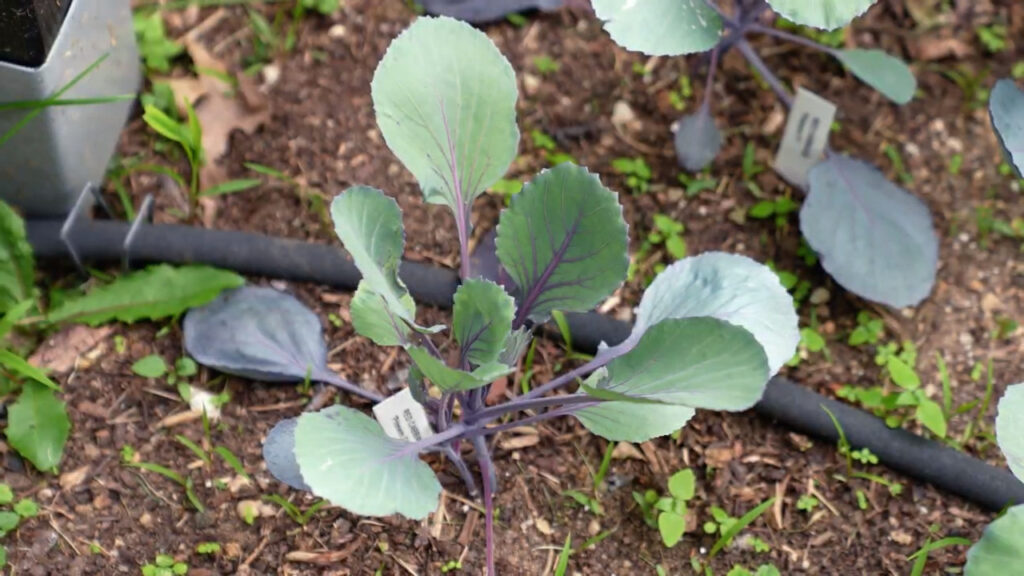
The last trellis row I used to plant my melons in, but decided to put them in the raised beds this year. So instead, I put some cauliflower and red cabbage in this bed. I put the netting up since they don’t need a trellis, but I didn’t have another bed for them. This is not the best place for cauliflower, since they’re gonna get a fair bit of shade from the trellised crops, but it was either this or no cauliflower at all. So, whatevs!
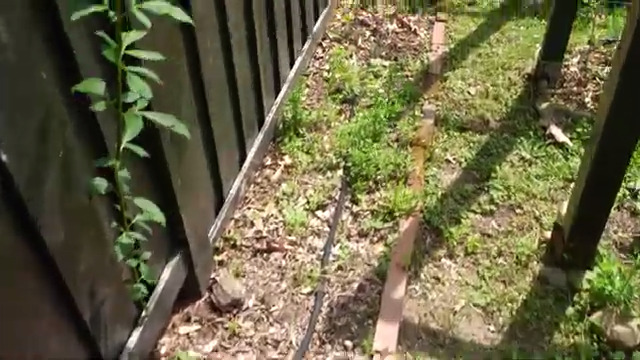
Along the back fence I have another in-ground bed. This one also gets a lot of shade, so I reserve this one for greens mostly.
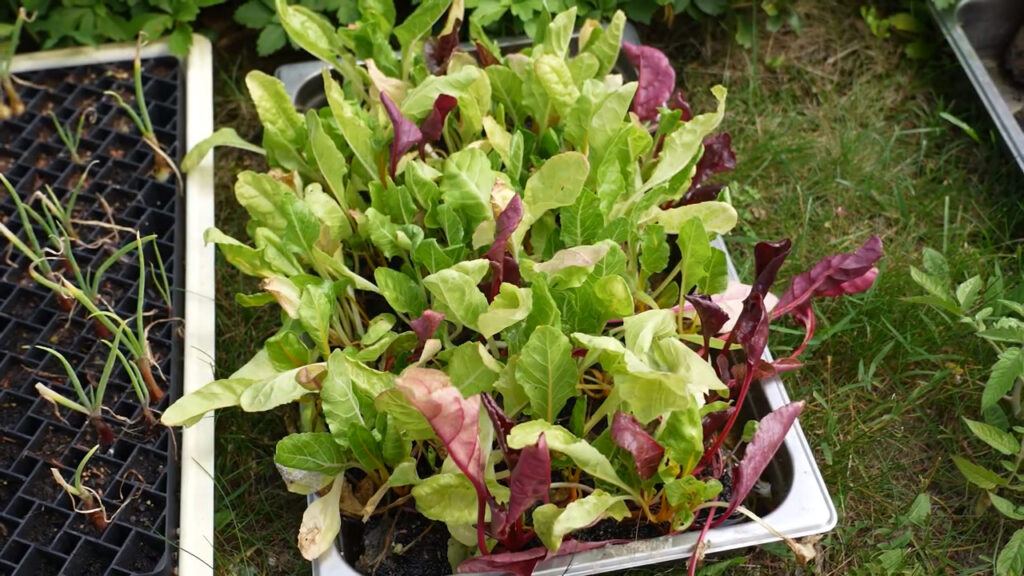
I have a tray of Swiss chard I started indoors in soil blocks I need to plant, along with some leftover kale seedlings I’m gonna throw in there.
So that is my front yard garden!
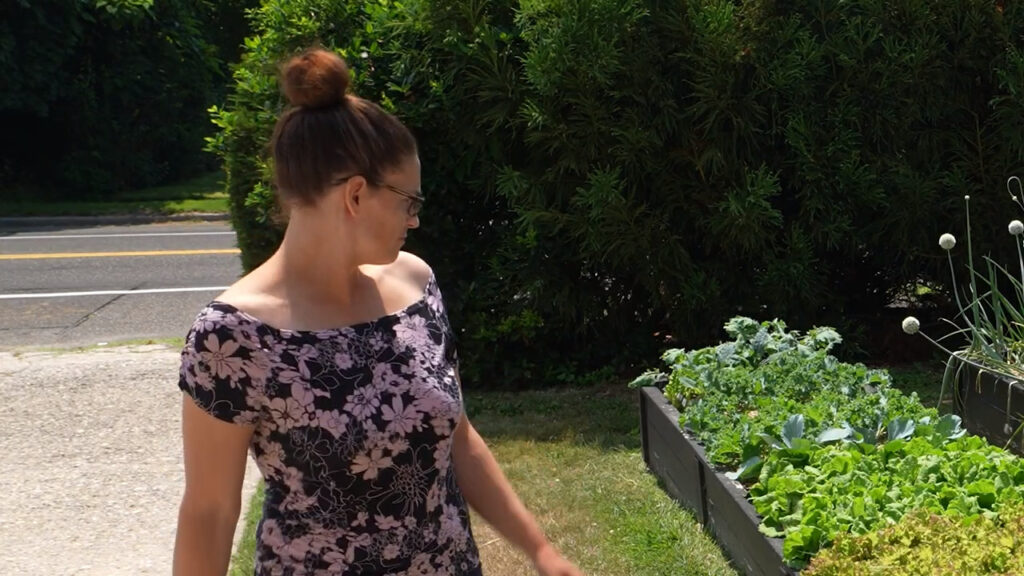
As a lot of you know, I live on a busy road with frequent traffic jams and a lot of pedestrians. So this garden definitely gets a lot of attention. It probably doesn’t help that out I’m here with a camera talking to myself either!
I’ve been working on this garden for 13 years. It is source of pride, frustration, embarrassment sometimes, sunburns, joy, bug bites, sore muscles, amazing meals, friendships, exercise, you name it. I think more than anything, though, inspiration. Inspiration to just enjoy and appreciate nature and the good role that humanity can play in the Earth. So, I hope this tour has inspired you to feel the same and gets you out in the garden no matter where you’re at in your journey.
Remember to sign up for my email newsletter for more garden resources. Keep gardening like a boss and I’ll see you guys soon


Leave a Reply