This post is in collaboration with my friends at Edge Right. All opinions and words are my own.
If fertilizer, amendments, and soil pH are a mystery, stick around. Today I’m gonna take you through how I prepare the soil in my in-ground and raised bed vegetable garden every spring to keep it gorgeous and incredibly productive.
Check this out, this is the before on the right here and on the left is the after.
1. Remove Obstructions
First off, guys, I want to show you what I’m starting with here. As you can tell, these beds are a little out of control.

The first step to renovating this mess is going to be removing any obstructions.
For me, that means rolling up the netting in my trellis beds, and moving my soaker hose irrigation lines and landscape pins out of the beds.
I usually have wood chip mulch in my beds over the winter. So I’d rake that out and compost it if that’s the case.
2. Vegetable Garden Layout
Because these beds are in-ground, I’m in a constant battle with the grass and weeds taking over.
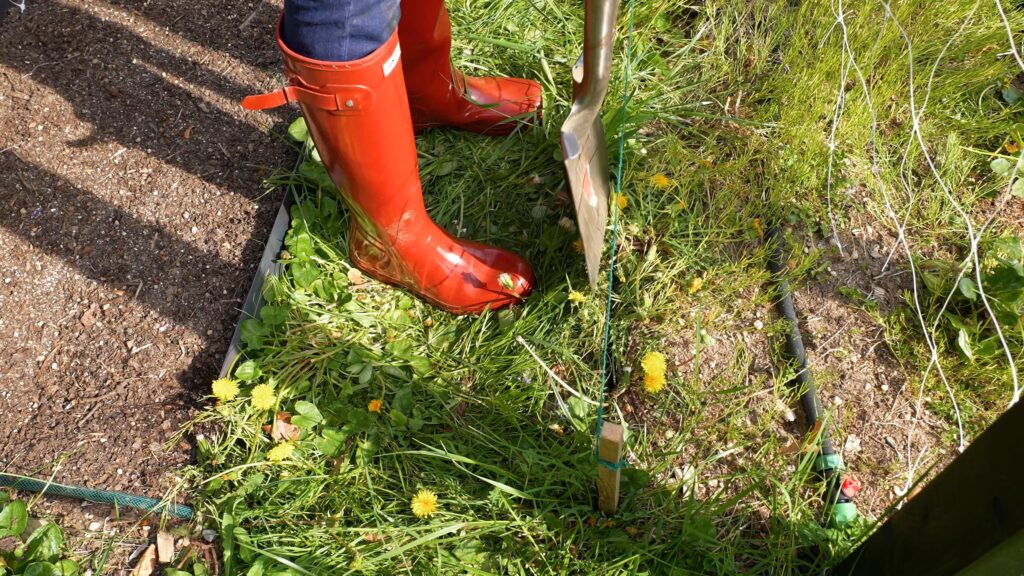
So the next step, every freakin’ year, is remeasuring the beds. My beds are 24″ wide with 18″ walkways and the trellis runs down the center of the beds.
I stake the four corners and run string to define this ever-receding edge.
3. Edge Your Vegetable Garden Beds
At this point, I usually use a spade to dig a fresh line every year and call it day.
I have used old bricks as edging in the past but haven’t been happy how they’ve shifted over time. So that is why I am so excited to talk to you guys about today’s sponsor, Edge Right.
I have been wanting steel edging for a very long time for so many reasons. It’s thin, so I’m saving tons of space. It lasts forever.
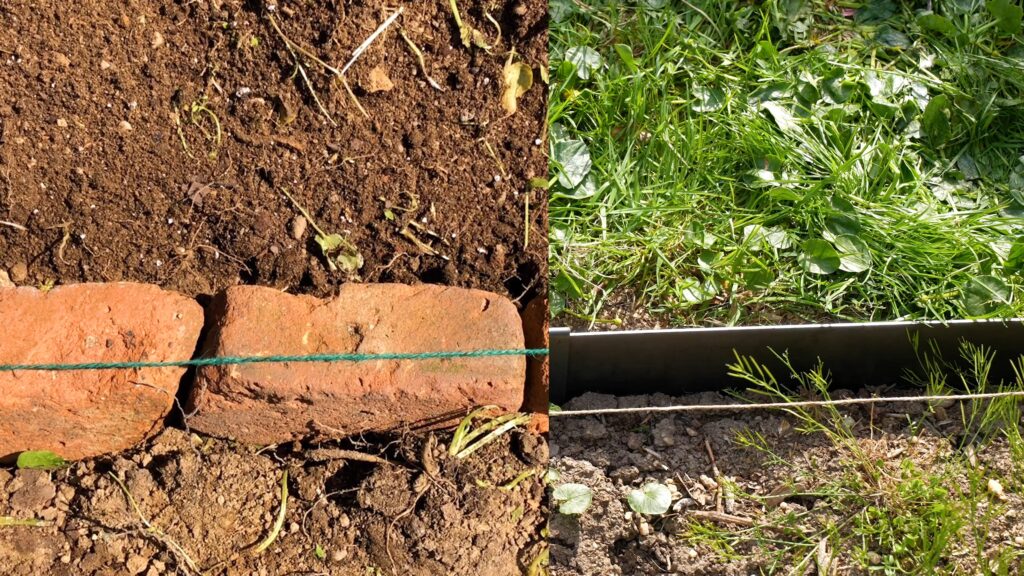
And I’m not gonna lie, I am really tired of maintaining this edge throughout the year. It’s recyclable and non-toxic. It prevents weeds above ground and below ground. And let’s be real, this stuff looks boss.
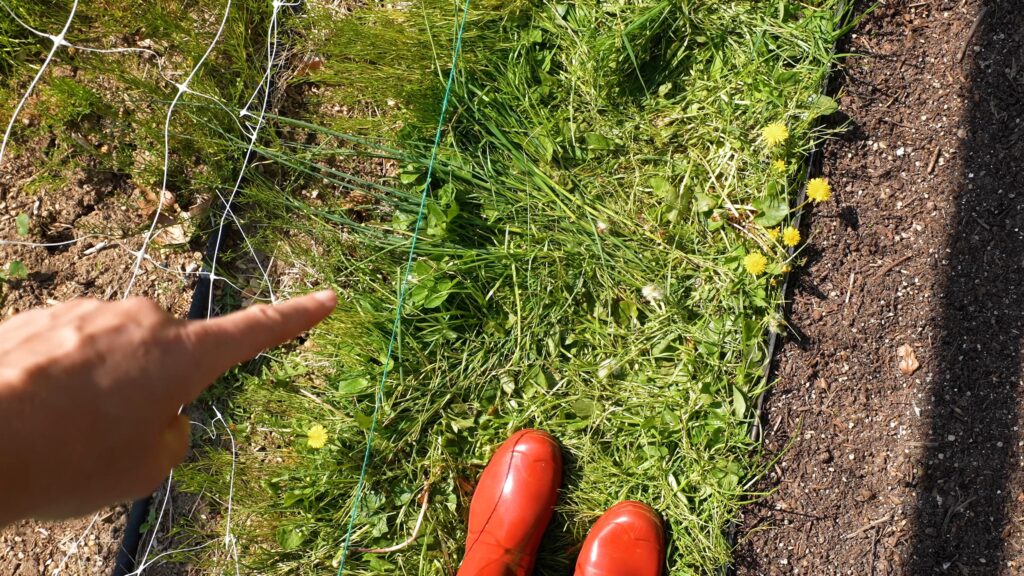
So let’s get it installed.
We already have the straight path we spaded so we’re halfway there. Place the edging in that line, making sure to keep it completely vertical.
To protect the edge, use a wood block, and dead-blow hammer to drive it into the ground. My soil was super compacted, so I had to pull out my 10 lb. sledge hammer a couple times. Then, just continue the line with new edging pieces, overlapping them if you need to shorten the length.
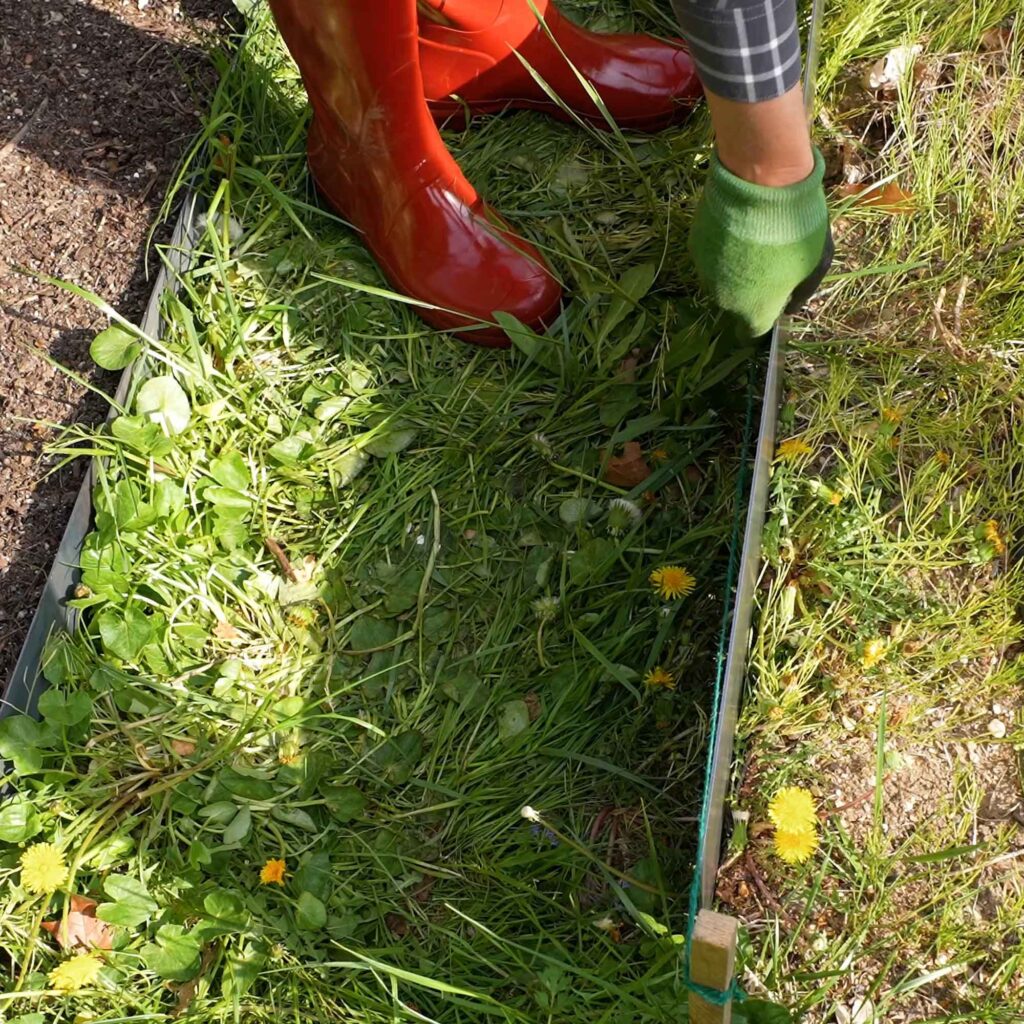
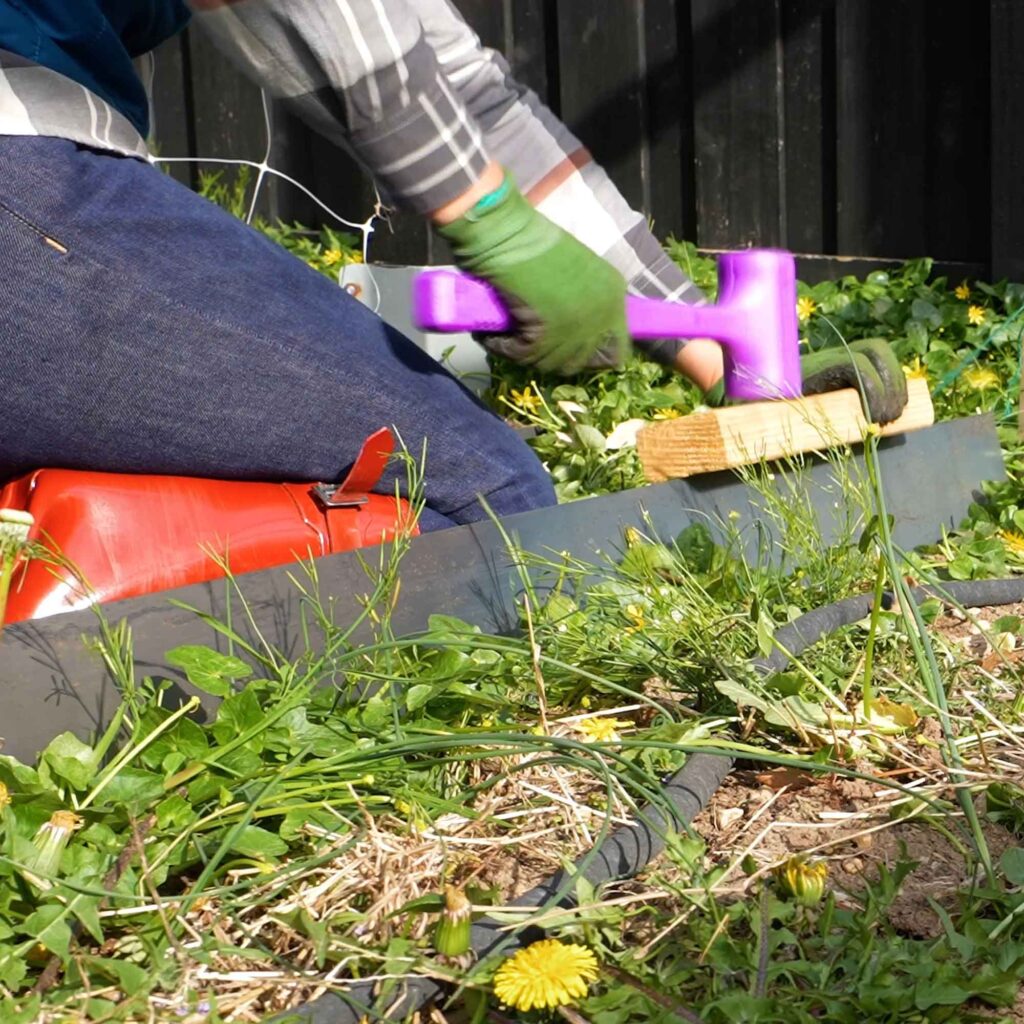
Pop the edging connector on and you’re done. That easy. My weeds already look better!
4. Get Your “Well-Draining” Soil
No matter how you’ve defined your edge, the next step is loosening the soil to get that all-important “well-draining soil.” Rule number one, don’t step in your beds since that just makes any compaction even worse.
You’ll need the ground to be thawed if you’re working the soil in early spring. For me in zone 7A, that’s about a month before my last frost date, so late March.
If it’s really compacted or it’s a new bed, I use a broadfork. For established fairly loose beds, like these, the garden fork is the way to go. My favorite is the Spear & Jackson garden fork. Super high quality and most importantly has a long handle so I’m not stooping and destroying my back.
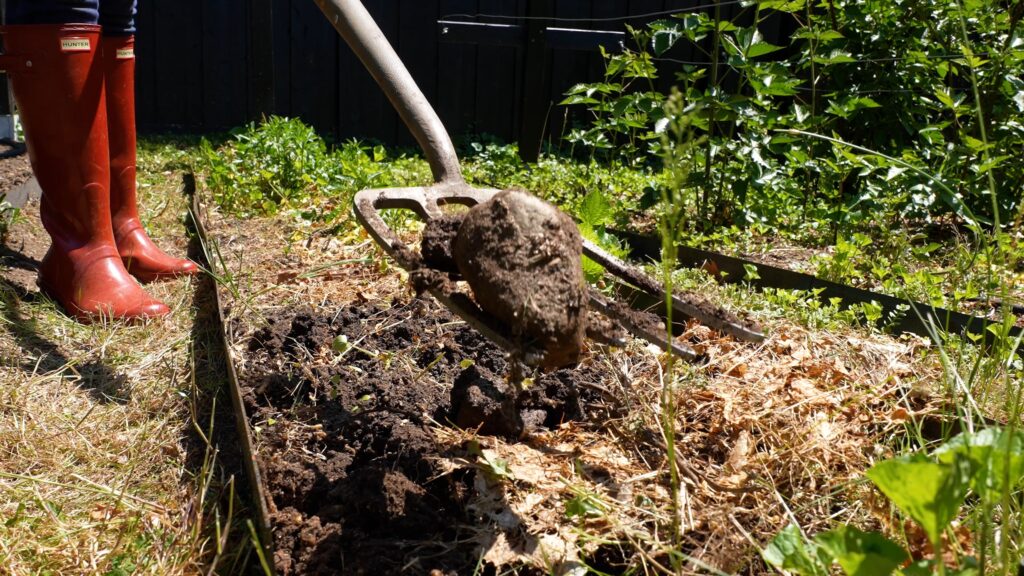
Initially, I was a little worried that I was going to dislocate the edging with the garden fork but it is solid. It is in there. And you can treat it like a raised gardening bed once it’s in there. No matter how deep I forked or how close I got, it never moved. So I’m real glad I put it in first.
5. Roots, Rocks & Weeds
What’s great about using a garden fork is that, as you work the soil to improve drainage, you’re also going to dislodge weeds and old plantings, roots and branches, rocks… I even found a brick once.
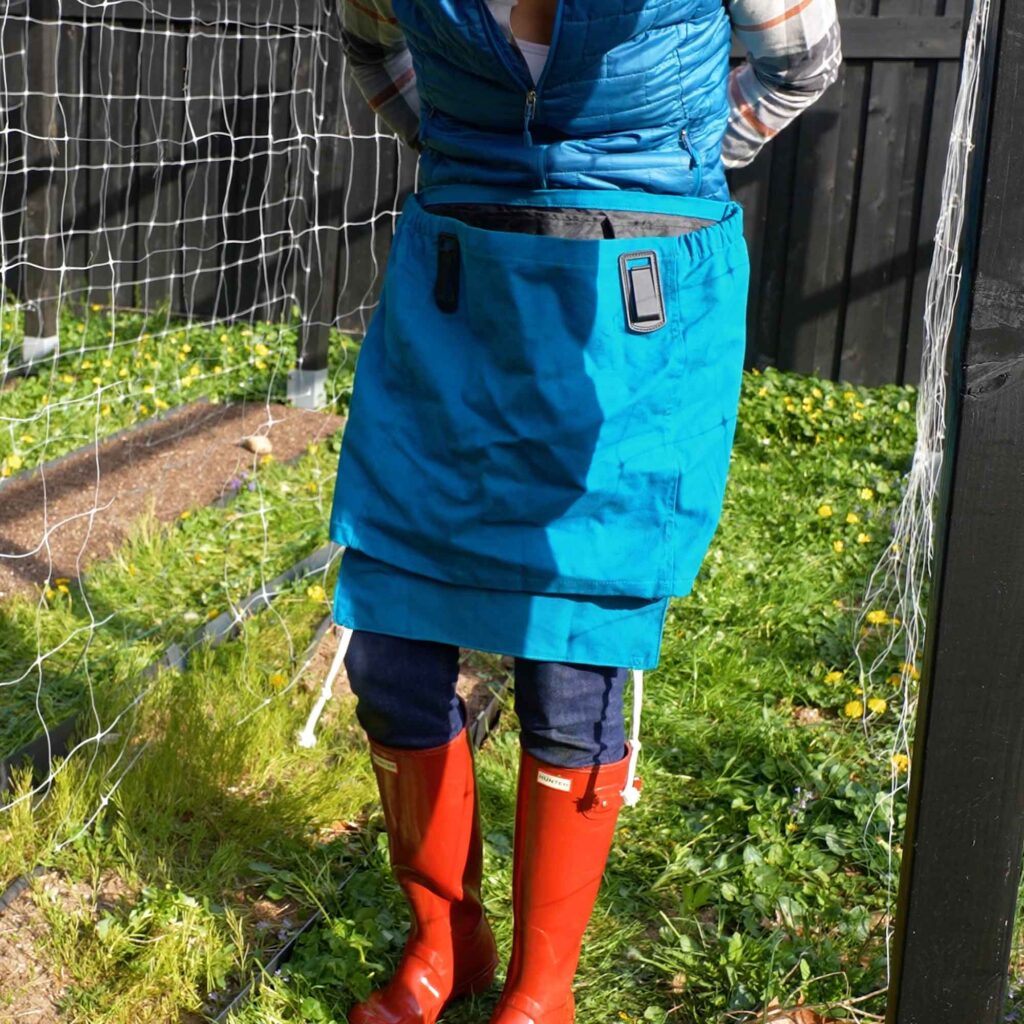
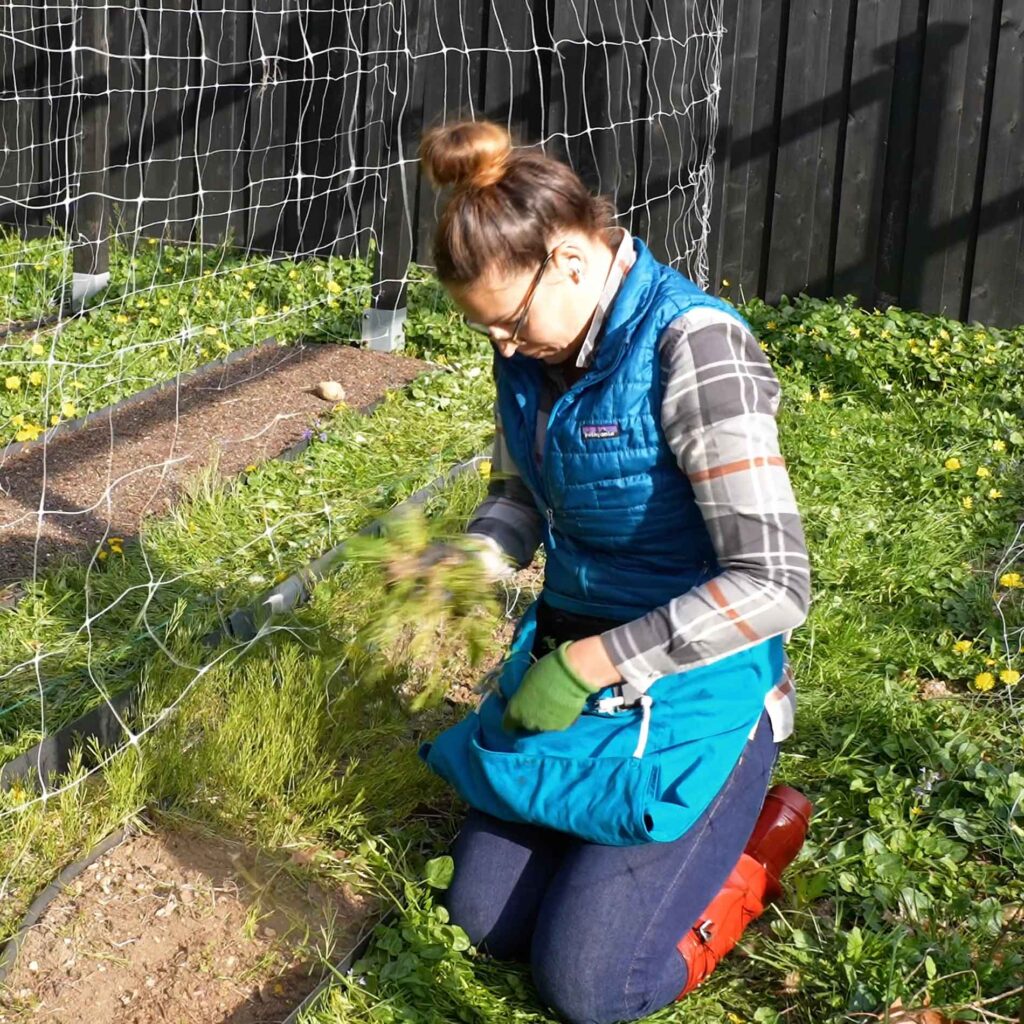
You can pick all this up as you go along. Or, if I’m doing a lot at once, I’ll leave all this on the surface, and then come back through wearing my Roo apron and pickup all the debris. All this goes into my compost bin. Unless it’s a rock. Heck with rocks!)
6. Test Garden Soil pH & Amend
Next up, soil pH. I usually check mine once a year in spring. I used to be scared by pH, but, you guys, don’t be scared. It’s easy. And fun.
In a nerd kinda way.
I’ve used the liquid testing kits before. But I just switched to the Lawnful digital pH tester, which is more precise, less messy, and you don’t have to wait as long.
For a vegetable garden you want your pH to be 6.0-6.5. If it’s below that range, meaning it’s acid, you’ll want to add lime. My favorite lime is the garden lime and dolomite lime from Down-to-Earth, both organic and OMRi-listed.
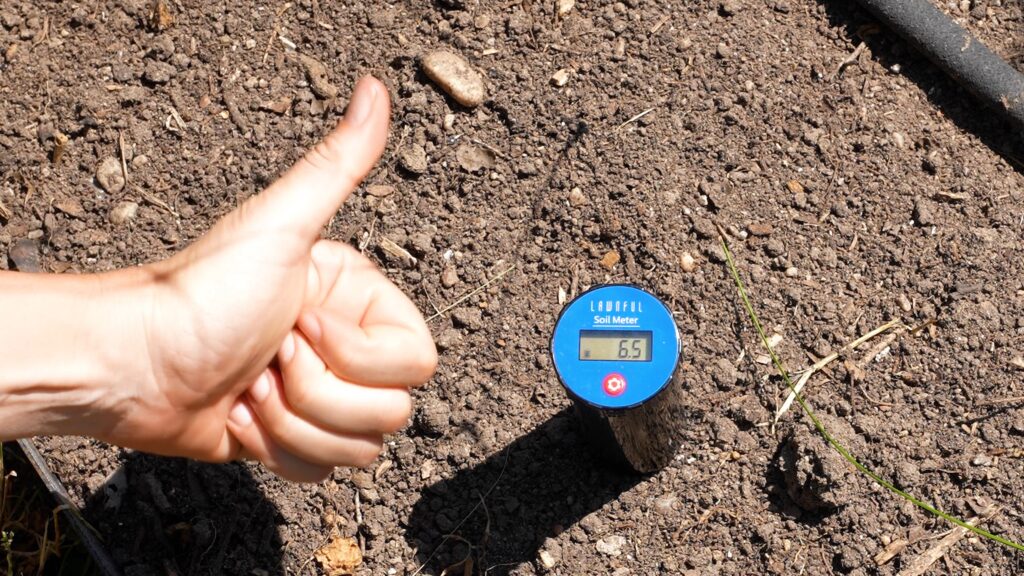
And if it’s above 6.0-6.5, meaning it’s alkaline you’ll want to add a soil acidifier. My favorites are Espoma’s soil acidifier and Jobe’s acidifer, which is organic and OMRI-listed.
7. Fertilizer for the Vegetable Garden
In addition to adjusting the pH, I also fertilize every spring, and if I’m being good, on a regular basis throughout the season, too.
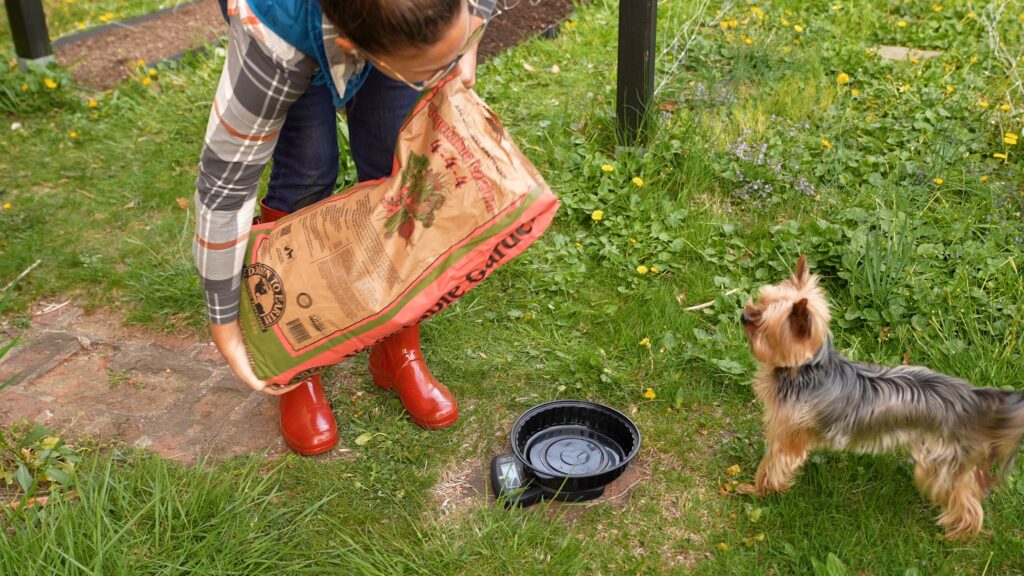
My favorite fertilizer is Down To Earth’s 4-4-4 vegetable garden fertilizer, also organic and OMRI-listed. Apply 3-6 lbs of this per 100 square feet for new garden beds. My beds are 26 sqft each, about a quarter of that, so I did 1 lb. per bed.
If you’re trying to acidify your soil too, you can use an acidifying fertilizer like Down To Earth’s 4-3-6 acid mix. This is what I use on my blueberries, blackberries and raspberries.
If you guys have a favorite amendment, fertilizer or soil prep routine leave it for us in the comments below so we can all level up our soil game.
8. Add Compost to Garden Beds
Next up is compost, something I add every year without fail. Compost aerates, and adds nutrients and organic matter back into the soil. I don’t have clay soil, but if you do, compost is also gonna be your best amendment since it helps increase drainage and reduce soil compaction.
I try to make as much of my own as possible in my two compost bins. I sift out the larger particles with a homemade sifter I put on top of my wheelbarrow.
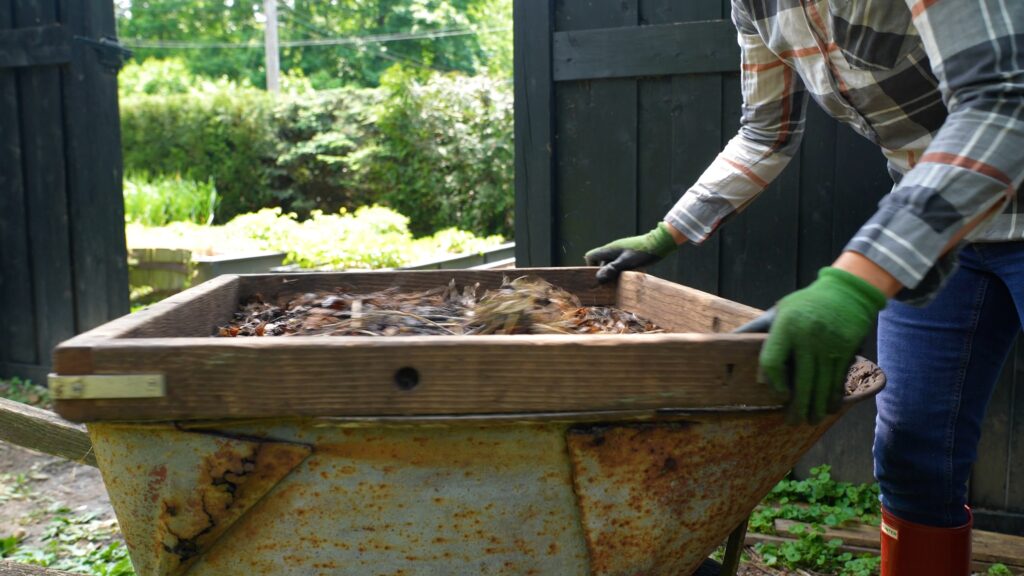
You can buy compost by the bag or by the yard. It can be delivered or you can pick it up yourself if you have a truck or trailer. I apply one wheelbarrow per trellis row, and two for each of my raised beds.
9. Mix & Rake in Compost & Fertilizer
From there, I use my garden fork to combine the soil, fertilizer and compost. I rake it smooth with the back of a rake.
Then, down the middle of my beds, I add back my automatic soaker hose irrigation system, put my trellis netting back, and we are ready to plant!
If you guys are in the middle of planting, too, download a free PDF planting guide that shows you the plant spacings for all the top crops—both row and square foot spacing. (One day I’ll memorize all this stuff, but yo, that day is not today.)
Check out these amazing before and after shots!
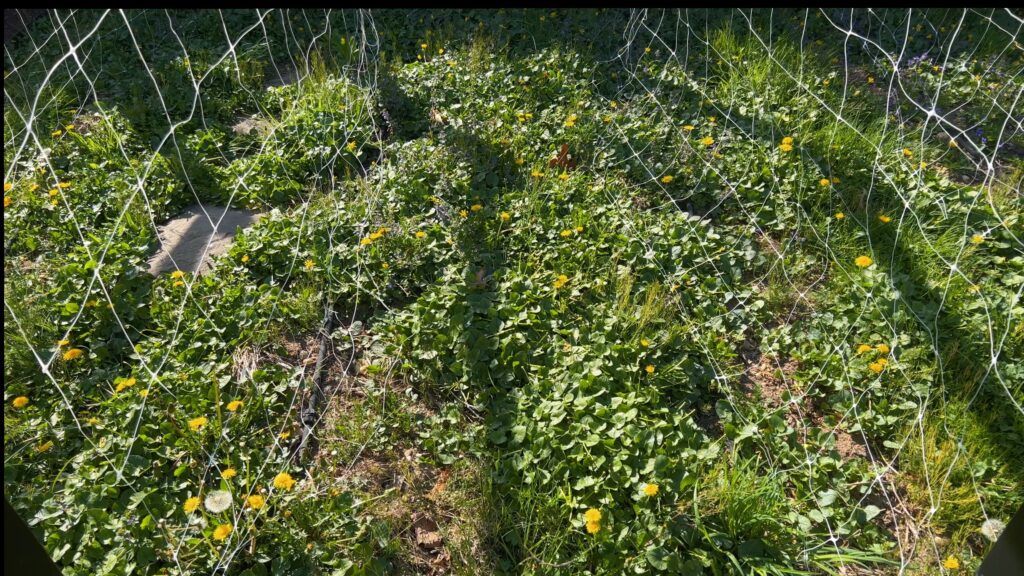
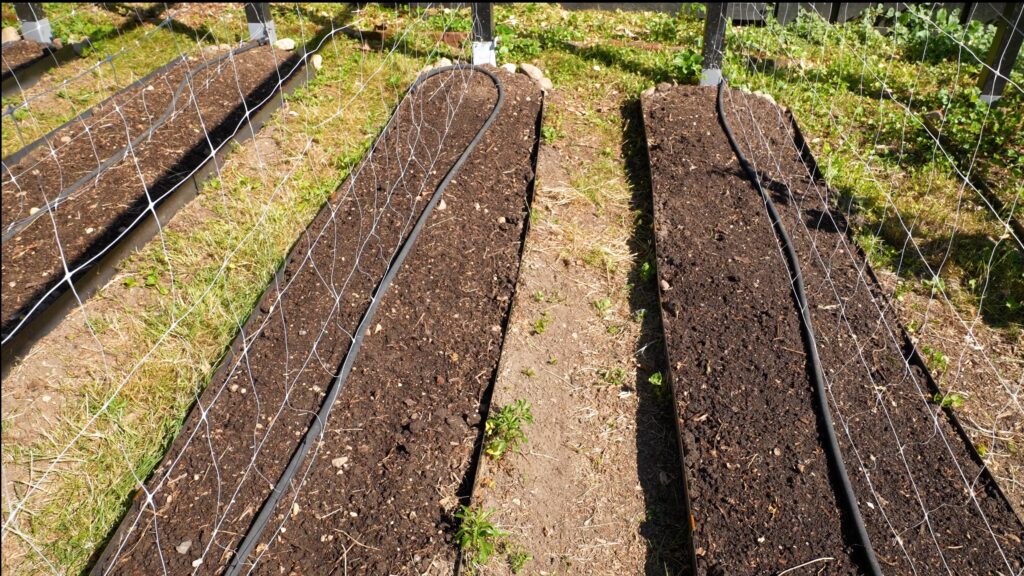
I cannot tell you how happy I am with how these beds turned out. There is something so awesome looking about freshly composted garden beds. And I have struggled for so long to keep these beds tidy and defined. This edging is gonna save so much time and is just incredible looking. These beds are really gonna make even more people stop at the end of my driveway and take pictures!
I hope this post helped you out. Remember to sign up for my email newsletter for more garden resources. Keep gardening like a boss and I’ll see you guys soon!

This post is sponsored by Edge Right. View the full ReSprout advertising disclosure.


Leave a Reply