Strawberry season is here! So today, we’re gonna talk about how to plant strawberries in raised beds. Strawberries are a great plant for beginners to start with because there’s virtually no diseases or pests to worry about. They’re very easy to care for—and who doesn’t like strawberries!
I’m gonna take you through each of the steps including where to get plants, how to prepare soil with fertilizer and the right pH level, how to space your plants, and at the end, I’ll share a trick for postponed planting!
Where to Buy Strawberry Plants
This year, I bought my strawberries from Stark Bro’s, but I have also purchased plants from Raintree Nursery, and both are great places to get strawberries.
There are two types of strawberry plants, everbearing and June-bearing. These are exactly what they sound like, with everbearing producing fruit throughout the season and June-bearing around the month of June.
I usually recommend June-bearing if you have a smaller growing area. The reason why is because it’s a little annoying to only get one strawberry a day, which could be the case if you have a smaller strawberry patch.
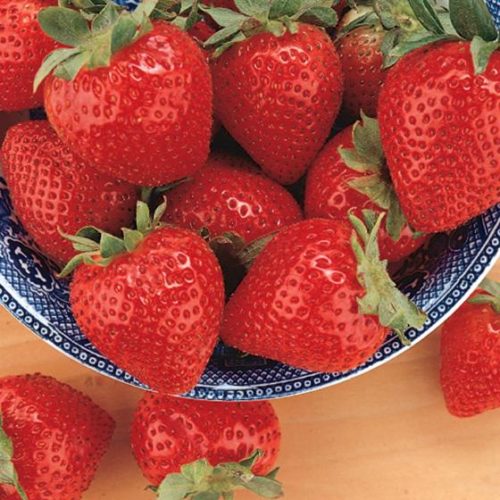
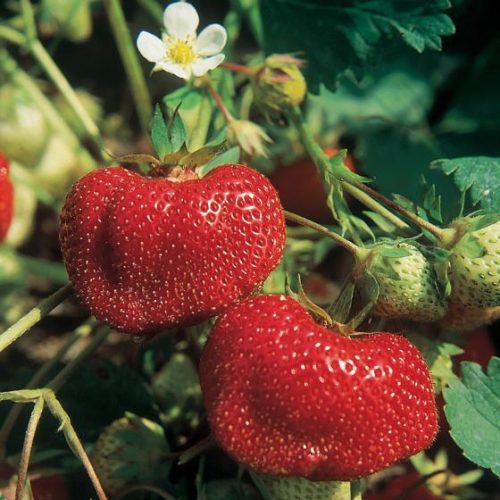
The strawberry bed I’m going to do this year is about 14 x 3 feet, or about 42 square feet, so I am going to give everbearing plants a try. I decided to go with the Tristar variety from Stark Bro’s, which is pretty popular.
Let us know your favorite variety, and whether you like everbearing, June-bearing or both, in the comments below.
The Best Soil for Strawberries
After you’ve decided which variety is best, it’s time to make sure you have the right soil type for your new bed. Strawberries are what they call a “heavy feeder”, which means they want high nutrient soil with high levels of organic matter. Strawberries also like well-drained soil. Not sure if your soil is draining adequately? If it is, it will be nice and loose. Take a look after a rainstorm—there should be no standing water.
If you need to improve your drainage, you can add compost or peat moss. Both will loosen your soil and make it lighter. If you also need to improve the nutrient content of your soil, the best thing to do is add compost, preferably homemade compost.
Strawberry Soil pH
Let’s talk about pH! I was scared of pH when I first started gardening and totally ignored all of the recommendations about testing pH before planting. However, I’m here to tell you that testing pH is super easy and not scary at all! I got my test kit from the local Cooperative Extension, or you can get test kits online. It takes just ten or fifteen minutes to test your soil, and the benefits are worth it. Having the correct soil pH will make a ton of difference in your plants, especially if you are planting perennials that will be around for several seasons.
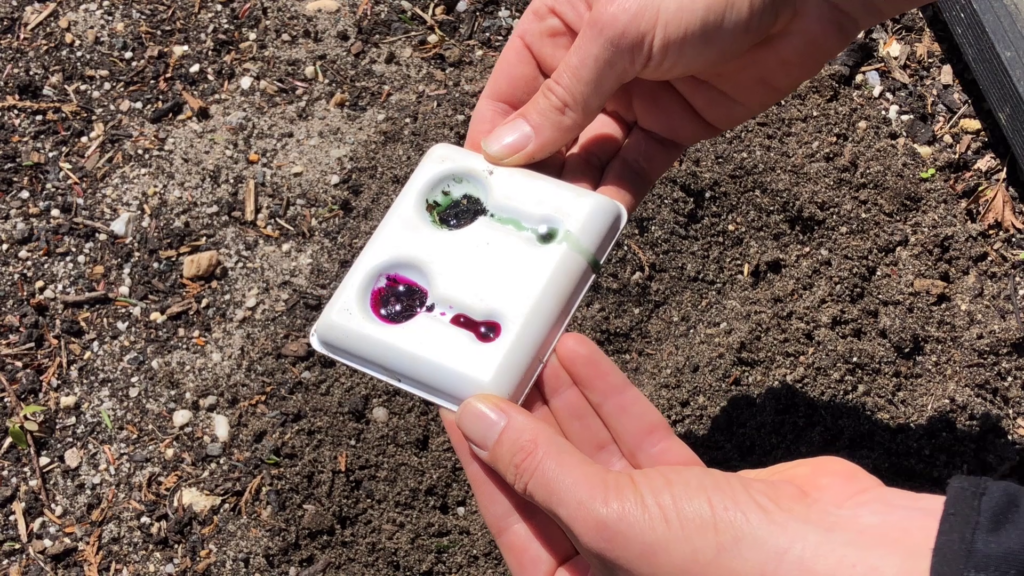
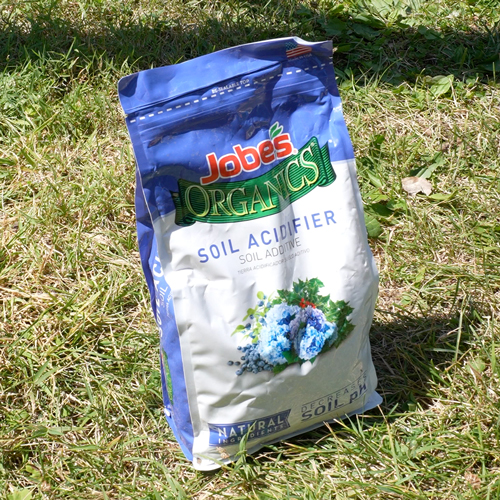
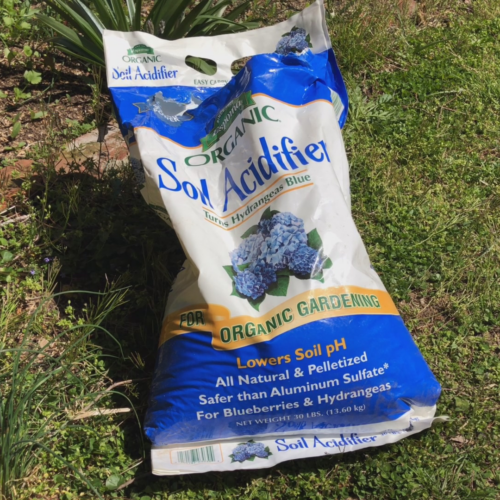
I did a quick test on my new strawberry bed, and it came out to about 7.2. Strawberries need soil between 5.5 and 7 pH, so I’m going to add a soil acidifier. A lot of times these soil acidifiers are marketed for plants like blueberries or hydrangeas, but will work for your strawberry bed! Always follow the directions on the bag, as every soil acidifier is going to be different.
The Epsoma Soil Acidifier that I used says to apply 12 pounds per 100 square feet. Since my bed is 42 square feet, to figure out the amount I needed I divided 42 square feet by 100, which comes out to 0.42. Then, I multiplied that by the 12 pounds to find the amount I need for my particular bed, which is five pounds. To apply soil acidifier, sprinkle it as evenly as you can across the whole bed, then incorporate.
Strawberry Fertilizer
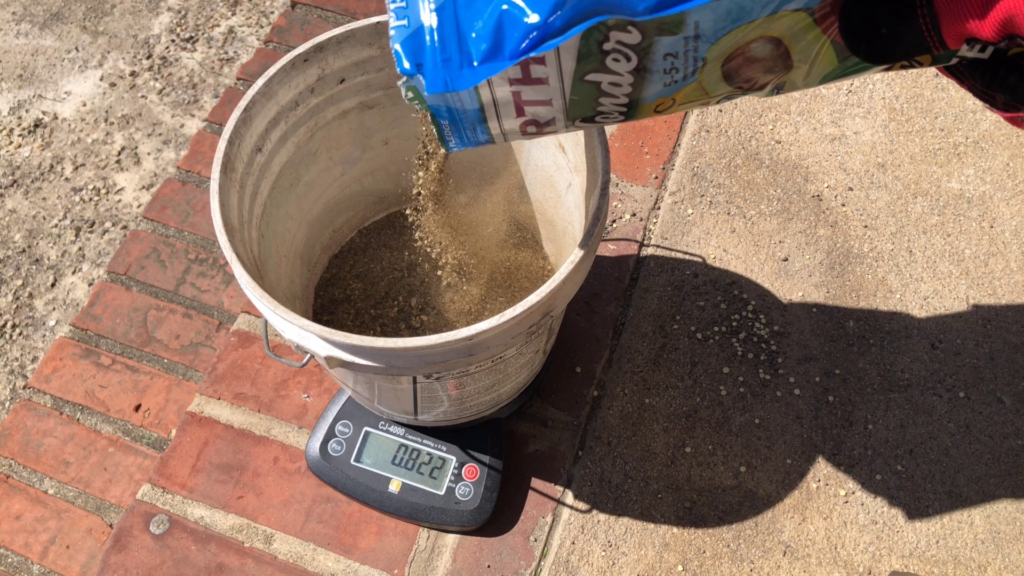
Fertilizer is a great idea, especially when you are putting in perennial plantings like strawberries. Apply a pound of 10-10-10 fertilizer per 100 square feet. If you can’t find 10-10-10, that’s okay, just try to find a brand in which the three numbers, representing the nitrogen, phosphorus, and potassium values, are the same. If all else fails, find a fertilizer marketed towards vegetable gardening and you can make it work!
Fertilizer math is very similar to the calculations we used to apply the soil acidifier. Divide the square footage of your bed by 100, then multiply by the one pound value to determine how many pounds of fertilizer you need. If you weren’t able to find 10-10-10, you’ll need to calculate a bit further. I found a 5-5-2 laying around, the Dr. Earth fruit tree fertilizer, which isn’t ideal, but it will work. I doubled the 10-10-10 calculation to get my fertilizer application rate.
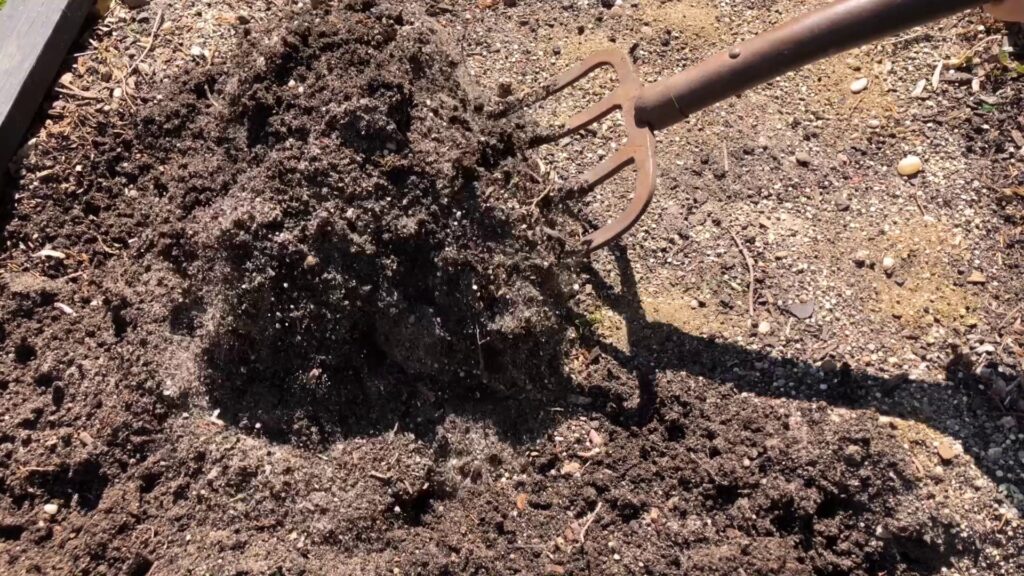
Just like the acidifier, sprinkle the fertilizer evenly across the top of your planting area and incorporate it into the top 3-8 inches of soil. I like to use a garden fork for this, then come in with the backside of a rake to smooth it.
Strawberry Plant Spacing
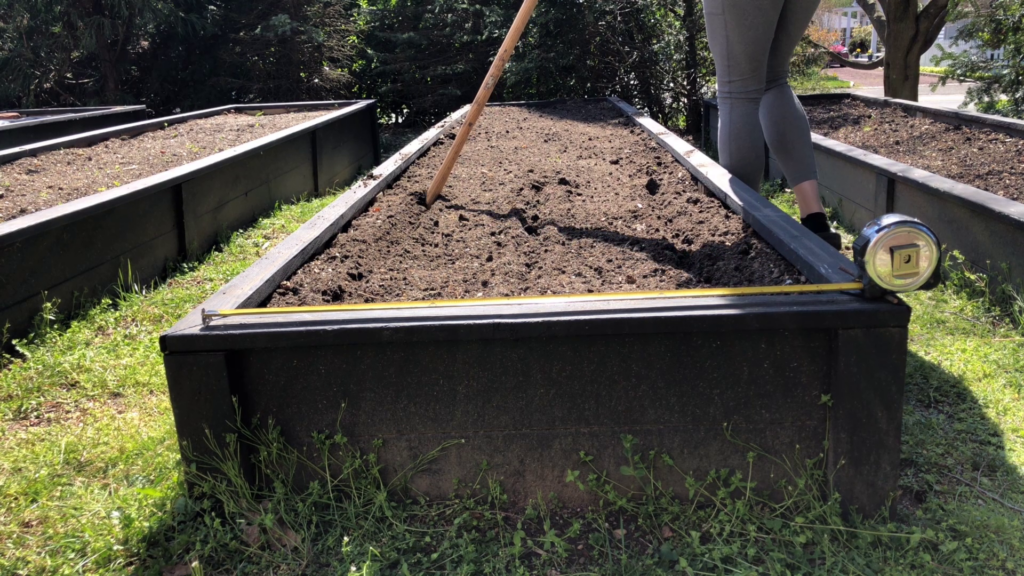
I think one of the most confusing things about strawberries is spacing. There are a lot of different spacing systems out there, including the matted row and hill systems, but because I’m doing a raised bed garden, I can plant a little more intensely. For my beds, I did a 12 inch spacing.
An easy way to mark out your spacing is to use a tape measure, then take the handle end of a rake and draw a line every twelve inches. Repeat in the perpendicular direction. Where the lines cross in your bed is where you want to plant a strawberry.
How to Plant Strawberries
Soaking Strawberry Crowns
Now we are finally ready to plant! If your plants are coming directly out of the box, try to do your planting on a cloudy day to reduce the risk of shock. When I planted, my plants had been outside for a while already, so I felt comfortable planting in the sun.
A good way to give strawberries a head start is to soak them in water for a couple of hours in advance of planting. Start soaking at the beginning of your preparation process, and by the time you’re done with soil prep, they will be ready to go!
Cut the Strawberry Roots
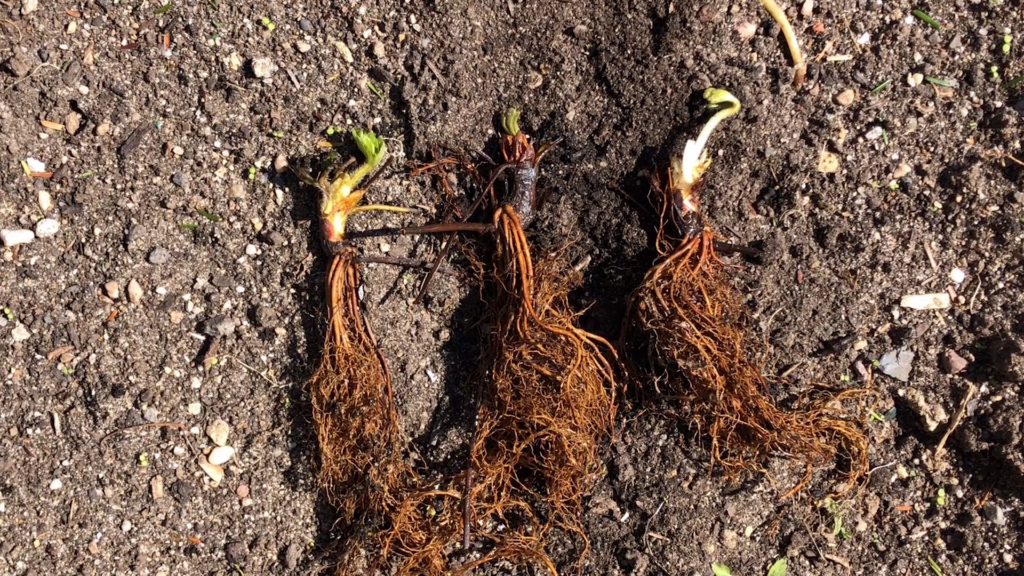
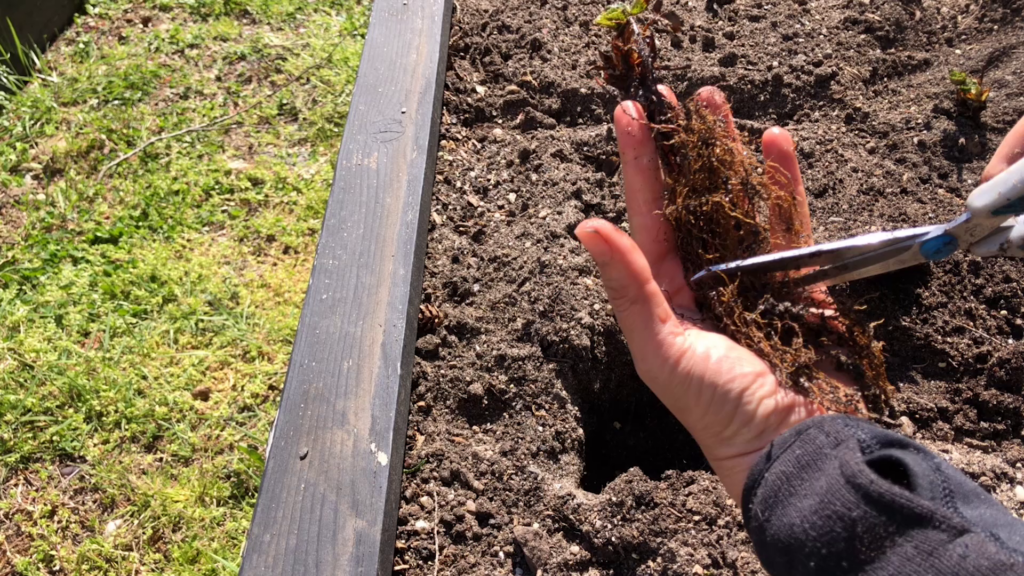
When you buy bare-root strawberries sometimes the roots are humongously long! You can trim the roots down to four to five inches. This allows the roots to be straight when you plant, not curled and tangled in the planting hole. A quick way to measure without pulling out the tape measure for each plant is to to measure out five inches on your hand. Remember the location and use that as your marking point for trimming strawberries.
Strawberry Plant Depth
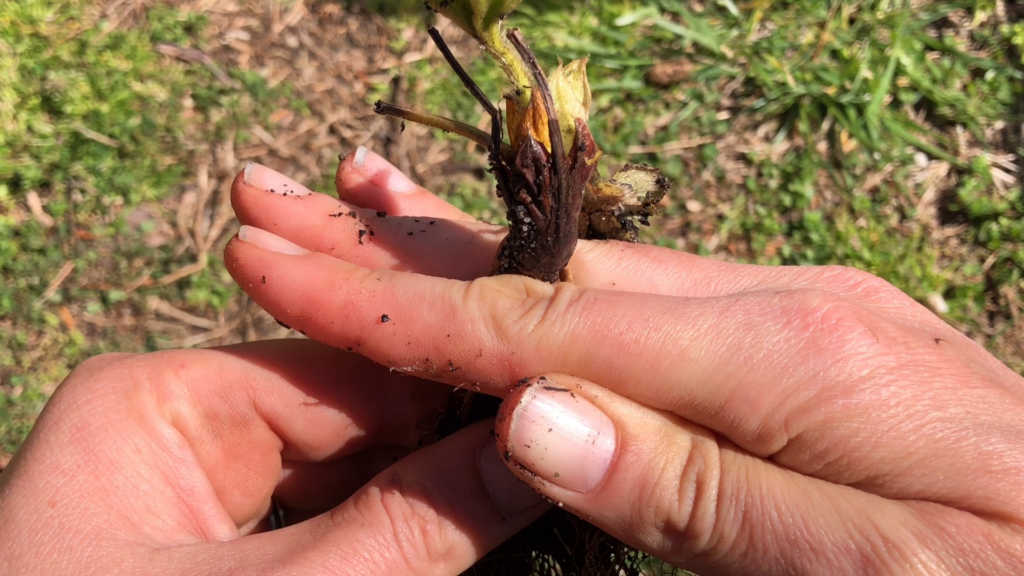
Make planting holes where your measuring lines cross in your bed. Use a garden trowel to dig your hole, or go gangsta like I do and dig a hole with your hands! It can be tricky to determine how deep to make your holes. Your roots should be able to sit straight down into the hole, but it is important not to cover the crown of the plant.
Once you’ve determined how deep your hole should be and you’ve dug it, place the plant inside. Hold it level inside the hole, making sure roots aren’t curled at the bottom, then push the soil back in around the roots, firming it down. Finish off your planting with a good soaking across the entire bed.
Mulching Strawberries
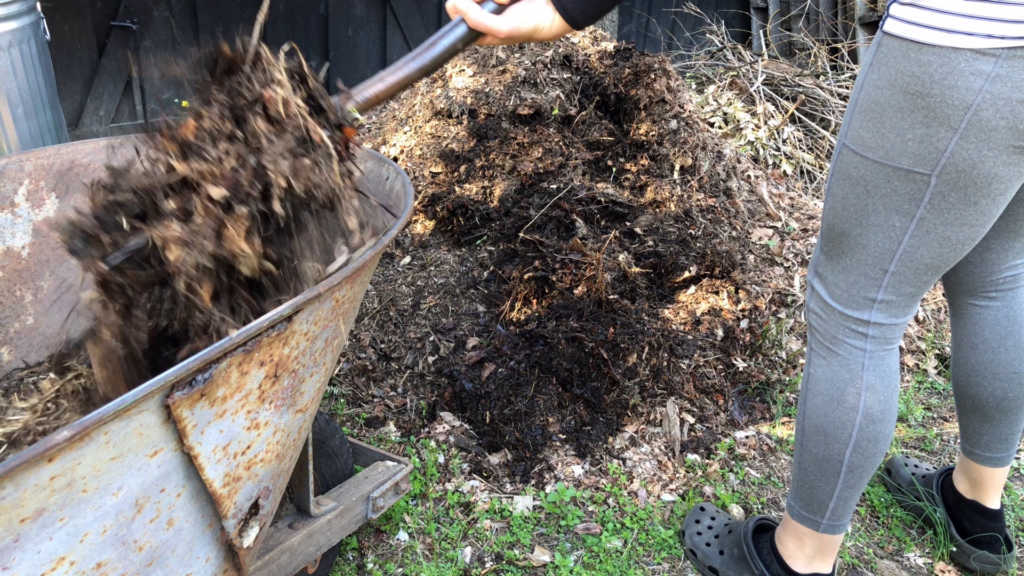
The next step is to add mulch. Mulch will help keep moisture in the soil, keep weeds down, and most importantly for strawberries, it’s going to keep the fruit off the soil. This is important because when strawberry plants are laying on the soil they are more apt to rot or acquire pests, and we definitely don’t want that! You can use your mulch of choice. I actually keep a huge pile of fall leaves in the utility area at my house for this exact purpose!
What To Do If You’re Not Ready to Plant Your Strawberries?
If you’re a lazy gardener like me, you are constantly ordering plants, then when they show up on your doorstep, you’re totally unprepared. It’s complete garden pandemonium! This is what happened to me when my strawberry plants showed up. I wasn’t ready to do all of the things I just told you about, so I needed a way to keep them alive until I was prepared.
Unwrap the plants and get them out of the box. Moisten them or soak like I mentioned earlier, then put them in a planter and surround them with soil. Make sure roots are buried and crowns are above the soil line. Stick your planter in the soil and monitor it to make sure it stays moistened.
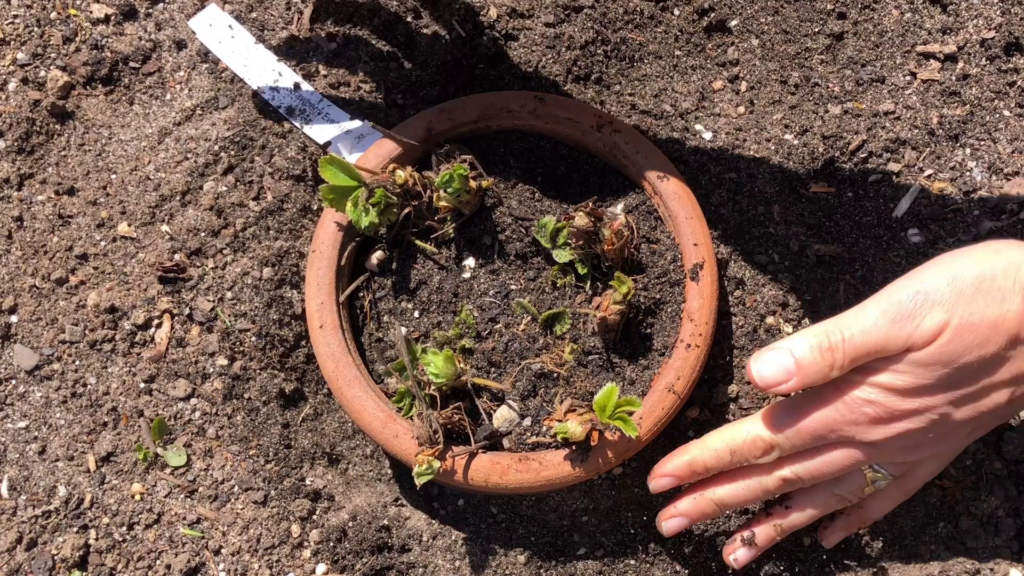
When you’re ready to plant, your strawberries will be ready for you!
Let me know how my tips work in your strawberry bed. I’ll have some future posts and videos about how to protect strawberries from the rampaging bunnies and squirrels in my front yard and about my irrigation system, so keep your eye out!



Leave a Reply