If your seed collection looks like this, stick around. I’m gonna go over 8 different ways to organize your seeds, what worked and what didn’t for me, and my current cheap and easy setup. And make sure you stick around to end of this post, and I’ll show you my favorite seeds that I order every year.
There’s a lot of seed storage systems out there. If you’ve been on Pinterest, it can be just a little overwhelming.
1. The Shelf
When I first started out, I literally threw seed packets in my shed. Like seriously, right next to the motor oil. I guess if you only have three seed packets you bought at the dollar store, it’s not a big deal, but It didn’t take long to lose and damage the packets and spill the seeds everywhere.
2. The Drawer
I think at some point, I graduated to a drawer in my shed, but the problem with that, is that the packets just never close right again once they’re open. In drawers the seeds lay flat, so every time I open the drawer and rifle through it, they just start crapping seeds everywhere.
3. Mason Jars
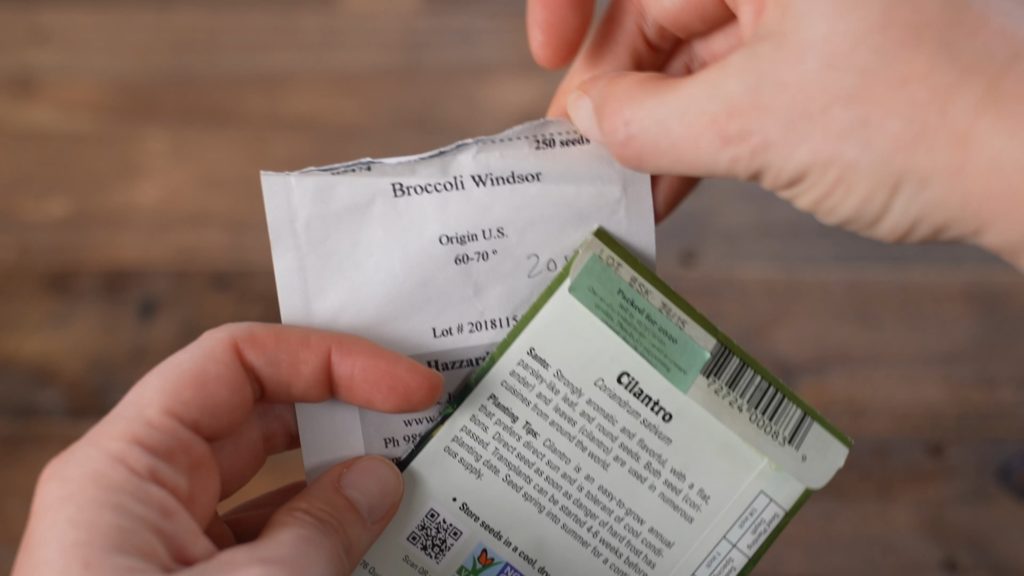
Then, I had this bright idea that I was gonna go all Martha Stewart and convert to mason jars. They’re waterproof and airproof, so I was moving in the right direction, not to mention I thought it would look cool.
I love mason jars, and use them a lot in my kitchen to store stuff, but, the problem here is that even the smallest mason jar, the 4 oz, is way too big for a standard seed packet.
It just took up way too much space. It was ridiculous.
4. Hardware Organizer
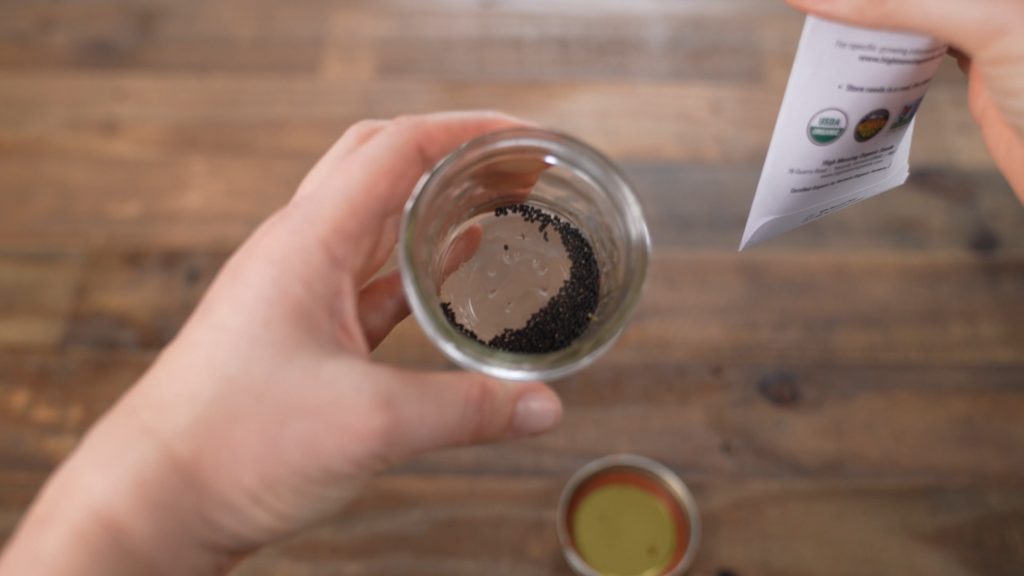
So I started looking around for something smaller and came across these hardware organizers. I had a bunch of different sizes.
The problem with these is that I had to take the seeds out of the packet, meaning I was going to lose all the information on the packet.
Also, the little dividers are not 100% flush, so seeds can migrate from one are area to the other.
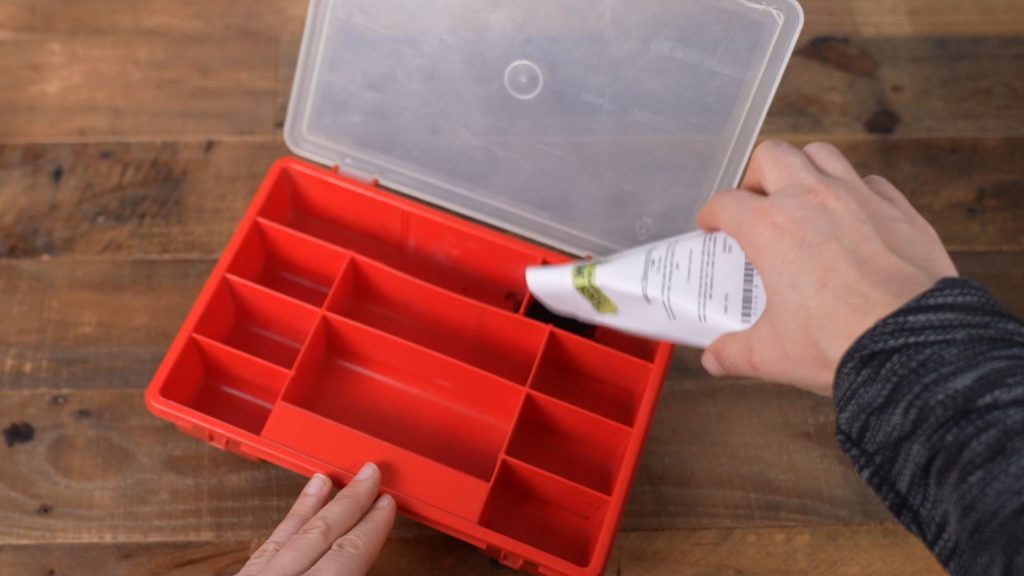
I tipped this thing over one time, all the seeds got mixed up and that was the end of that.
5. Binder
My next idea was a binder and sheet protectors or even 4×6 photo pages would work. I liked the idea of sorting the pages and having the packet info clearly visible. I even labeled some of the protector pages so that I knew where the packets went after I took them out.
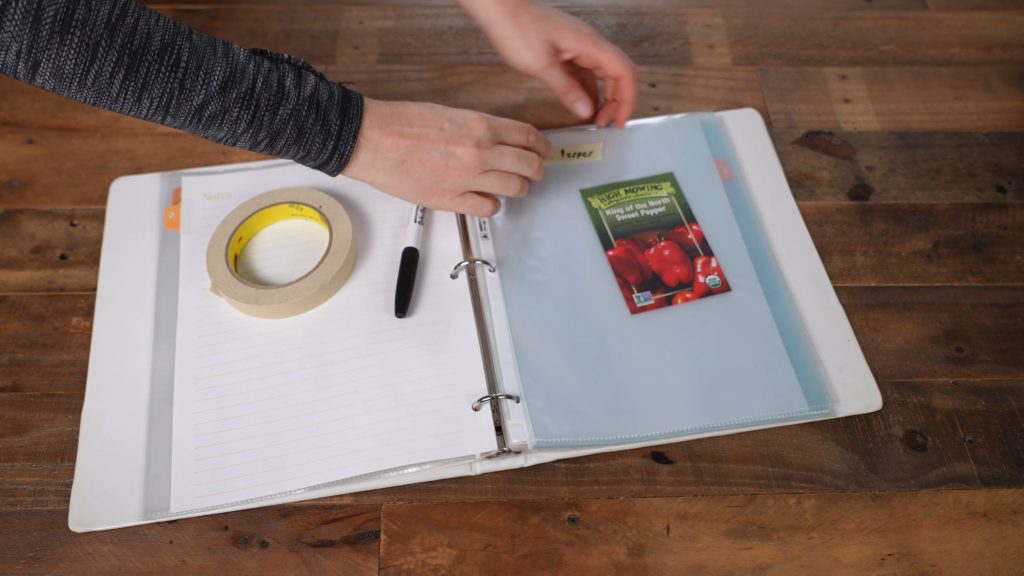
I also liked that it was fairly waterproof and when the book is closed, it’s dark, which are two key components of a good seed storage system.
Now make sure if you go with this method, to get the sheet protectors that load from the binder side, not the top, or else, you are one drop away from all your packets to go flying out of the binder.
The binder worked for a little bit until I started buying seeds more in bulk. This is not an issue a beginning gardener will have probably, but once I got my favorite varieties, built quite a number of big beds, and started planting multiple successions of things in the same year, it just made sense to bulk up at the beginning of the year to save money.
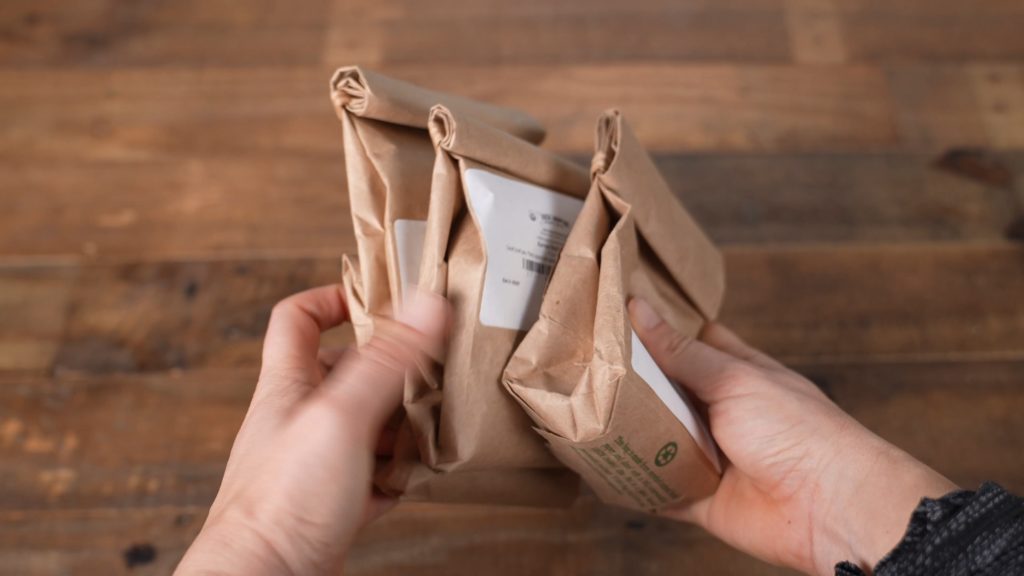
The problem with that is that when you buy a lot of seeds, they come in these giant packs, plastic jars even, and those just did not play well with with tiny sheet protectors. The bean packets especially are enormous. I was also starting to save seeds, which also produced a large bulk.
6. Photo Organizer
Which brings me to these photo organizing boxes. These 4×6 photo organizers are everywhere on Instagram. People seem to love these for seed organizing some reason.
Usually you see these in clear, but if you do go with this method, get the black box, like this one, which will keep out light.
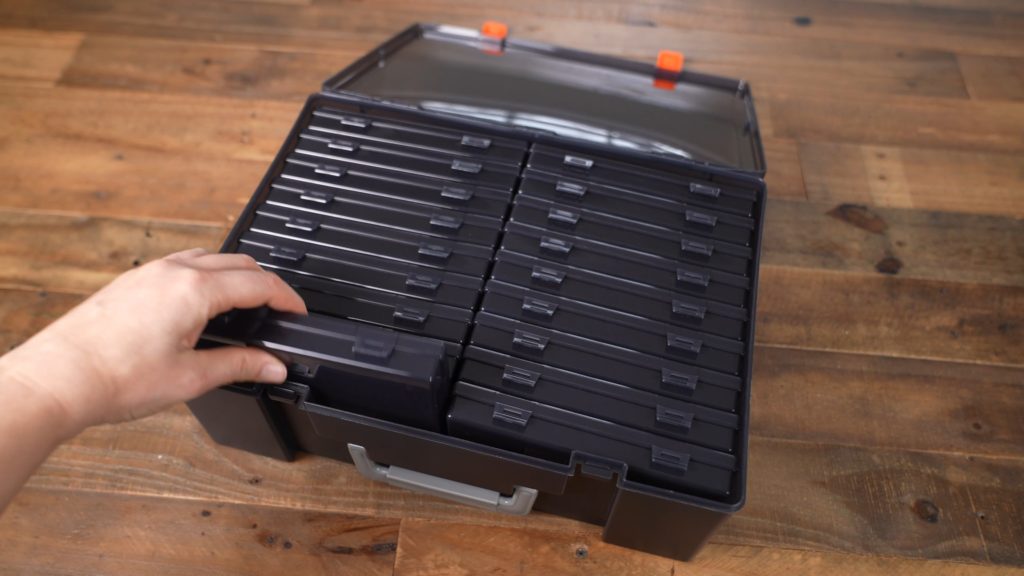
These photo organizers are very similar to the binders in that, if you have a lot of standard seed packets with a standard amount of seeds in them, this might work. I do think these could work a little better than the binder, since you don’t have to worry about the packets falling out.
But there’s no way these giant packets of beans, larger bulk packets, or my peanut packets are going in these tiny boxes. So this is just not a system that can grow with you.
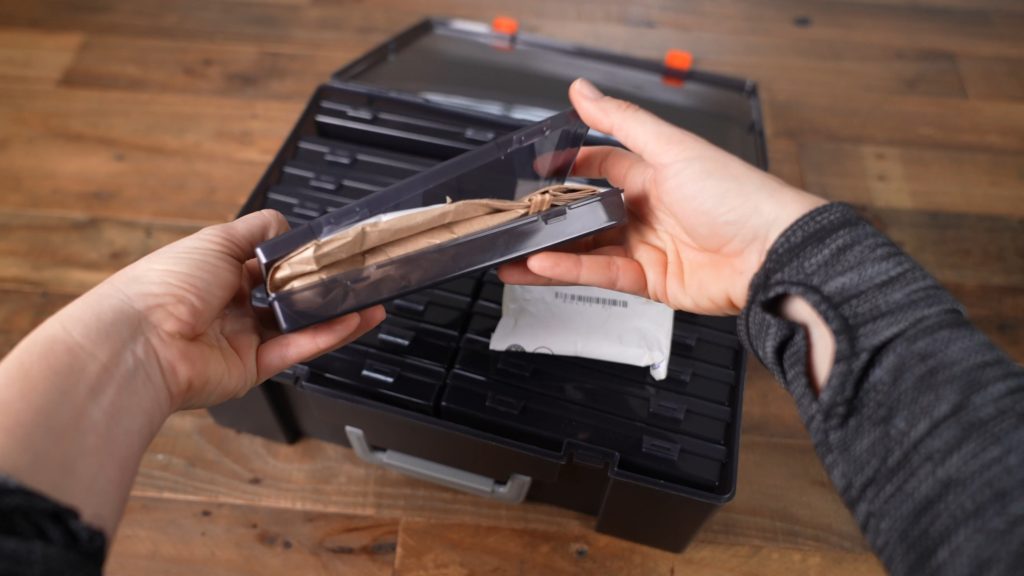
Also, while the idea of having a “seed briefcase” is just adorable as hell, this runs the risk of your seed packets lying on their sides and flat, which, again, goes back to crapping seeds all over the place.
7. Open Box
Just a regular open box is probably one of the most common storage methods and this was my preferred version for a long time. I actually used a repurposed plastic CD box and used some empty CD cases as dividers and to keep everything from falling over.
What was great about this method was that all the seed packets stayed upright (no seed crapping!) and it was adjustable, so I could put the giant packs as well as the small jars in there.
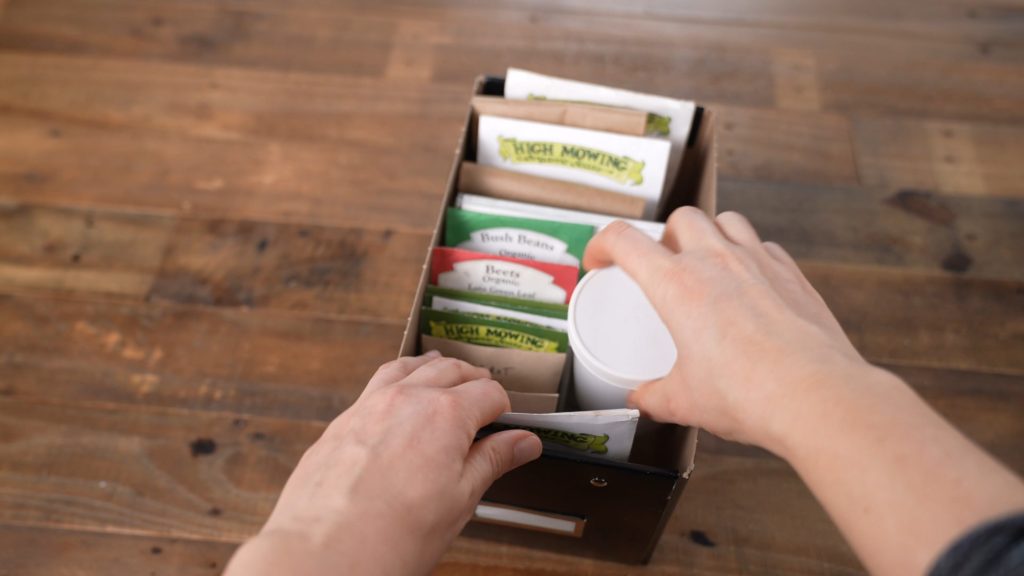
I also got to organize them in the order I wanted, like the binder system, and I got to keep the packets with all the grow info.
My box and I were doing good until two things happened.
One, I just could not stop buying seeds, so I started a pile of seed packets next to my box.
And two, we got mice. I had no idea how much mice liked peanut and green bean seeds until I found nothing but empty packets, mice poop and peanut shells.
So that’s when I got serious about my seed storage.
8. Crack Box
This is the system I’m using right now—basically a box on crack. I got a cheap plastic box from the local drug store.
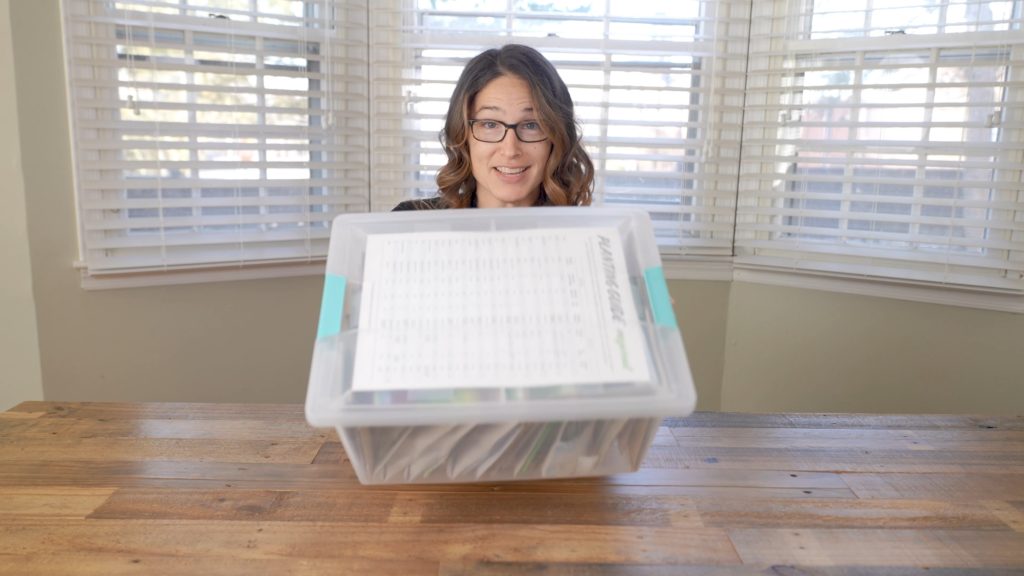
Number one important item for me, it had a locking lid, making it mouse-proof to all but the most insane meathead rats.
If you can, get an opaque box so your seeds will be in the dark, which help increase storage life. This box is translucent, which is not the best, but the packets are opaque and I store it in a closet, so the light isn’t an issue in my situation. The clear lid actually came in handy for me, because I used it to tape a seeding reference guide to.
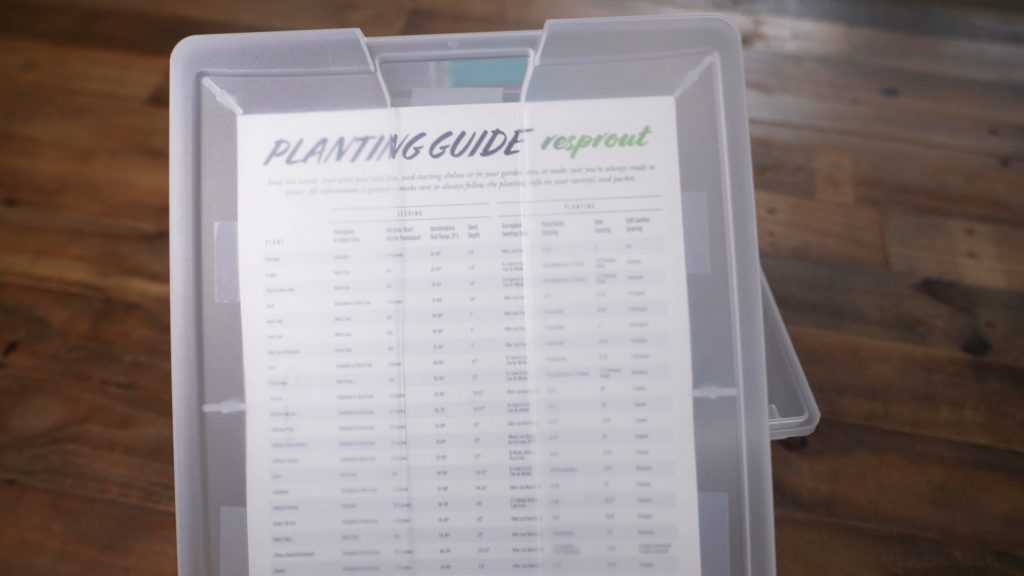
This includes the distance the seeds need to be planted from each other, how deep, the germination temperature, when to start and transplant, plus other bits of info that you always need when you’re seeding.
This is seriously one of the most used pieces of paperwork I have for the garden. If you want your own version, you can subscribe to my garden newsletter and get a download a free copy you can print at home.
This box is wide enough to store two columns of packets, making it double the size of my old box. Everything is upright, so the seeds don’t fall out and you can read the packets.
It’s also tall enough to take the larger seed packets and any jars I might need to throw in there.
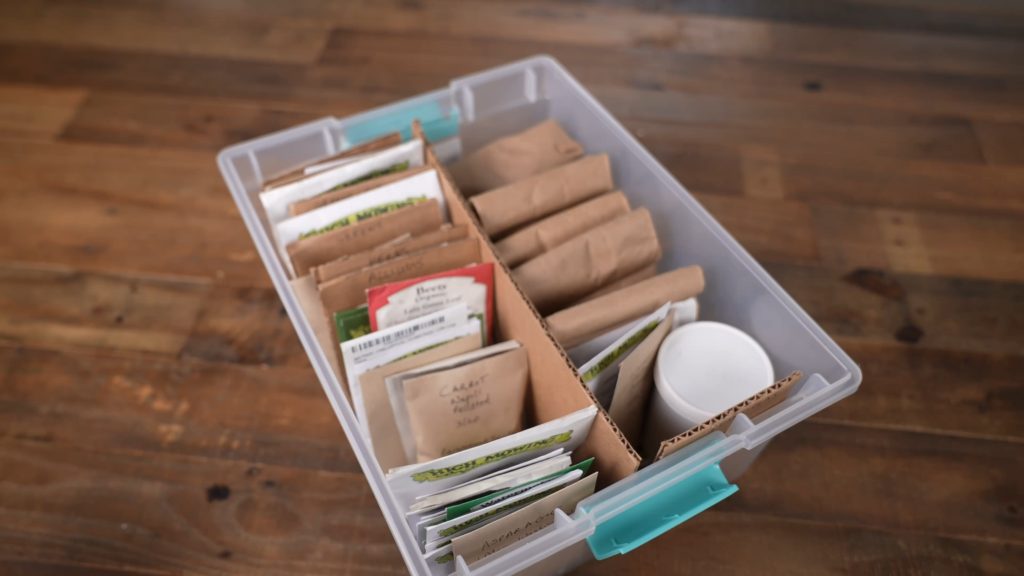
And it’s the perfect size to throw a catalog or a garden journal on top.
I cut up some old cardboard boxes to make this center divider and the dividers. And don’t pretend you don’t have a pile of empty Amazon boxes by your front door!
Now as far as how I order them, I’ve changed a bit over the years. It used to be completely alphabetical by crop name, but I found that I tend to seed and search for things in looser categories.
So a good example is the greens category. Sometimes I’m not looking for a particular lettuce or kale or chard or arugula, I just need to plant greens, especially if I’m looking for baby greens. So I just come to this category and browse.
One thing I do separate is green seeds that are older than 3 years. With these I plant them differently—I broadcast them and oversow them since I know I might have germination issues.
I also have categories for alliums (which include leeks and onions right now), tomatoes (which I always have a ton of), peppers, and herbs.
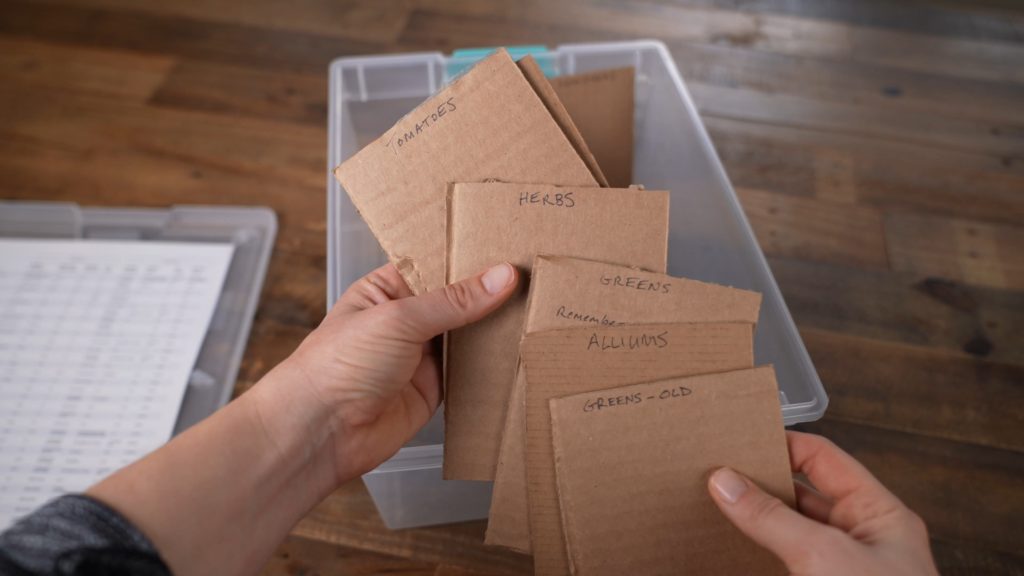
Almost the entire right side here is those huge bean packages I showed you guys earlier, plus a couple little ones. And then I have a small area right up front, sorted alphabetically, for all the seeds that don’t fall into any of the previous categories.
Although this box isn’t airtight, It is plastic, which makes it more impervious to water than a cardboard box which might get damp over time. While seeds don’t have to be stored in an airtight container, it does increase their life, so if you’re looking for long-term storage you might want to try individually storing seeds in zipper storage bags or using a 5 gallon bucket.
Me, I usually use up all my seeds within 1-2 years, so it’s not an issue for me.
For all my prepper friends out there, let us know what long-term storage method you’re using for seeds! We’d love to hear.
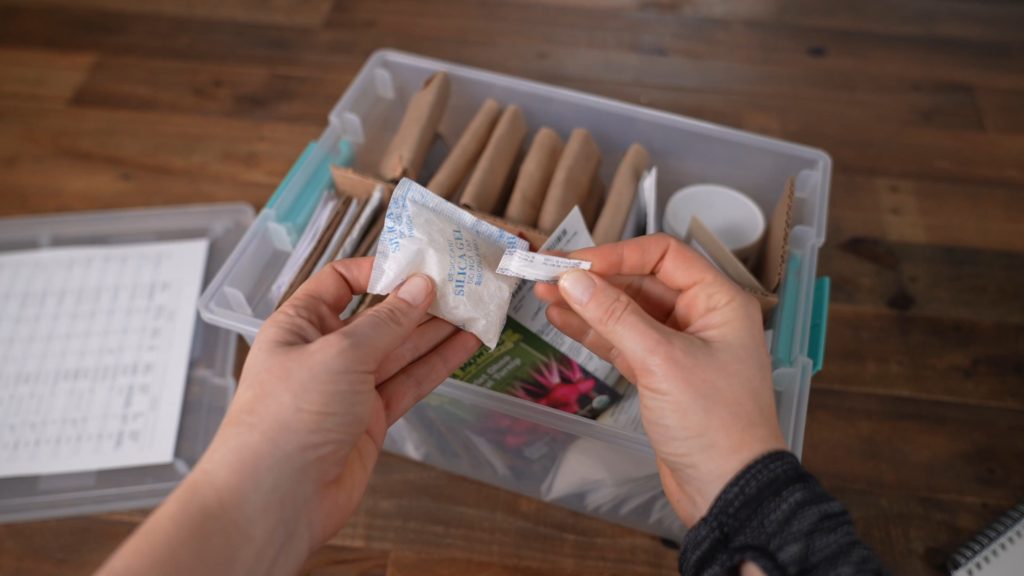
To decrease the humidity, I make sure to store it outside of the humid areas of my house, which for me is my kitchen and basement. And if I come across any of thoughse desiccant packets, I throw these in there. A lot of times, you’ll see these when you purchase new vitamin bottles, shoes or purses.
Another thing I always keep in my seed box are resealable seed packets and a pen. These are self-stick and can be resealed, which honestly, every commercial pack should be made with. I use these to repackage any seeds whose packet I destroyed while opening it, or to save my own seeds. If you guys have seen my coriander video, where I saved cilantro seeds, these are the very same packets. These are super cheap and you can get them on Amazon.
Favorite Seeds
So while we’re in the seed box, let me show you the seeds I always have and always reorder.
Napoli Carrots, available from a lot of different seed companies, are a favorite of four-season farmer Eliot Coleman. They’re always reliable, never have pest problems with, and usually fat and straight.
Marketmore cucumbers from High Mowing Seeds. Before planting these, I had a lot of pest and disease problems with cucumbers. These guys are resistant to Cucumber Mosaic Virus, Powdery Mildew, and Scab and they’re super productive. I remember two years ago I harvested twenty cucumbers in one day.
Giant Winter Spinach, also from High Mowing Seeds. If you guys have seen my spinach harvesting video, you know how pest-free and prolific these are. I always order a big pack. of these.
Rutgers Obsession DMR basil from High Mowing Seeds I love primarily because it is extremely resistant to downy mildew, which are those brown spots older basil always seems to get at the end of the season. Because I plant this variety, I can usually keep my basil plants until the first frost.
I’ve tried A LOT and I mean A LOT of tomatoes over the years. Of all the ones I’ve tried, my favorites, all from High Mowing Seeds are the Sunrise Bumblebee cherry tomato, the Damsel slicing tomato, and the Plum Perfect F1 paste tomato. All three of these almost always blow away the other varieties exponentially in pounds harvested, disease resistance and flavor.
So how about you guys? How are you storing YOUR seeds? And What are your favorite varieties? Please tell! It will just give us all more excuses to spend more money on garden stuff!
This blog post was adapted from my YouTube video 8 Seed Organizers + My DIY Seed Storage Box System


What are the dimensions of the “crack box”? Many thanks. Great article.
Hi Janis, oh my gosh, so sorry, I didn’t realize I never linked the box! I updated the post, but here’s the link to my seed box: resprout.com/go/seed-box. It is 14 x 11 x 6.25 inches (L x W x H). Hope that helps!
Hi…went to “page not found.” But you gave me the dimensions, so I’m on it!
Just signed on to your Newsletter…:-)